
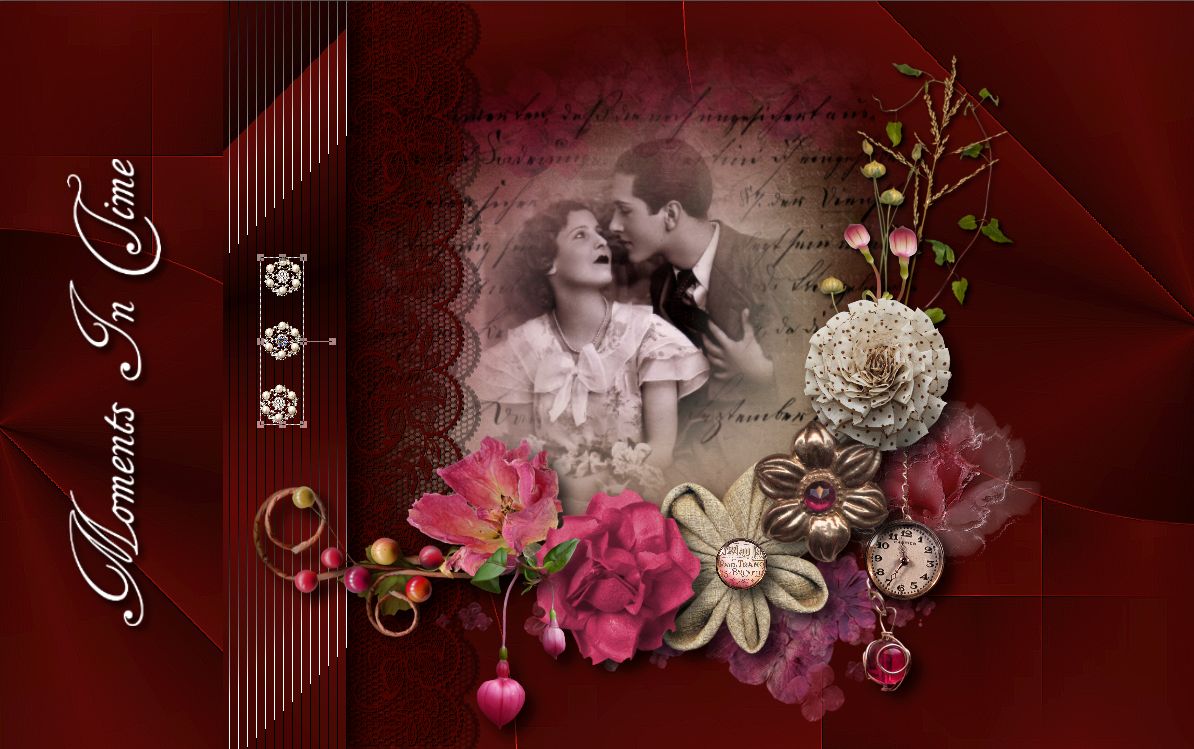
Ebben a tutorialban azt szeretném megmutatni, hogy milyen szép tud lenni akkor is egy ilyen stilusú kép amikor egy modern alapot csinálunk hozzá. Csak a megfelelö harmóniát kell az alkotó elemekkel megtalálni.
In this tutorial, I would like to show you how beautiful it can be to have a style like that when we make a modern base. Only the right harmony with the creative elements should be found.

| moments_in_time_pack.rar |
Special Thanks for MoonLightAngel ( Lisette ) for translating this tutorial to Dutch language.


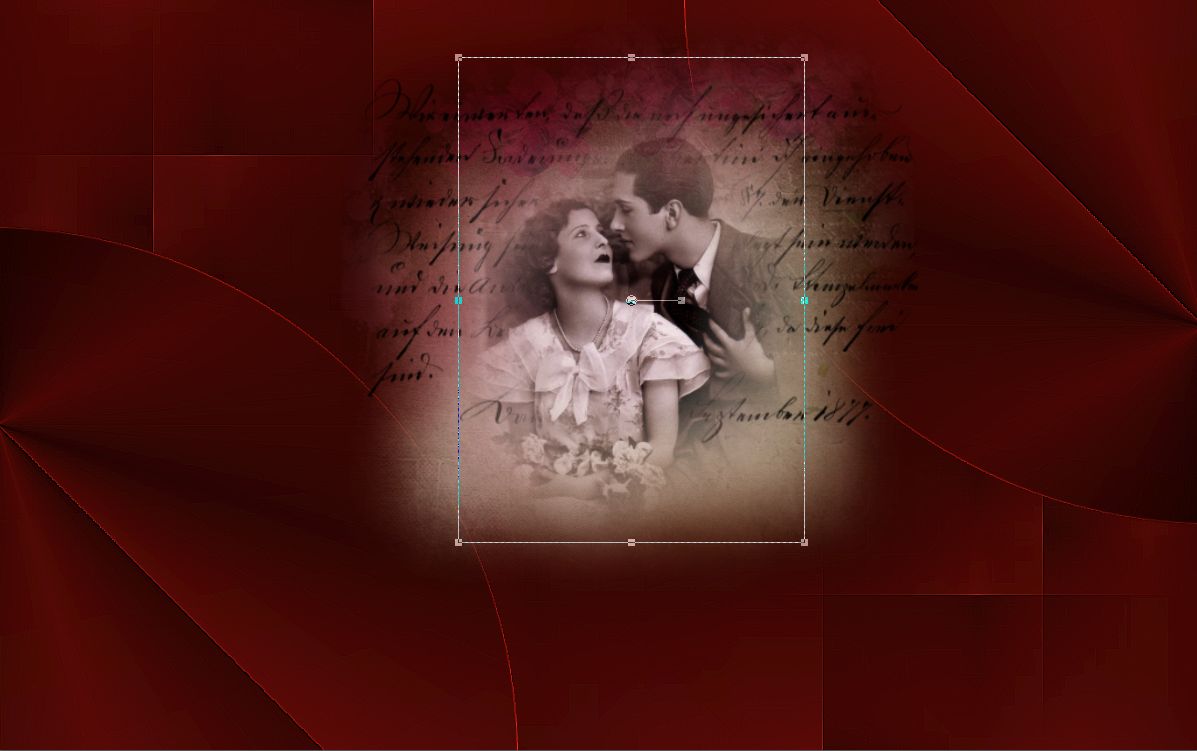
1. Hozd be az alapot és a jobb felsö sarok díszt a csomagból és másold be az alapra
új rétegként.
Load in the base and the right upper corner from your material package and copy it to the base as a new layer
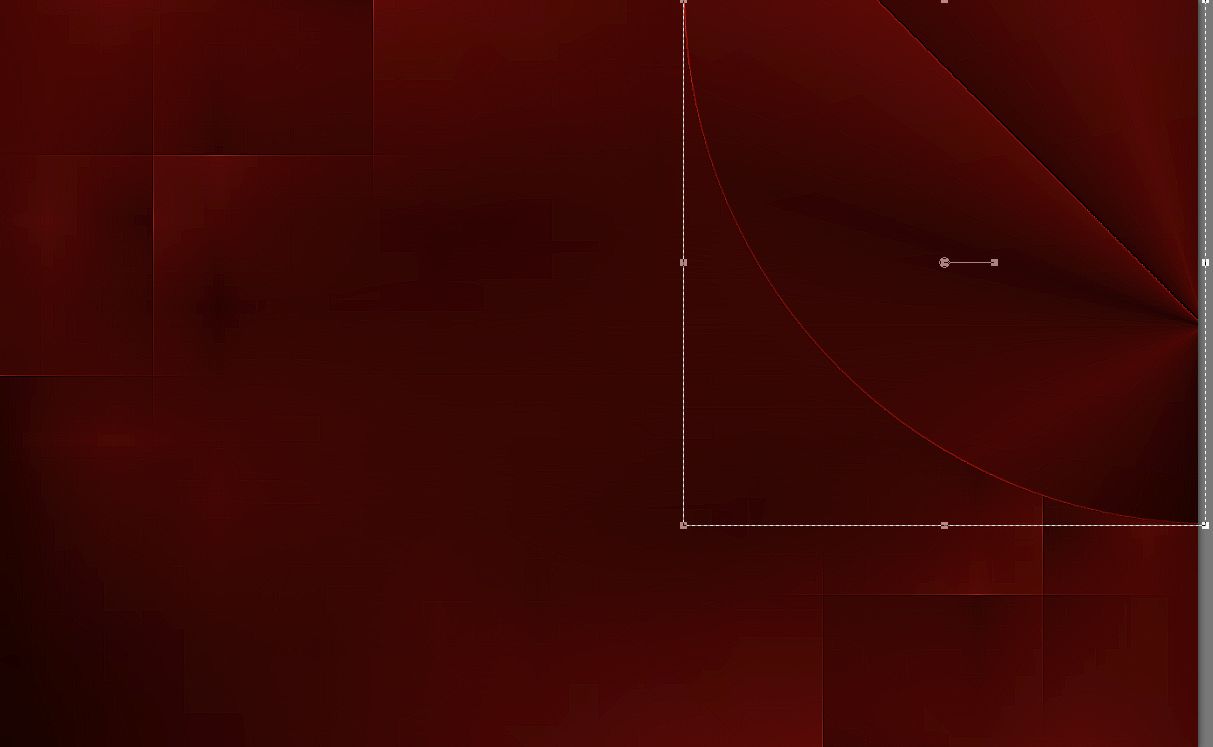
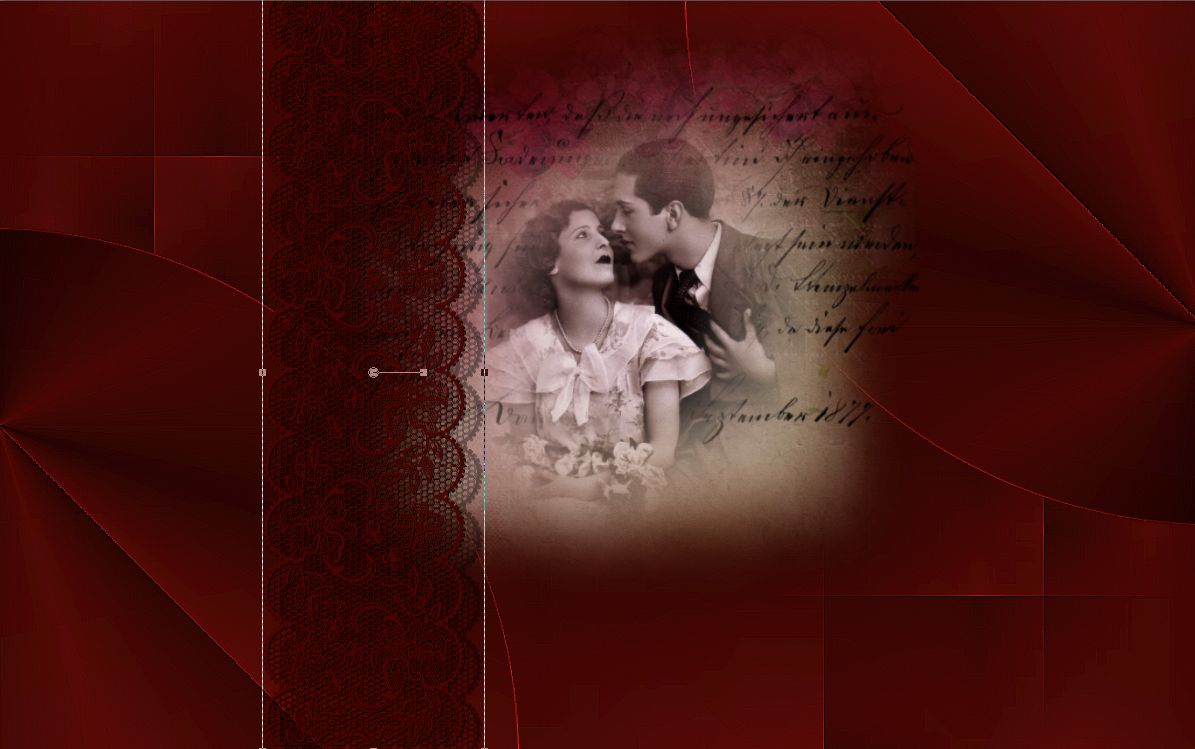
2. Csináld ezt meg a bal alsó sarok elemmel is.
Do this with the lower left corner element.

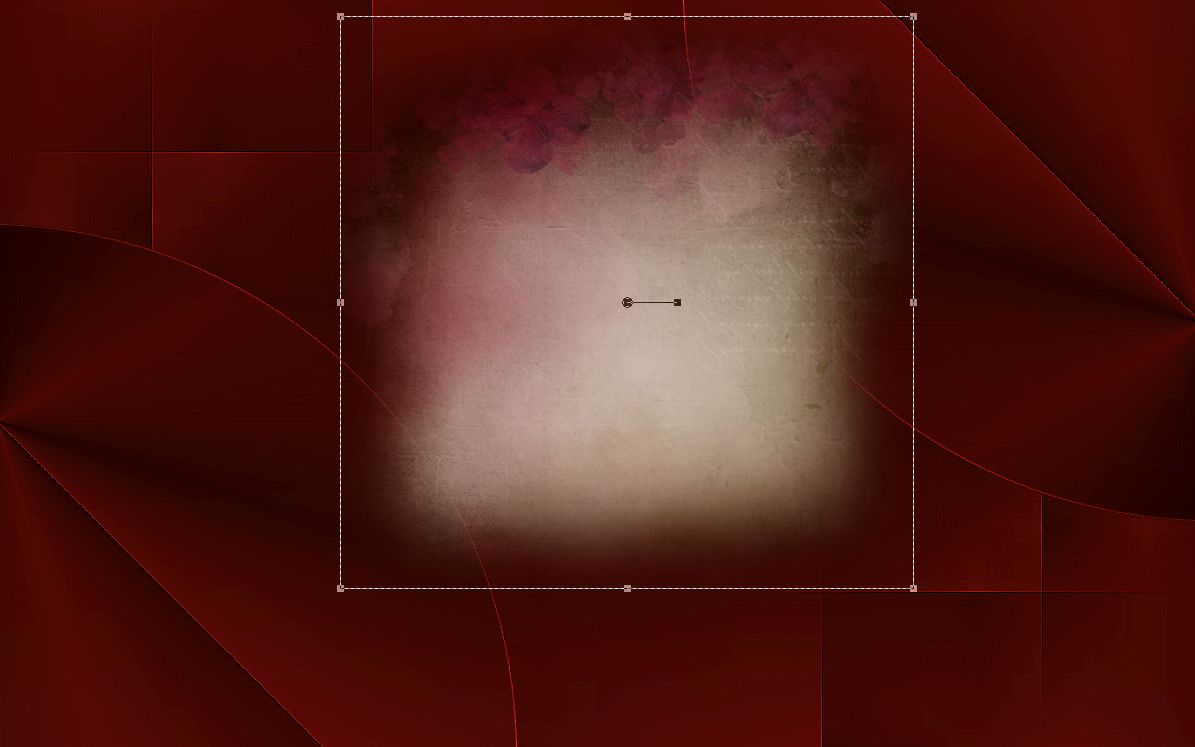
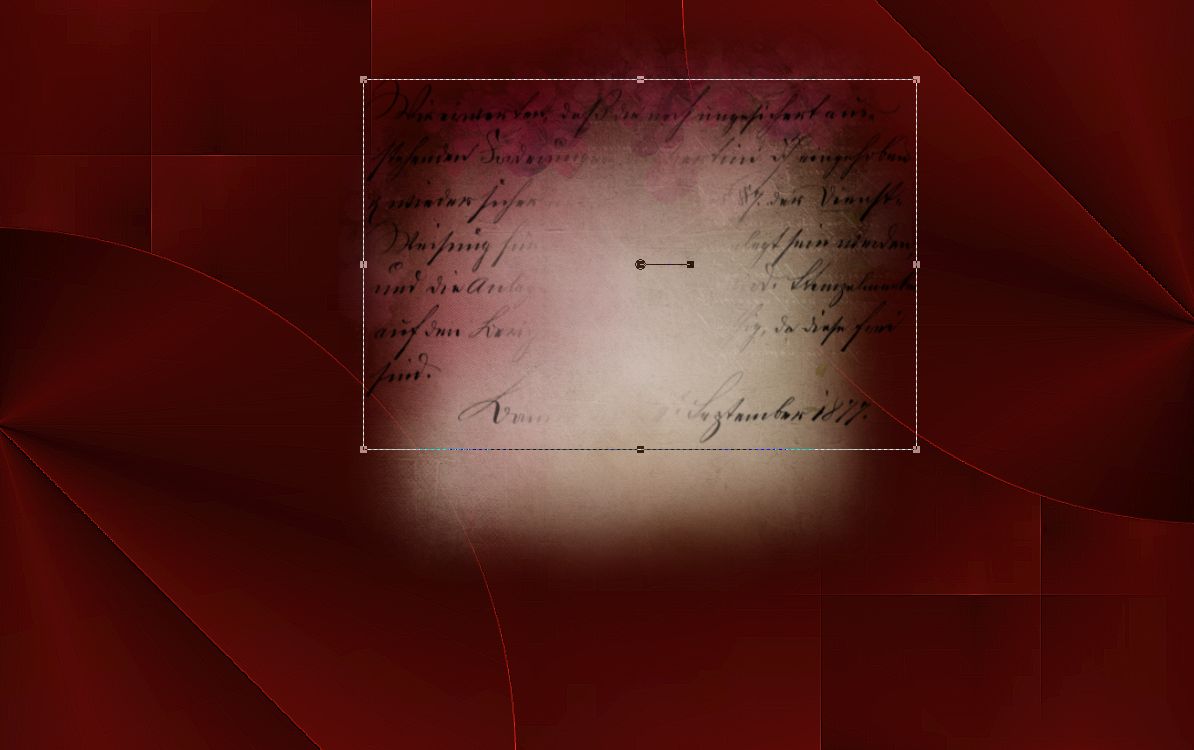
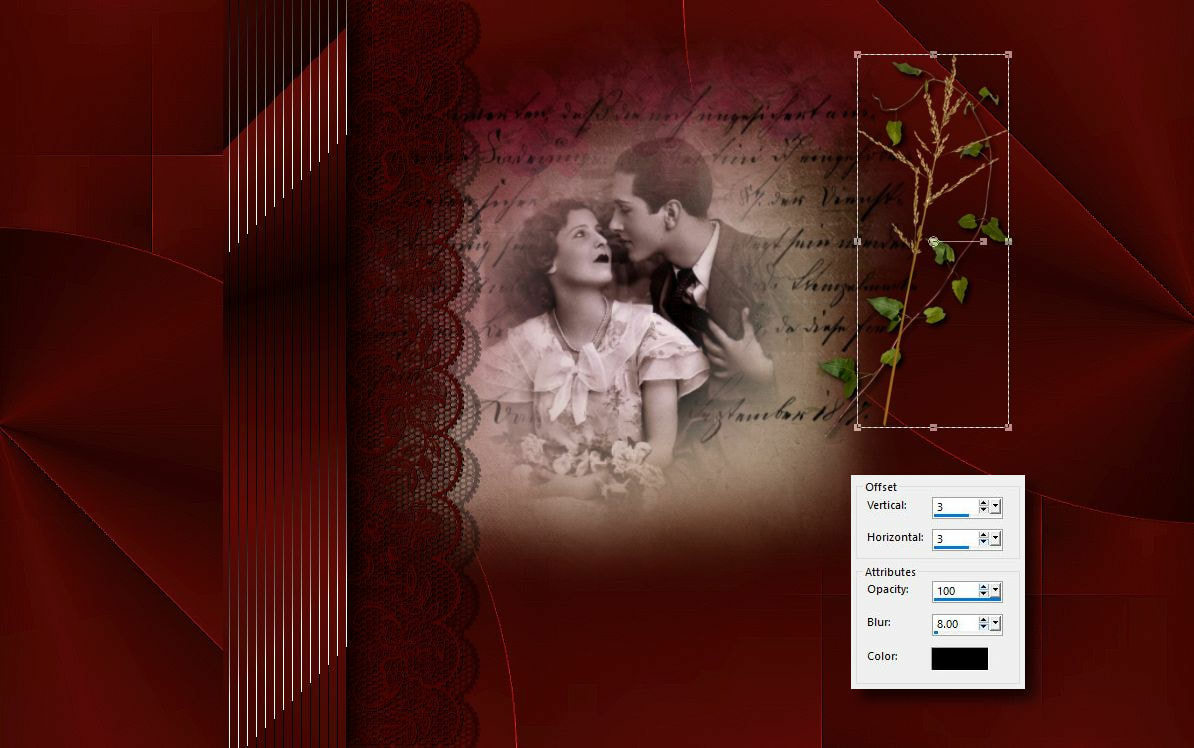
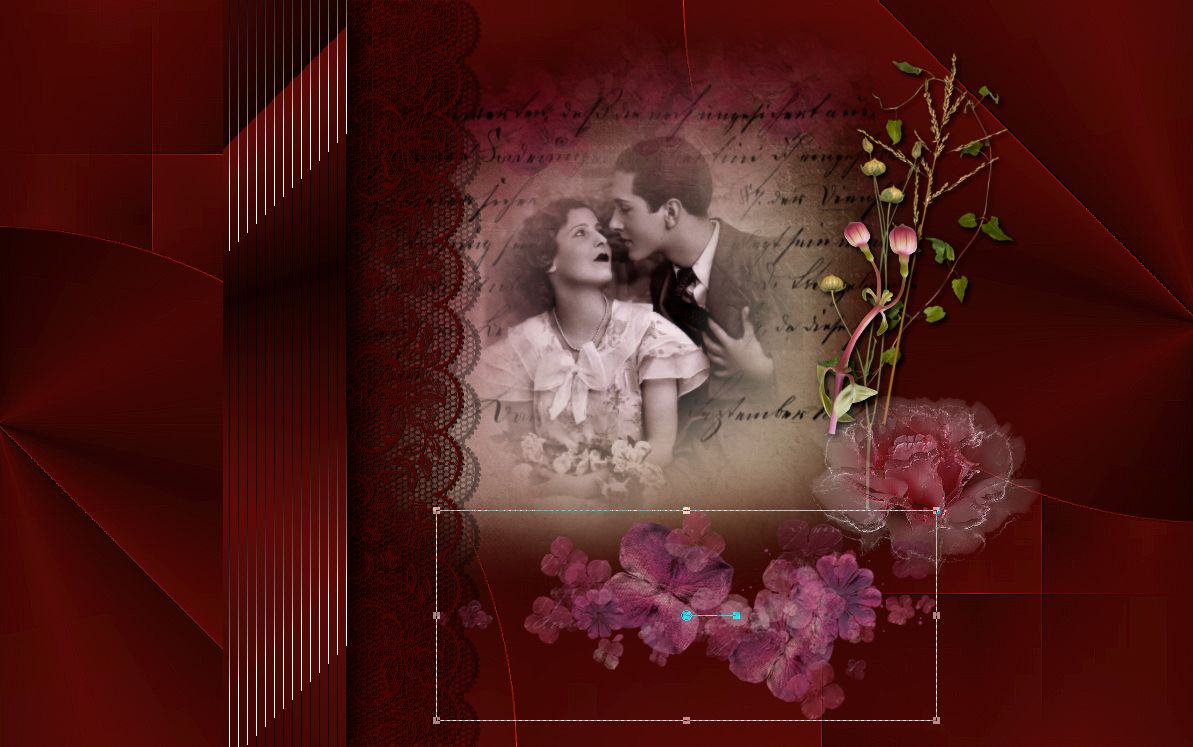
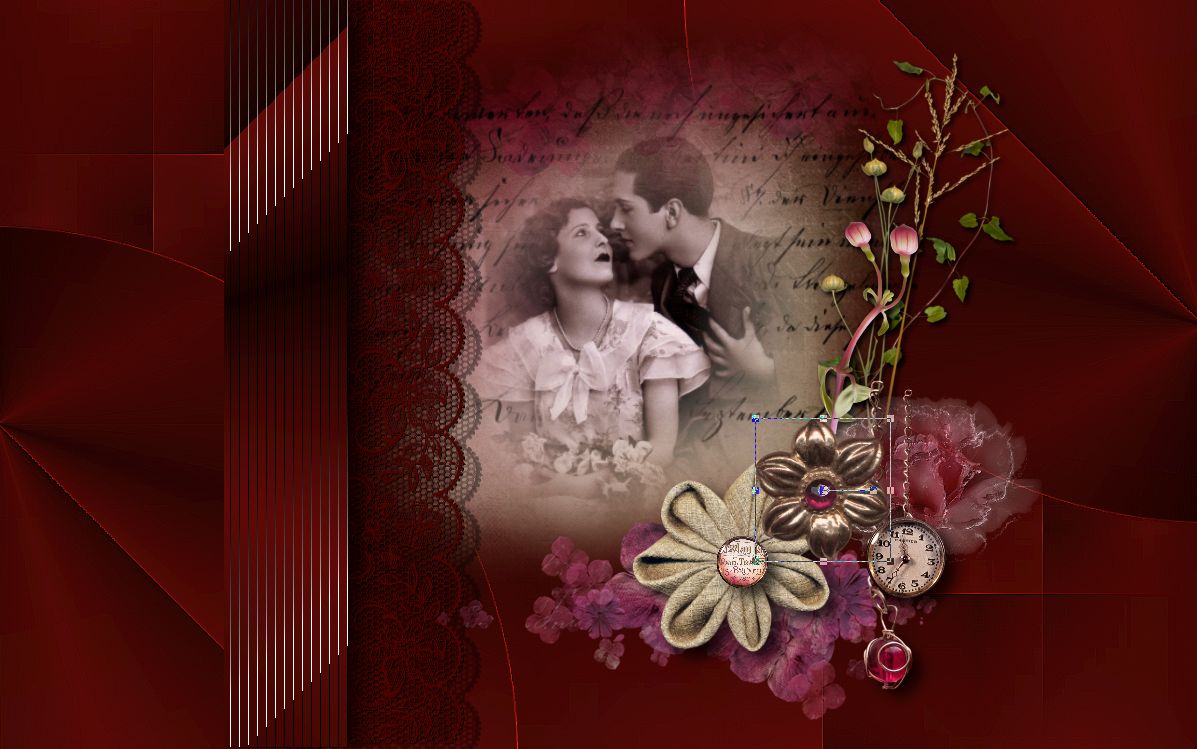
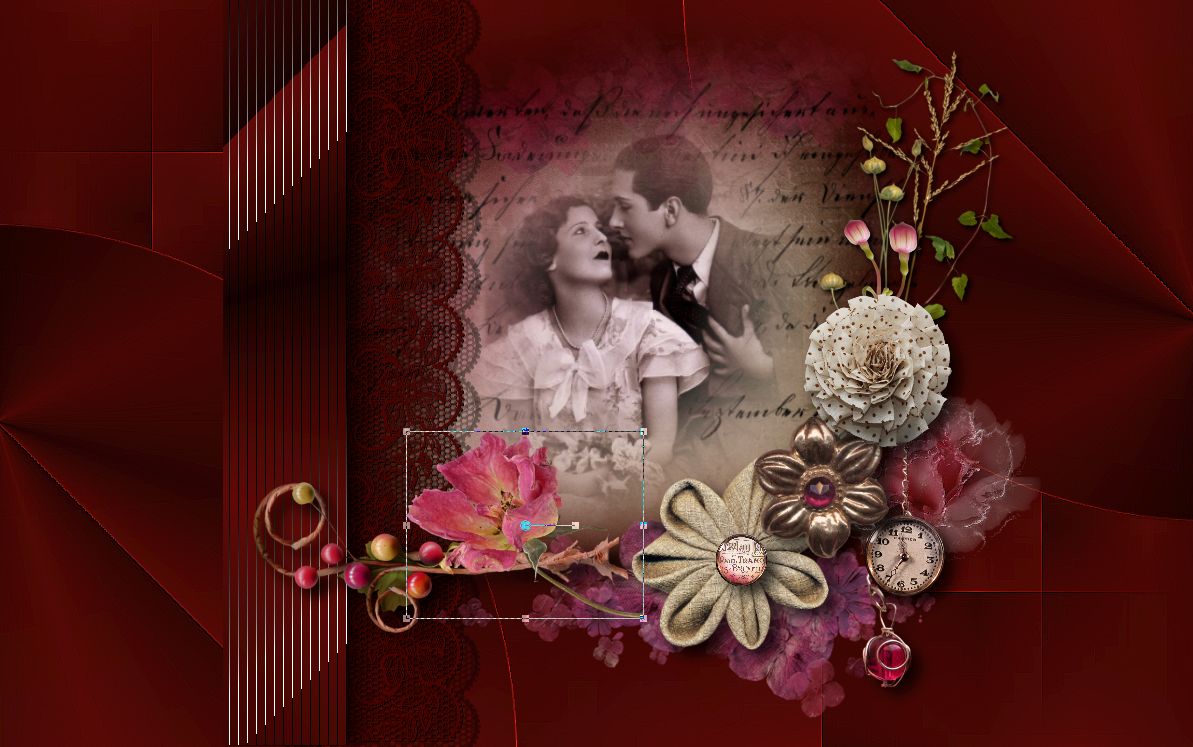
3. Kezdjük felépíteni, dekorálni a képünket. Kövesd a bemutató képeken látottakat.
Let's start decorating our picture. Follow what you have seen in the demo images.
4.
5.
6.
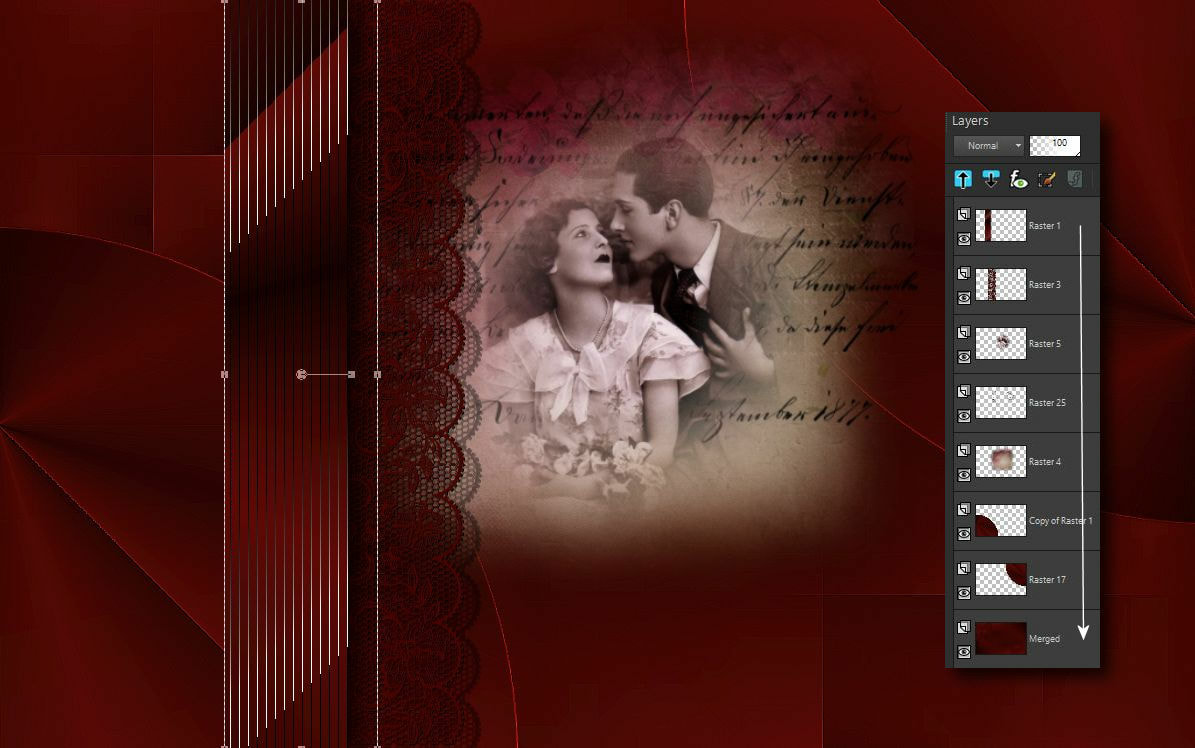
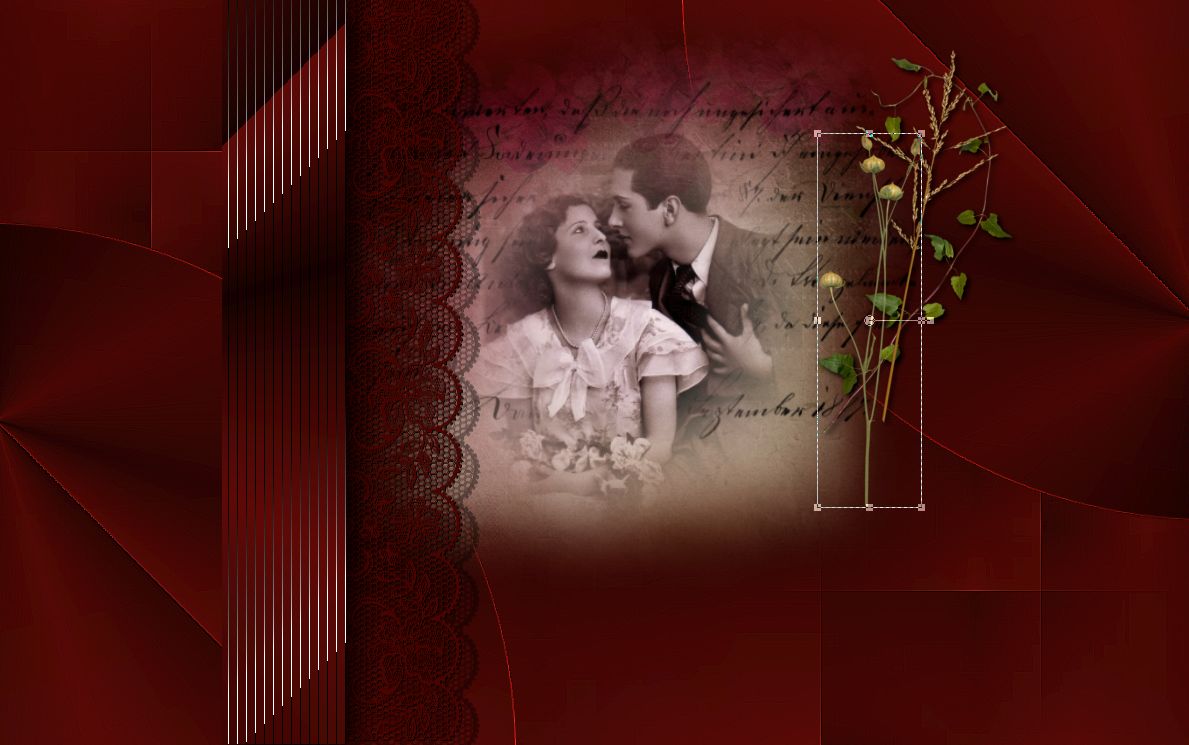
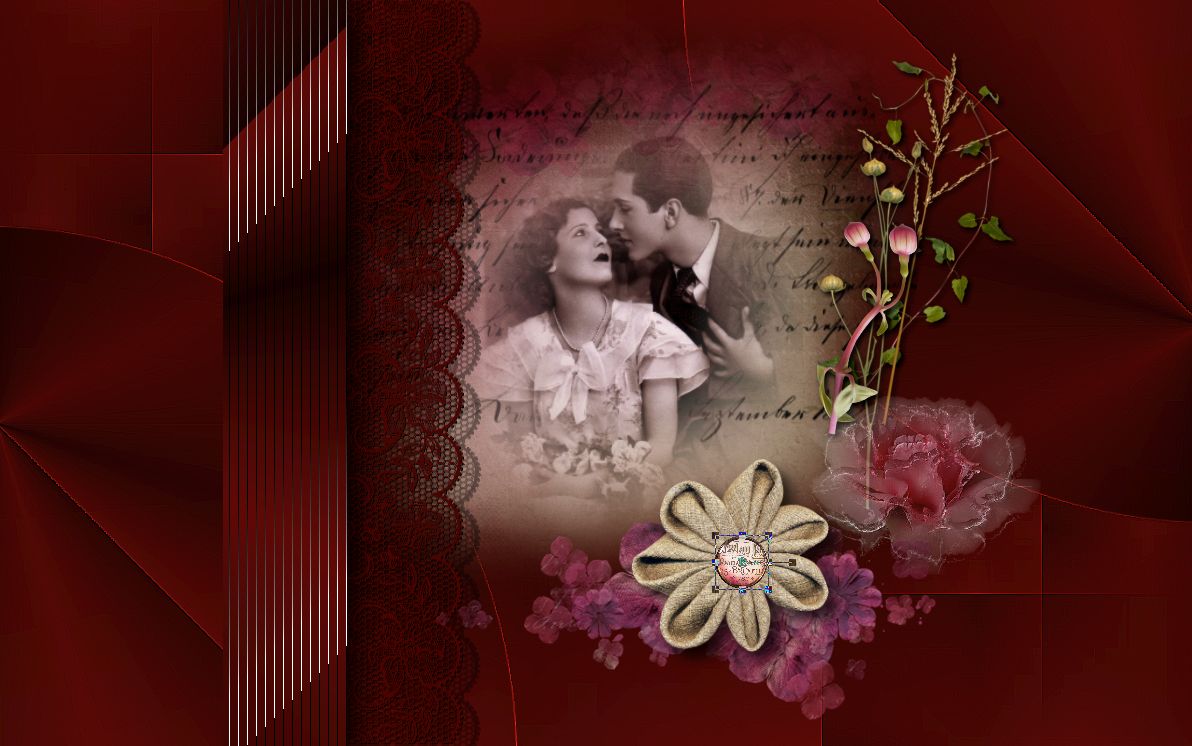
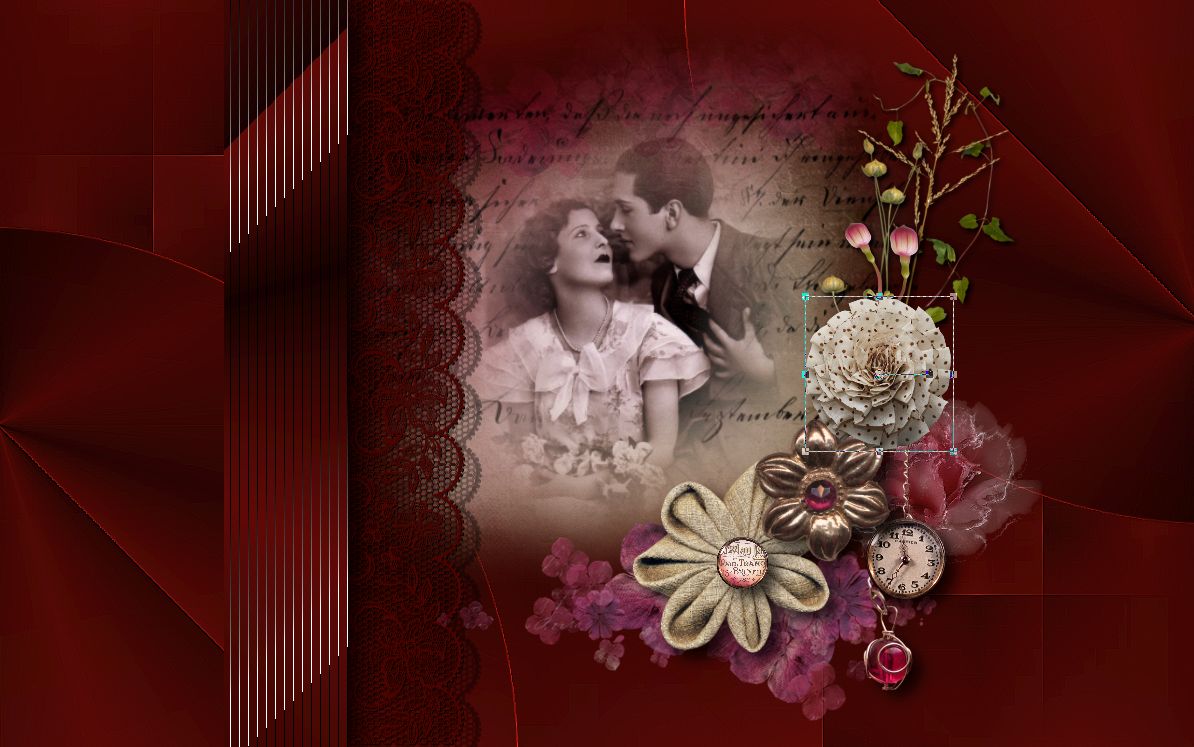
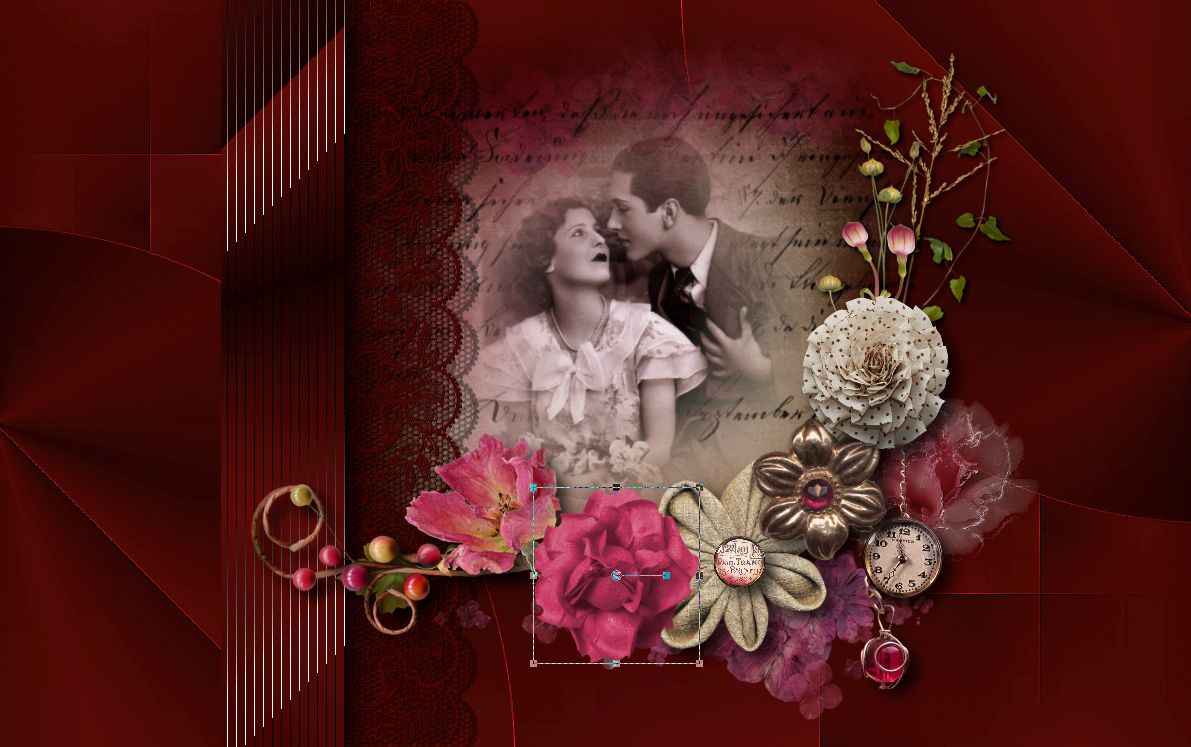
7. Nagyon sok réteg lesz. Ha ezek a rétegek jól vannak pozícionálva össze adhatod
öket. Ha a pozícionálás most itt nem pontos akkor a körülötte levö csokrodat is
nehéz lesz méretezned.
There will be many layers. If these layers are well positioned, you can merge them together.
If positioning is not accurate here then the surrounding bouquet will be difficult to
sizing and positioning.
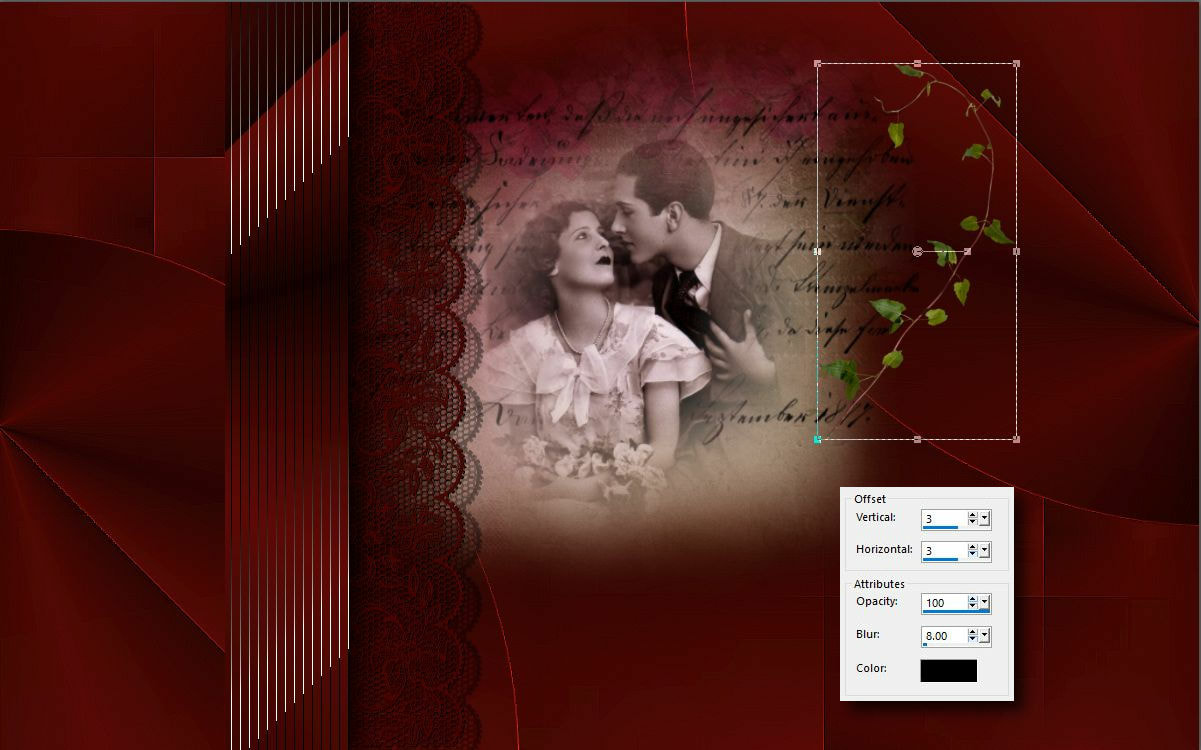
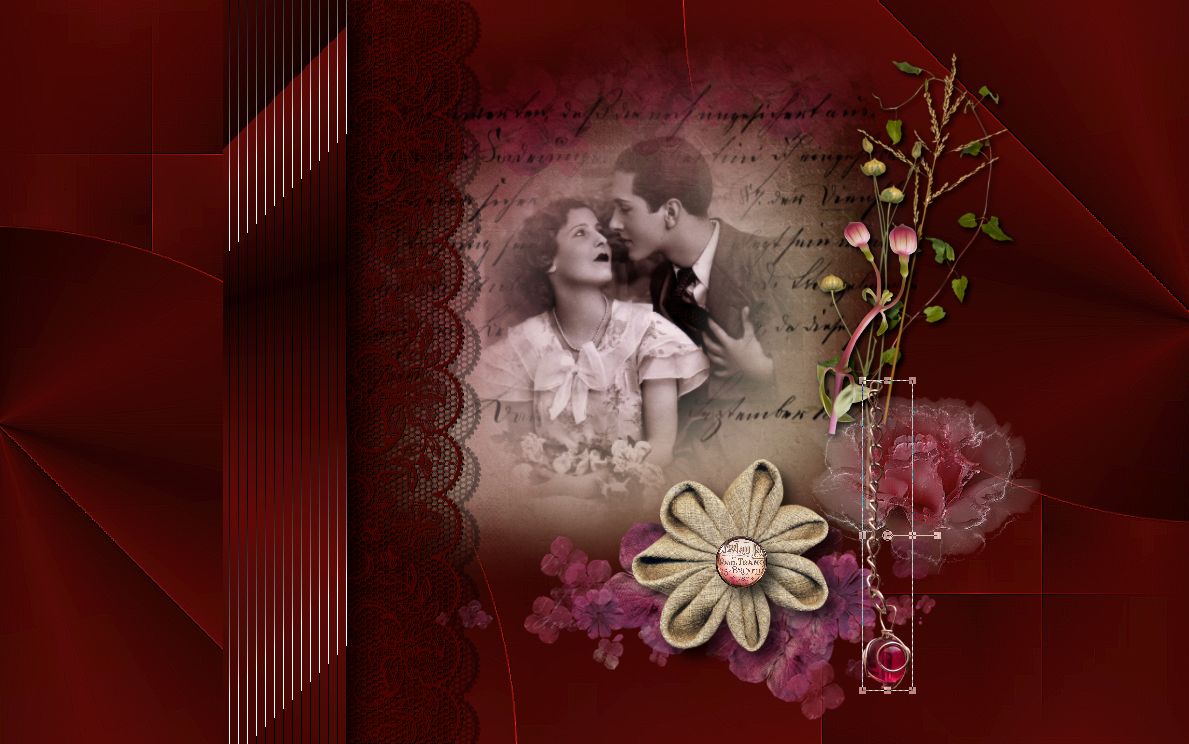
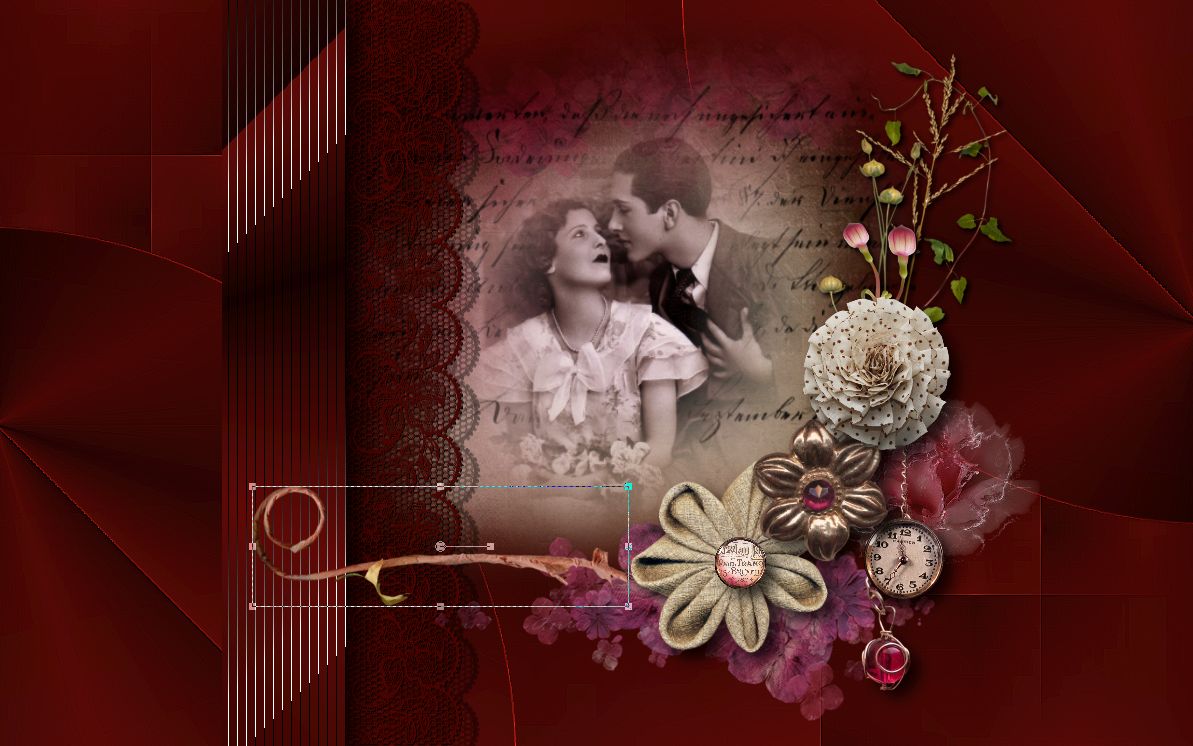
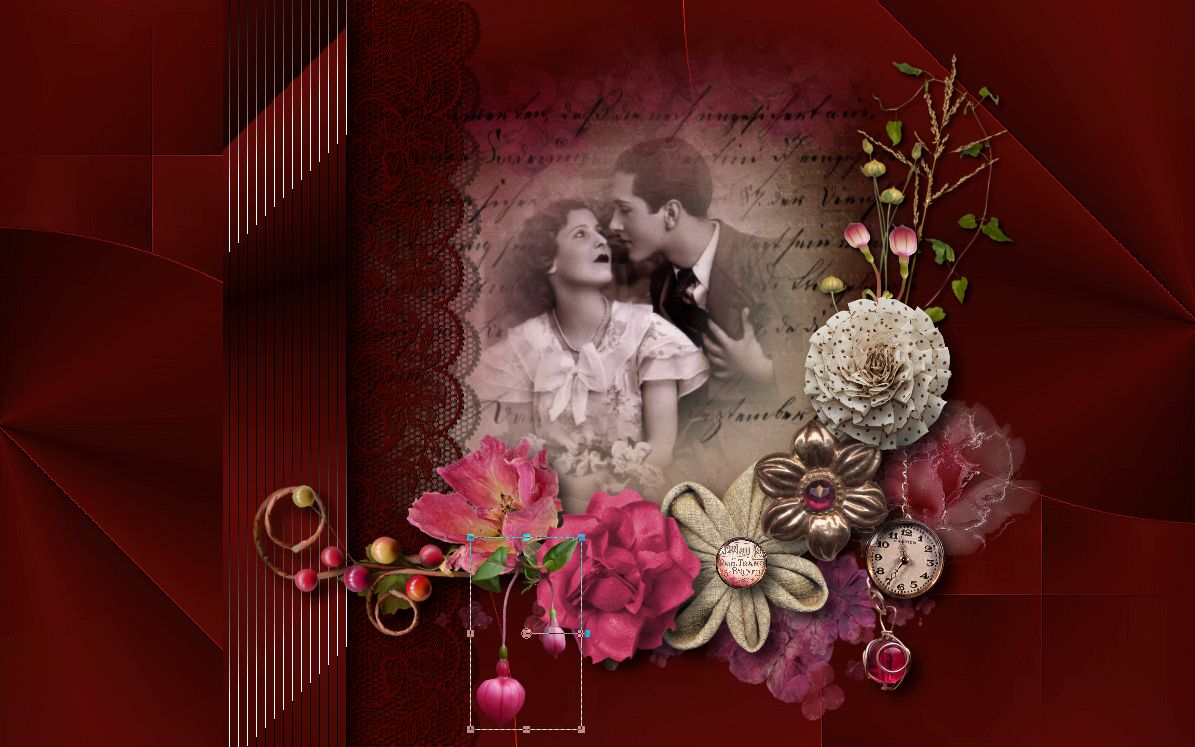
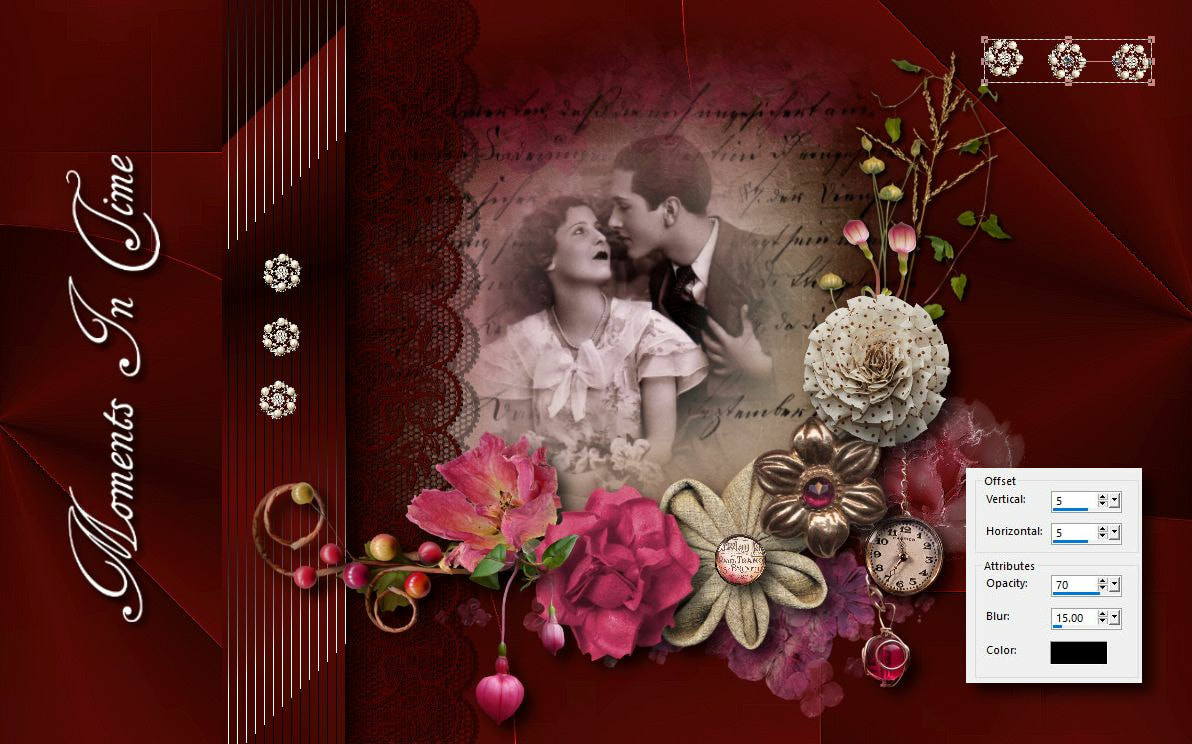
8. Az árnyékolás itt is fontos. A vékonyabb elemekre is és a tömöttebbekre is
más értékü árnyékokat kell alkalmazni.Az alap is sötét ezért az árnyékolás is több
figyelmet igényel.
The shadows is also important here. Thin elements less value and other shades of more value should be used for. The base is also dark so the shadows needs more attention
9.
10. Árnyék ugyanaz
Shade is same
11. Árnyék ugyanaz
Shade is same
12. Árnyék ugyanaz
Shade is same
12. Árnyék ugyanaz
Shade is same
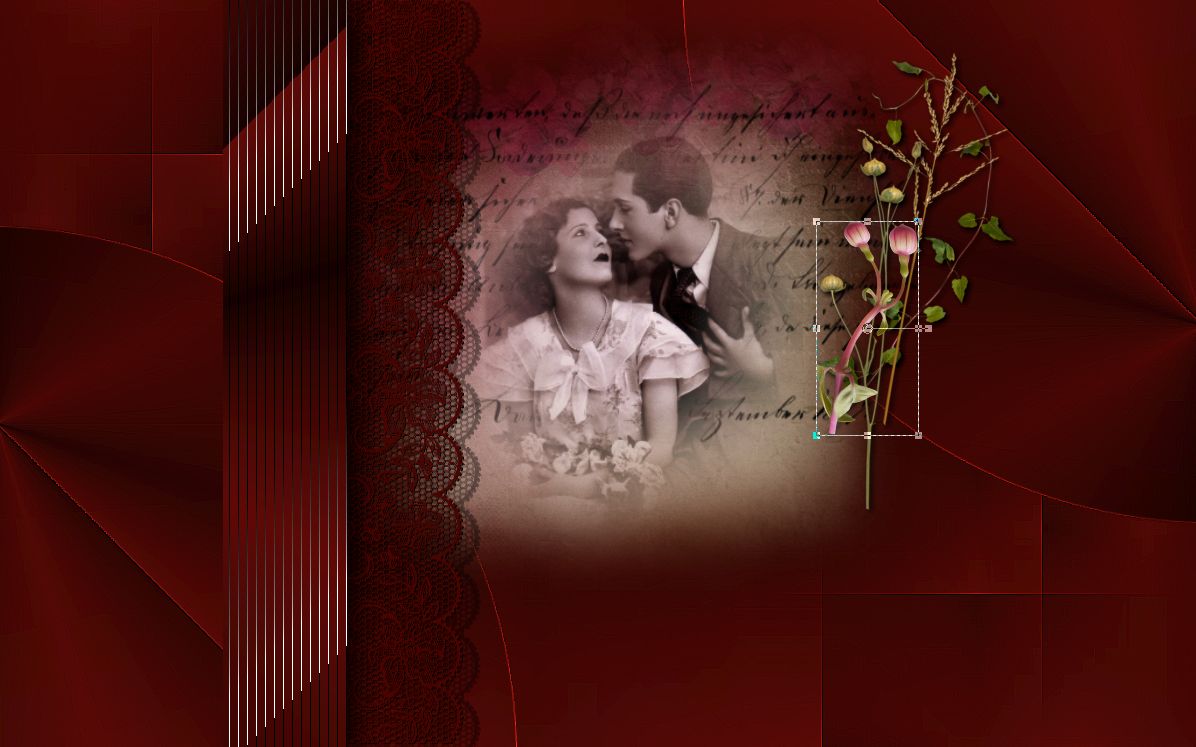
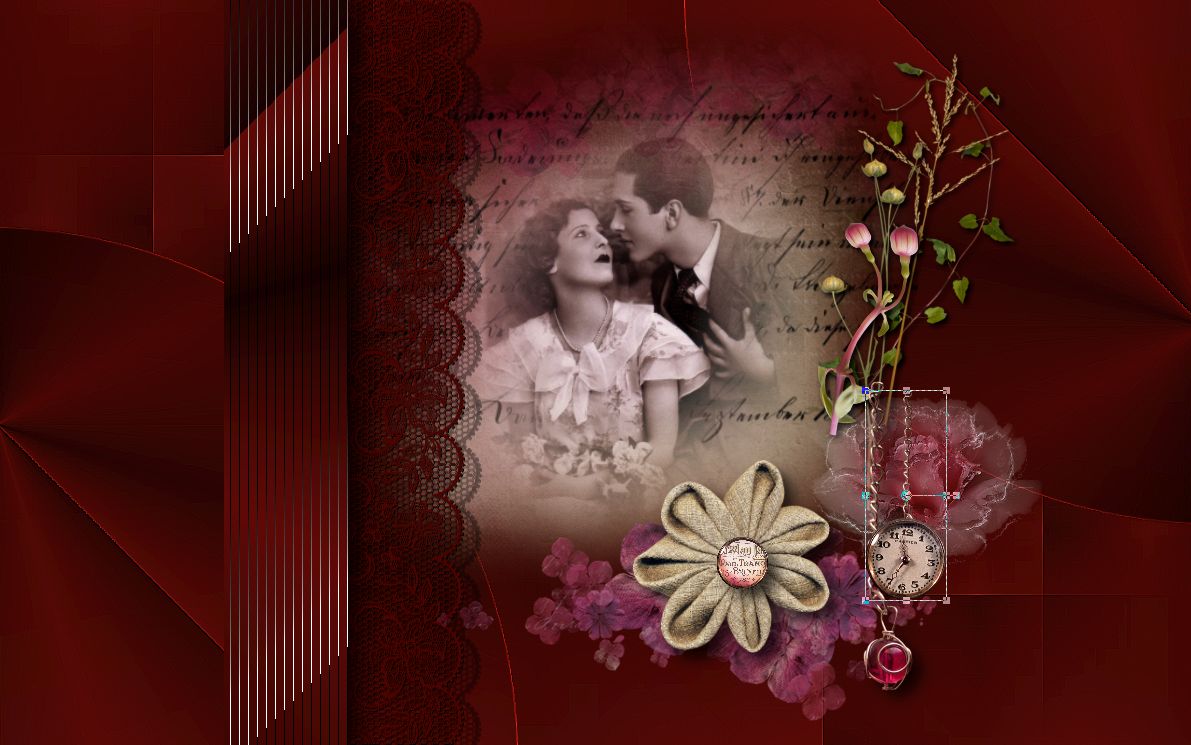
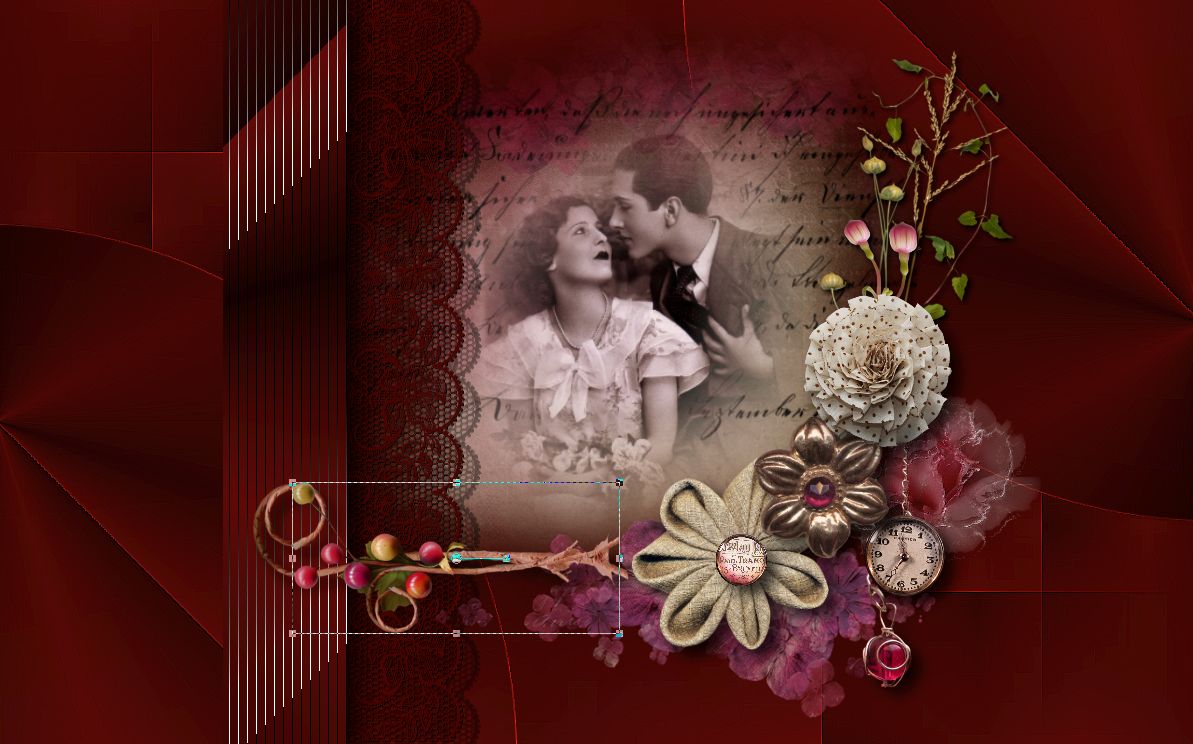
14. Az árnyék érték itt változik és a 27. lépésig ugyanaz.
The shadow value changes here and is the same until step 27.

15.
16.
17.
18.
19.
20.
21.
22.
23.
24.
25.
26.
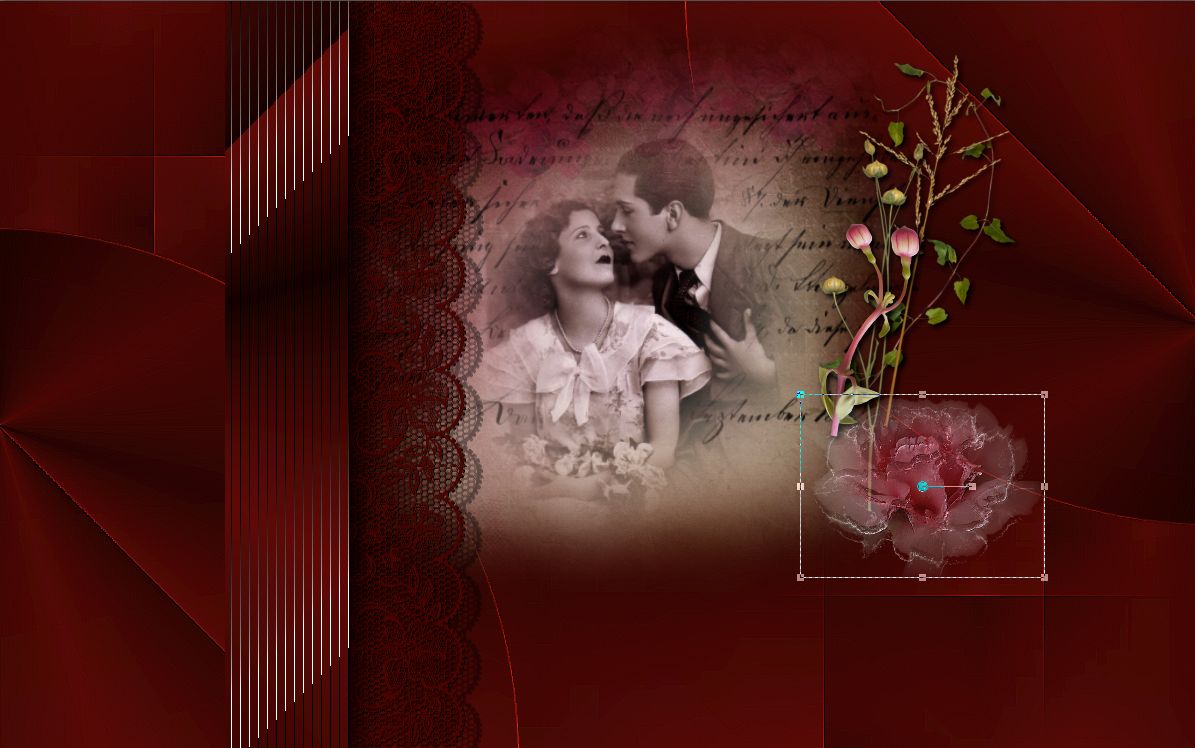
27. Az árnyékérték mindkét gombon ugyanaz.
The shadow value is the same on both buttons
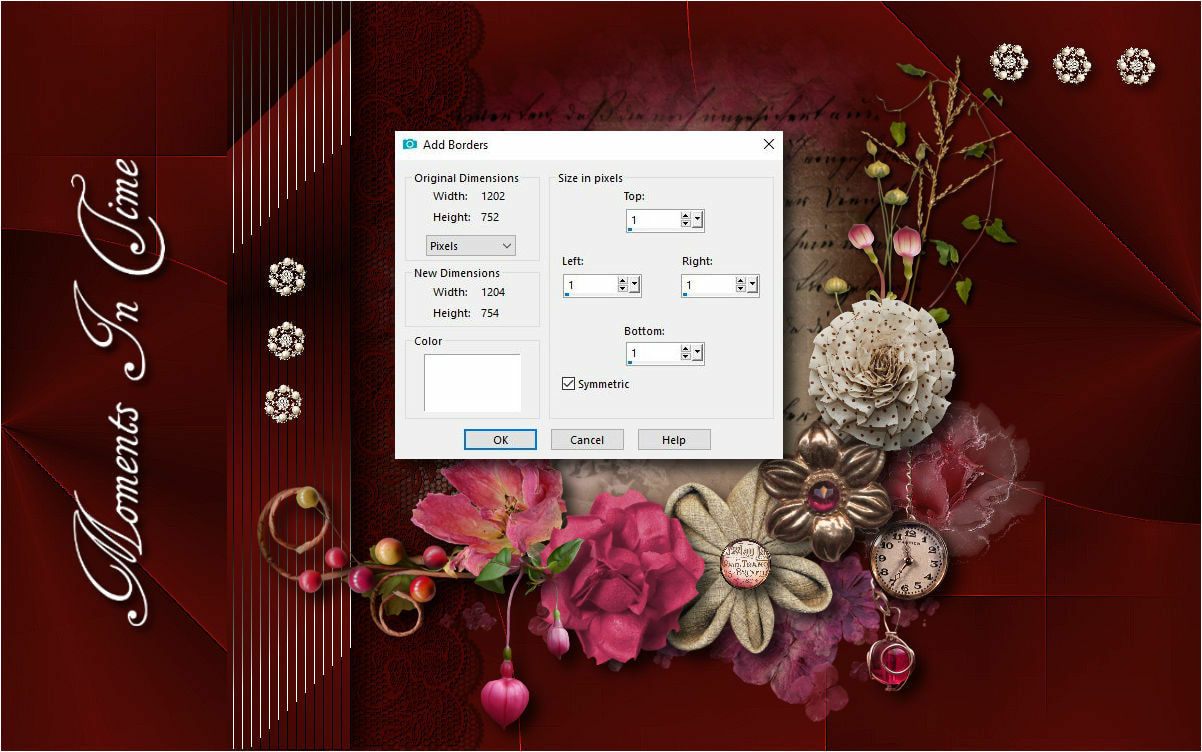
28. Image - Add Borders ( color is white )
29. Hozd be a Base Image-t és tedd rá ezt a kijelölést.
Load in the base image
Selection - Select All
Selection - Modify - Contract
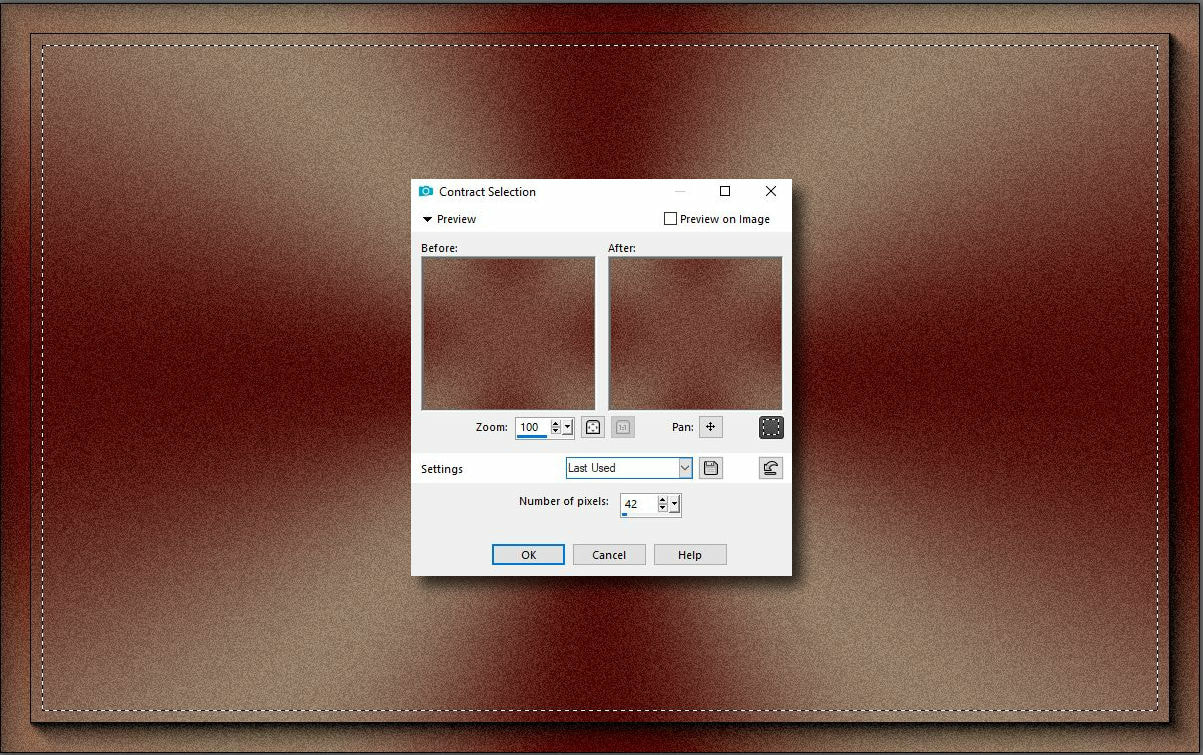
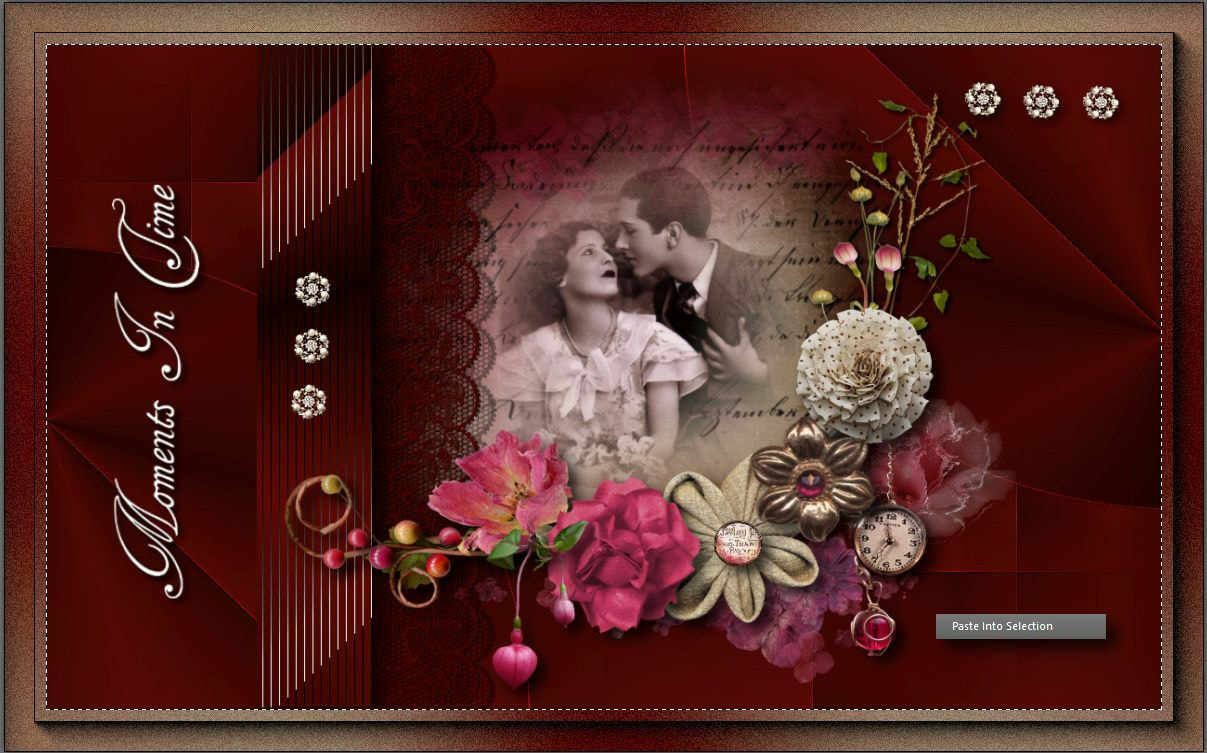
30. Másold be a kész képedet a kijelölésbe és szüntesd meg azt.
Copy and paste your finished image into the selection.
Selection None
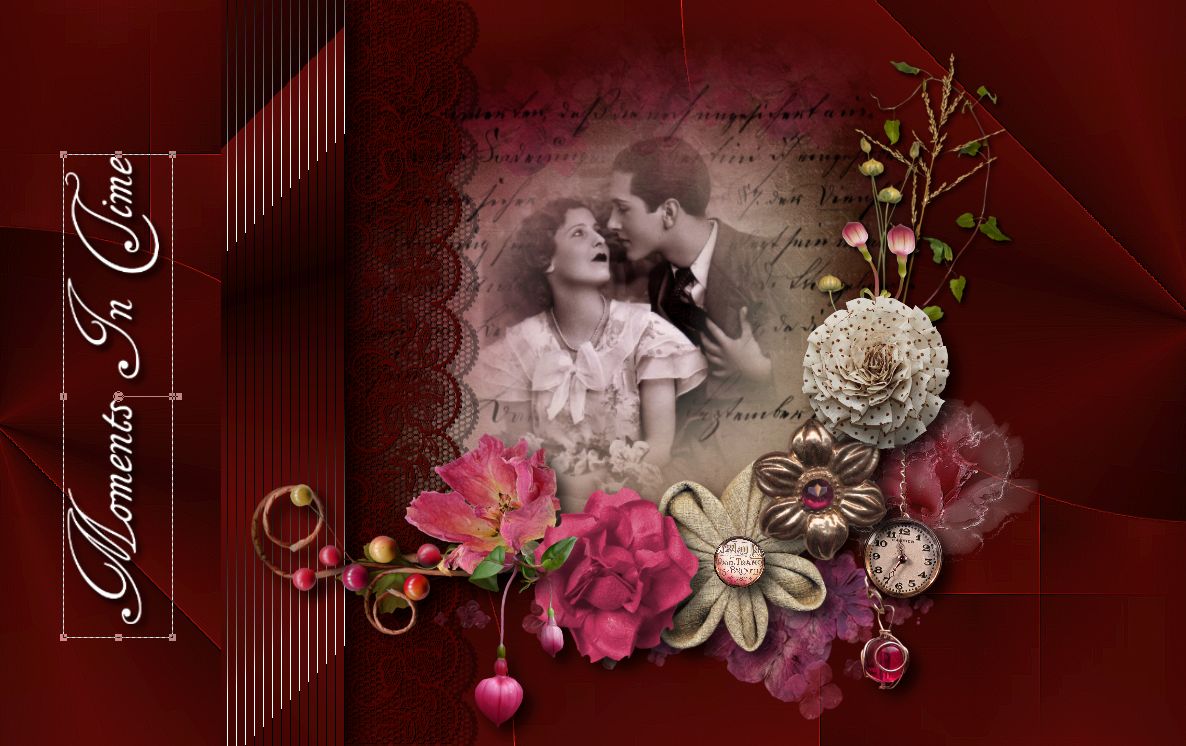
Gratulálok már készen is vagy. Remélem ez a bemutató is megnyerte a tetszésedet és
továbbra is érkelödést mutatsz a csokrok képeken való alkalmazása iránt.
Congratulations you're done! I hope you continue to be interested in bouquet binding and applying them to the edited images.