

Ebben a bemutatóban egy olyan képet készítünk amikor a munkafolyamat kezdetét egy tube-hoz kell igazítani. Vagyis amikor egy tubet találunk elöször és ahhoz kell kitalálni stílusban egy képet. Ez a nehezebb feladat a szerkesztésben. A tube kiválasztásával már eleve korlátokat szabunk a készülö képünk stílusához. Ez azt is jelenti, hogy ehhez a képhez nem lehet semmilyen más tubet alkalmazni.

| t_239_pack.rar |
Külön köszönet Cady-nak a nöi tubeért. Mégtöbb tubet itt találhatsz töle.
Special thanks for my friends for translate this tutorial to French, Dutch and German language.


1. Állítsd be a színpalettáidat. Hozz be egy üres lapot és tedd rá ezt a szüröt.
Load in the new transparent background. Set up your color palettes
Effects - Plugins - Mehdi - Wavy Lab

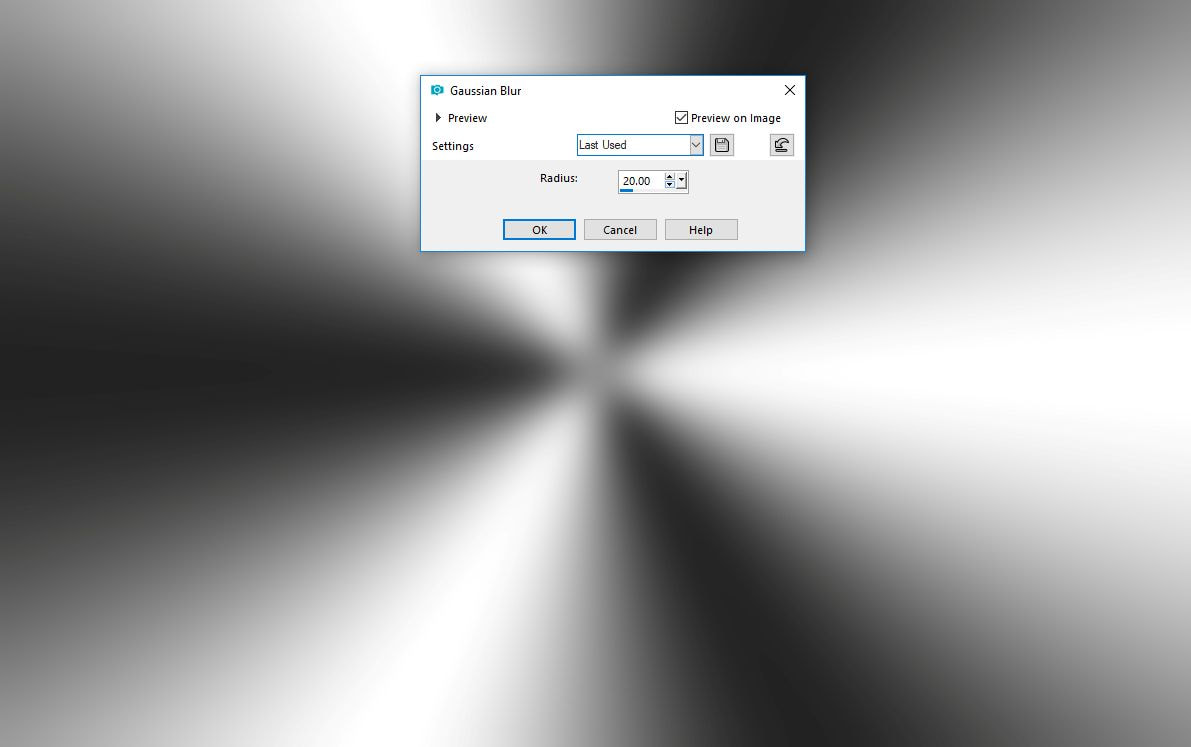
2. Adjust - Blur - Gaussian Blur 20
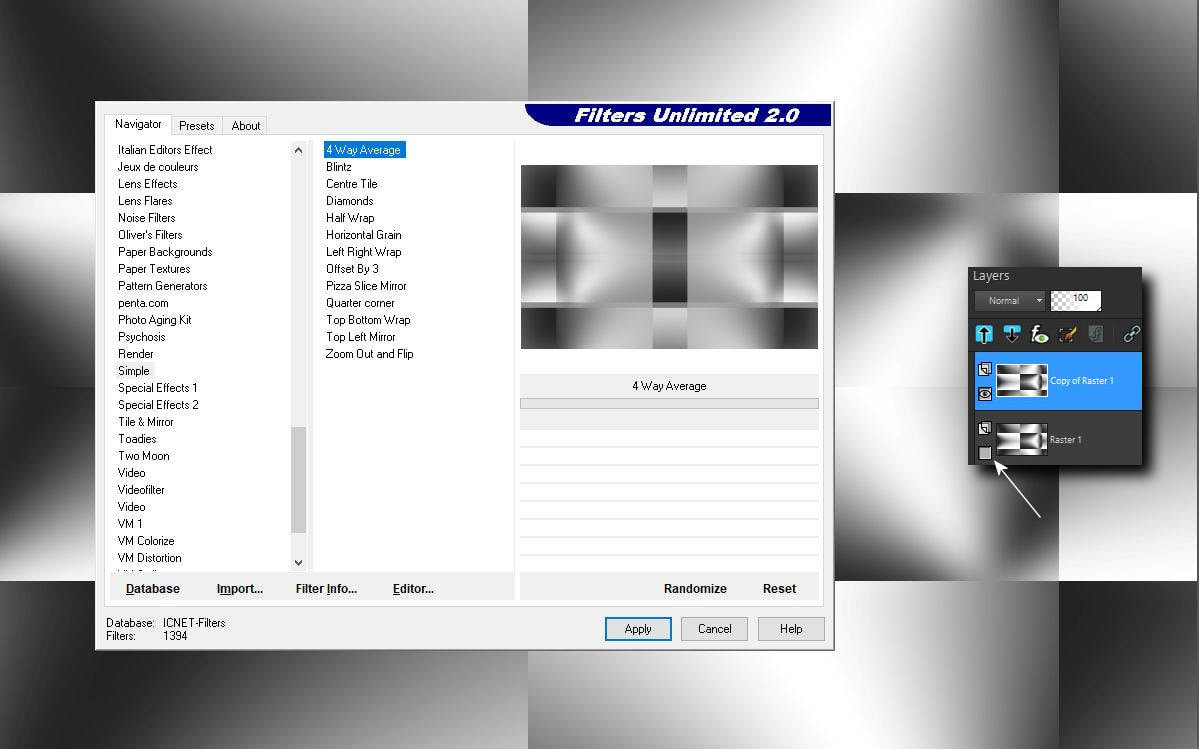
3. Effecst - Plugins - Filters Unlimited - Vm Distortion -FlipChop
Layers - Duplicate

4. Csukd be az alsó szemet és állj a felsö rétegre majd tedd rá ezt a szüröt.
Close the eye of bottom layer. Go to the top Layer
Effects - Plugins - Filters Unlimited - Simple - 4 way Average
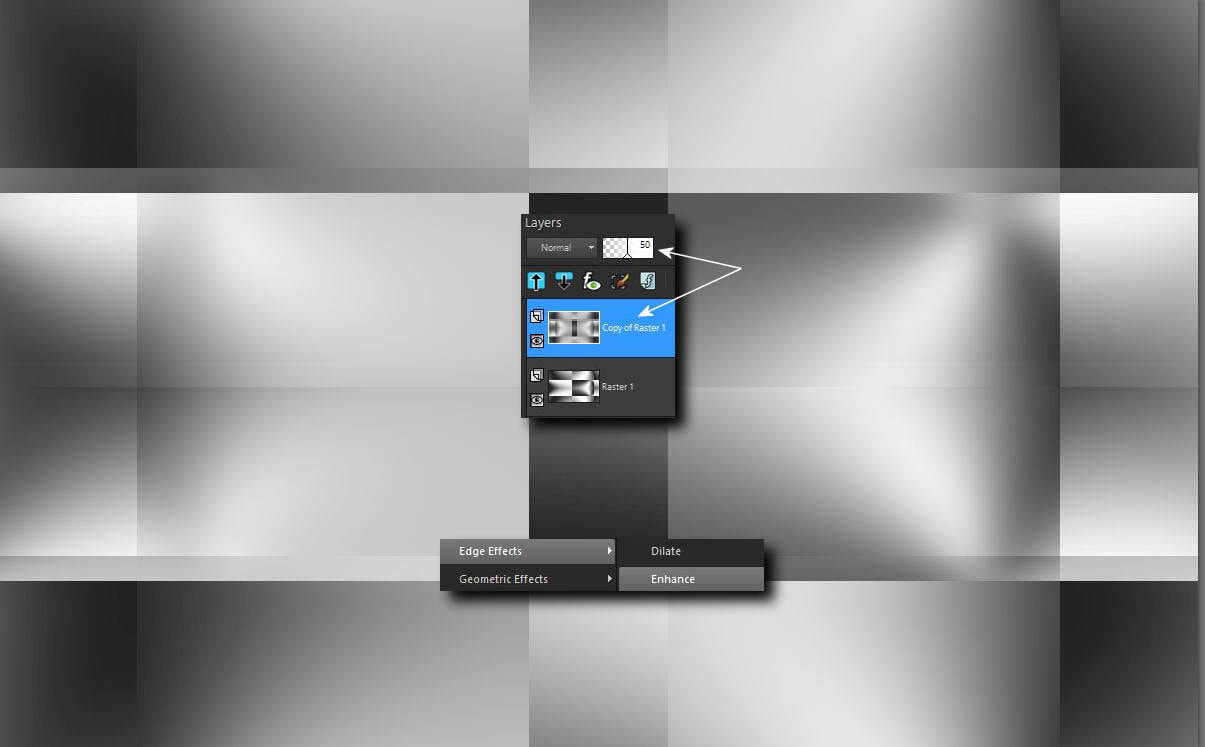
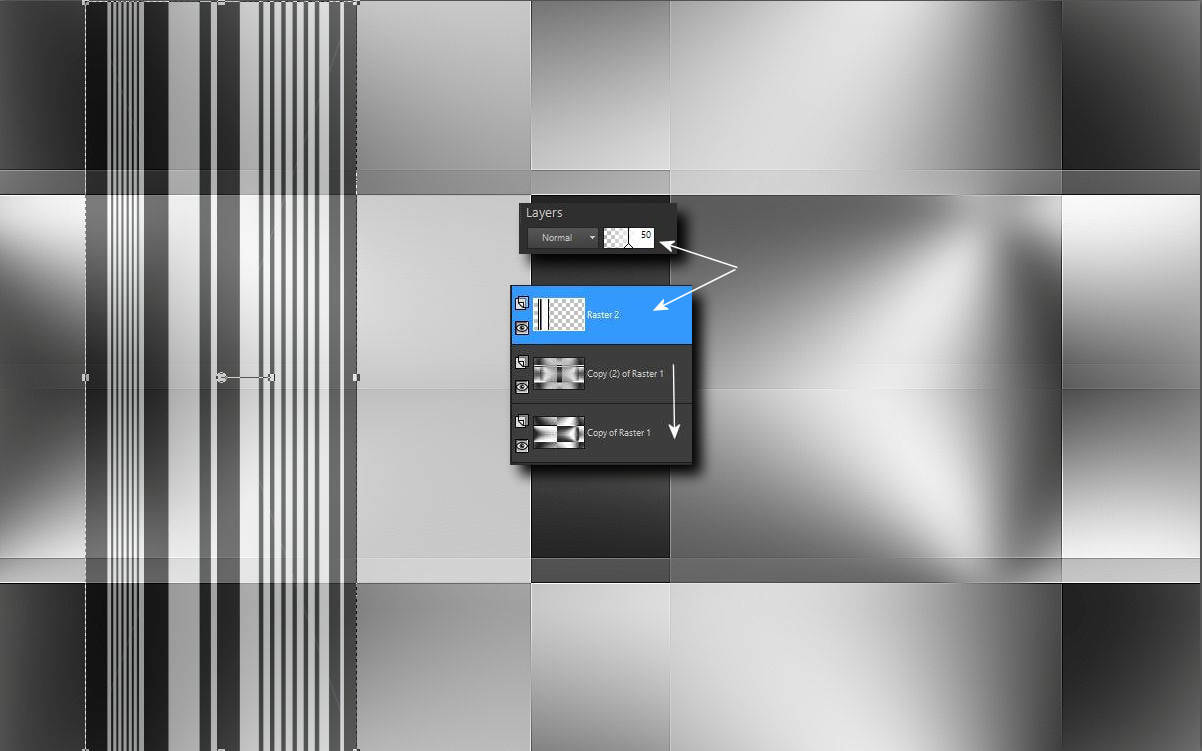
5. Tedd a felsö réteg blend módját 50%-ra. Nyisd ki az alsó szemet és mindkét
rétegre tegyél enhance-t.
Open eye of the bottom layer. Blend mode 50% of the top layer.
Effecst - Edge Effects - Enhance ( both of layers )
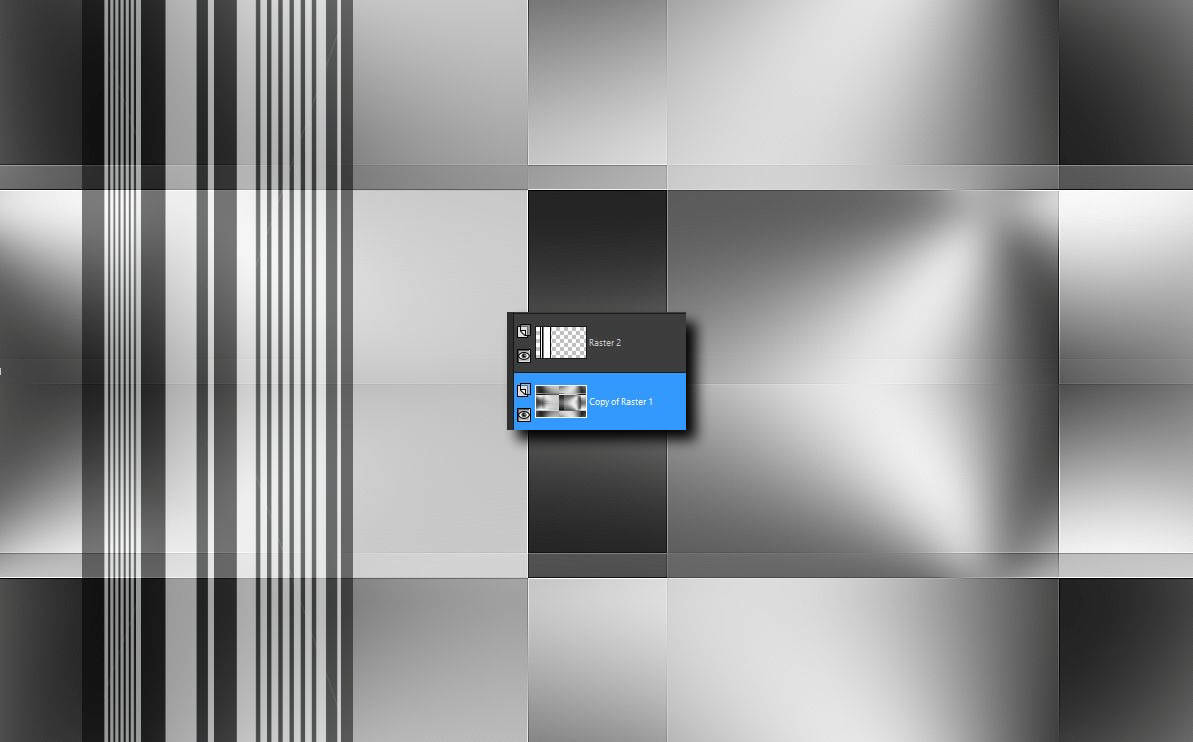
6. Hozd be a csomagból a csíkos dekort és másold be új rétegként, majd ennek a
blend módját is tedd 50 %-ra. Azután add össze a két alsó réteget.
Load in the VaZsu Decor 1 from your material package. Make a copy and paste
as a new layer. Blend mode 50%.
Merge down of the two bottom layers
7. Most 2 réteged van.
You have two layers now
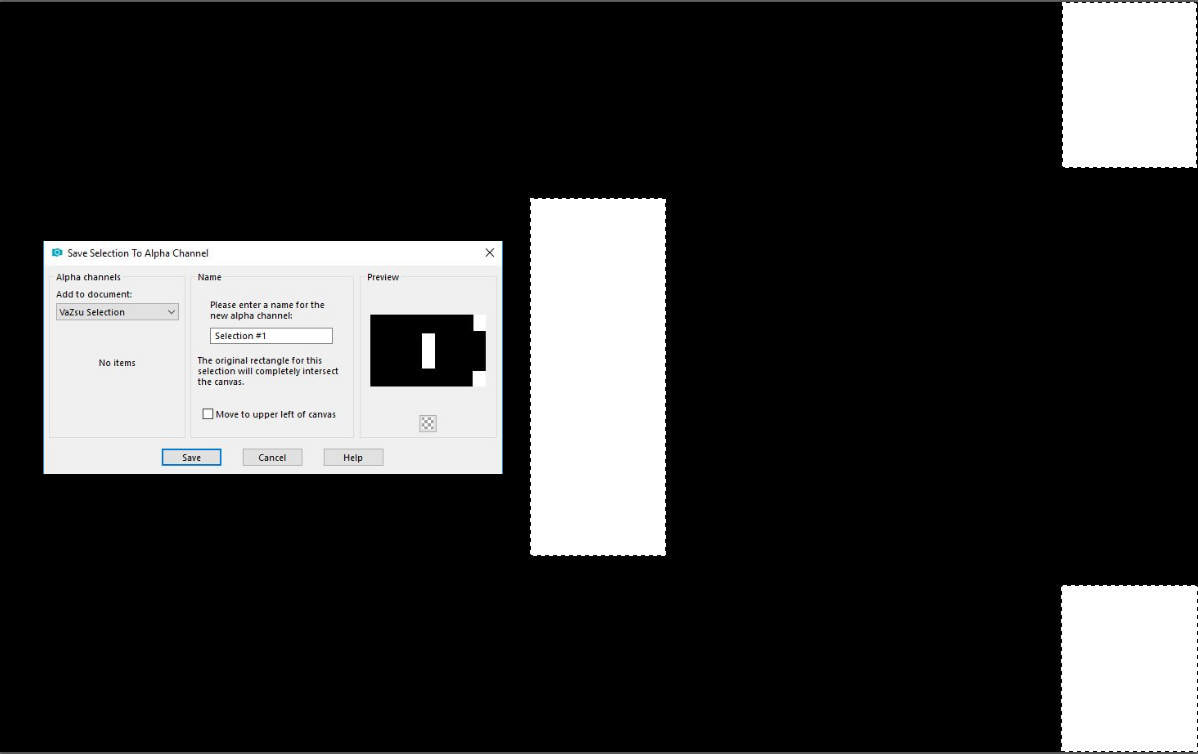
8. Hozd be a selectiont a csomagból jelöld ki a fehér részeket és mentsd be az
Alpha csatornába.
Load in the VaZsu Selection from your material package do the selection on
white part and save it to the Alpha Channel
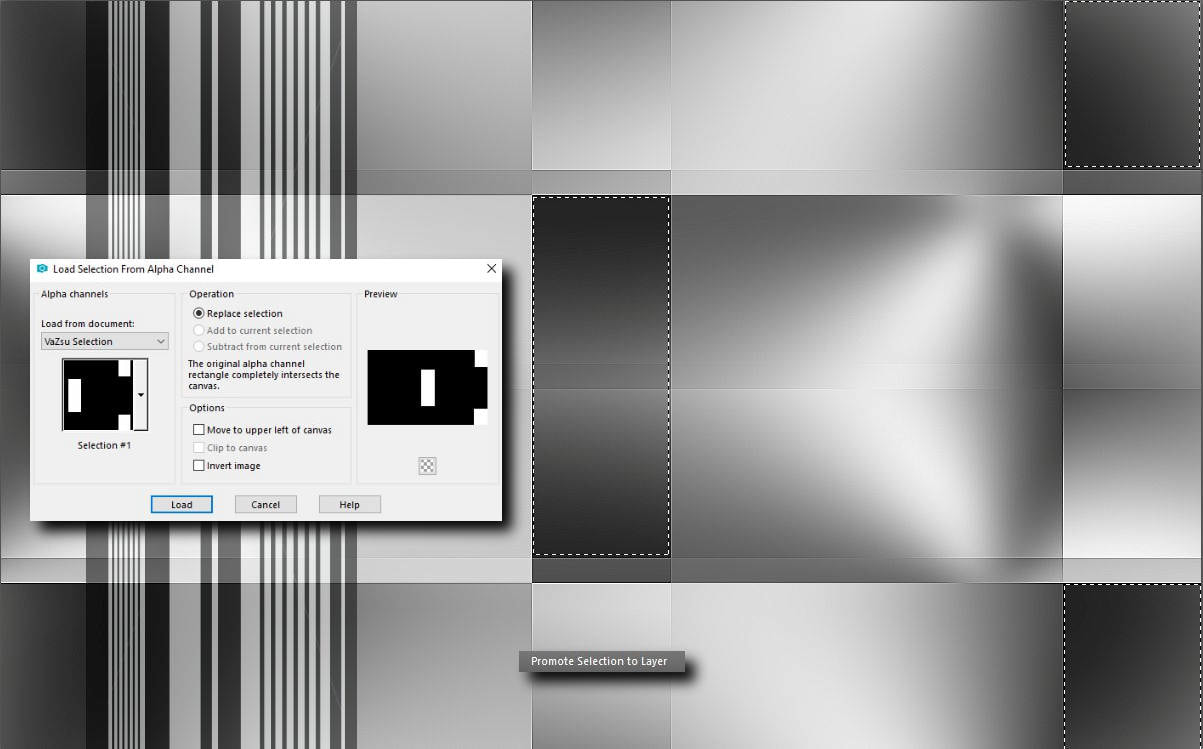
9. Hozd be a kijelölést a csatornából és tedd rá az alsó rétegre majd promótáld azt.
Stay on your bottom layer and load selection into your image from the Alpha
Channel.
Selection - Promote Selection to Layer
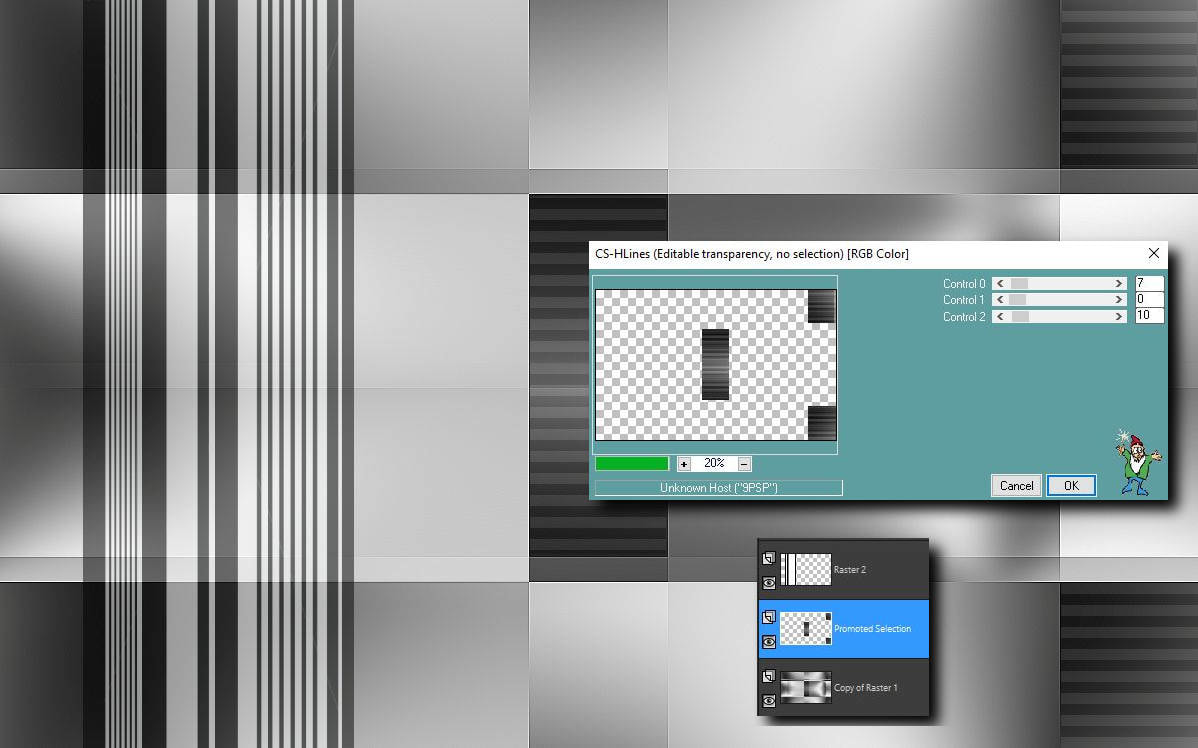
10. Effects - Plugins - Caroline and Sensibility - Cs H Lines 7, 0, 10
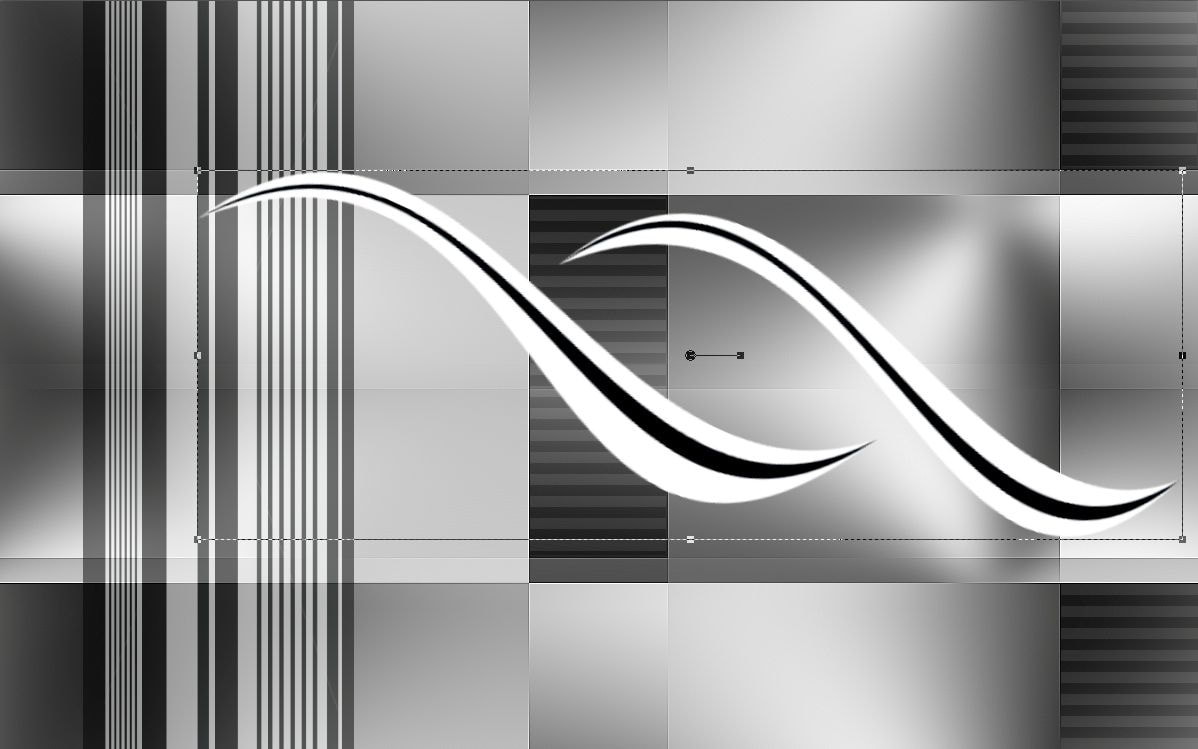
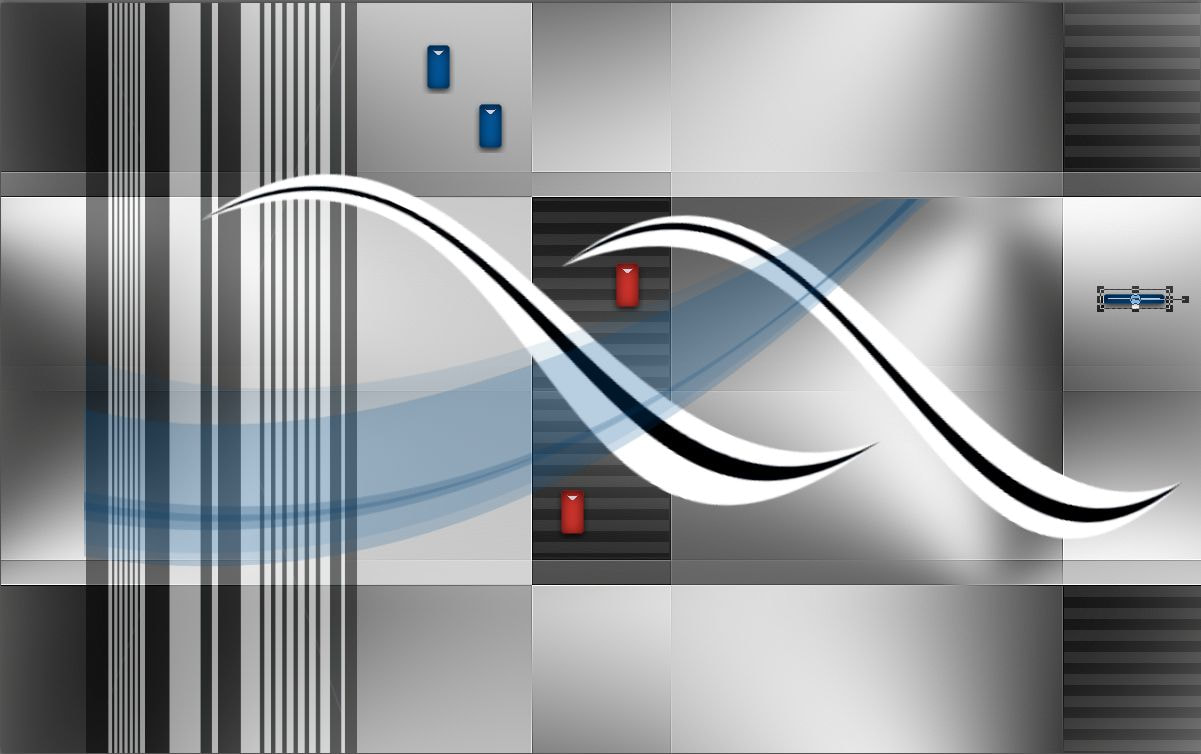
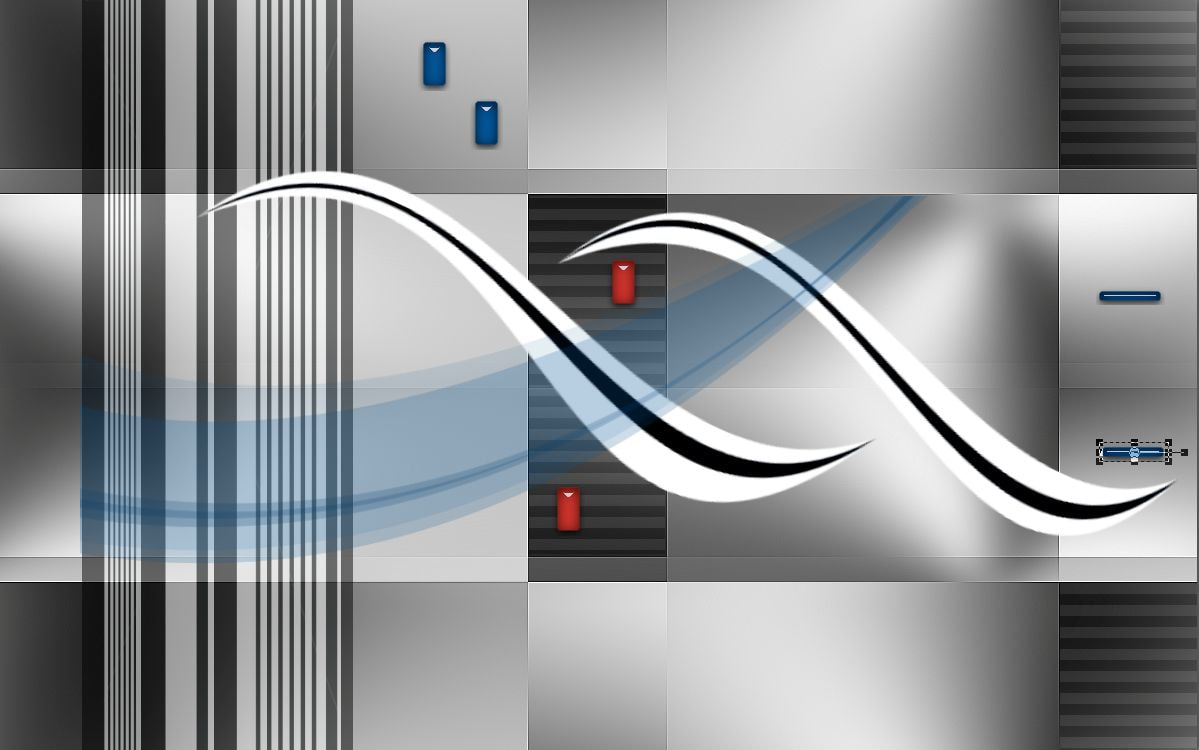
11. Kezdjünk dekorálni, kövesd a képeken látottakat és pozícionálj pontosan!
Hozd be a csomagból a VaZsu Decor 3-at és másold a képedre.
Start with the decoration. Follow the demo images you saw
Load in the VaZsu Decor 3 copy and paste into your image as a new layer
12.

13.

14.
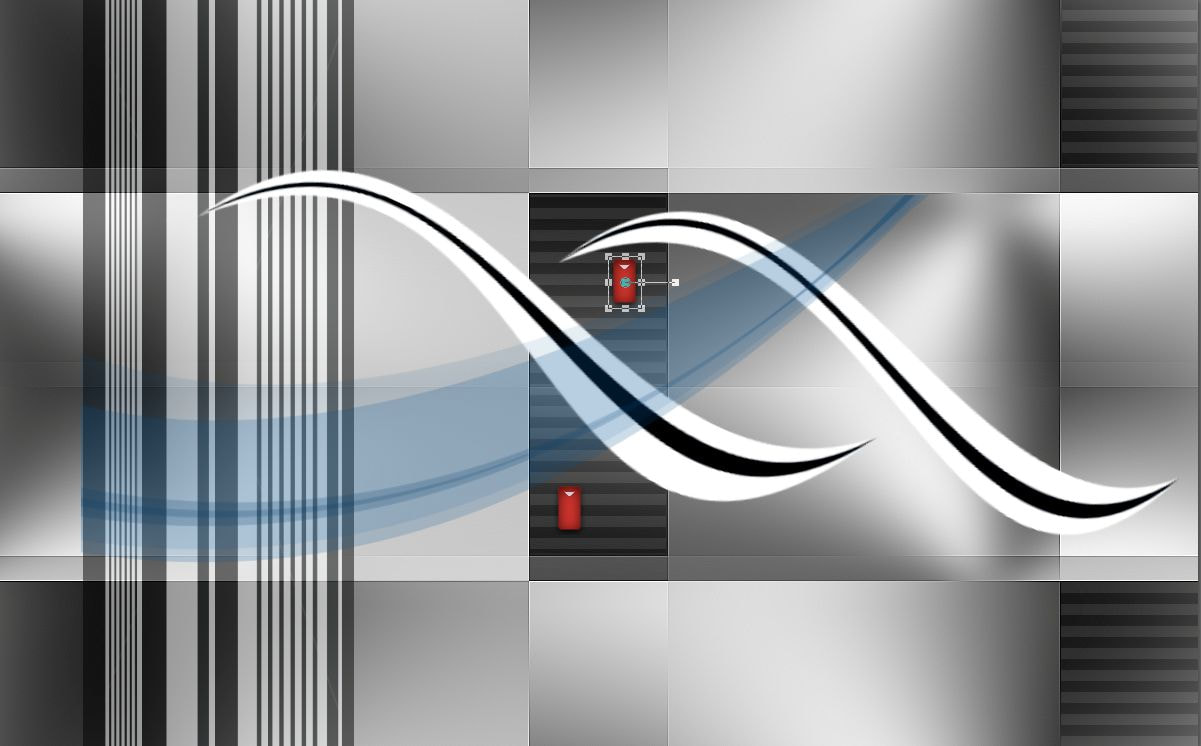
15.
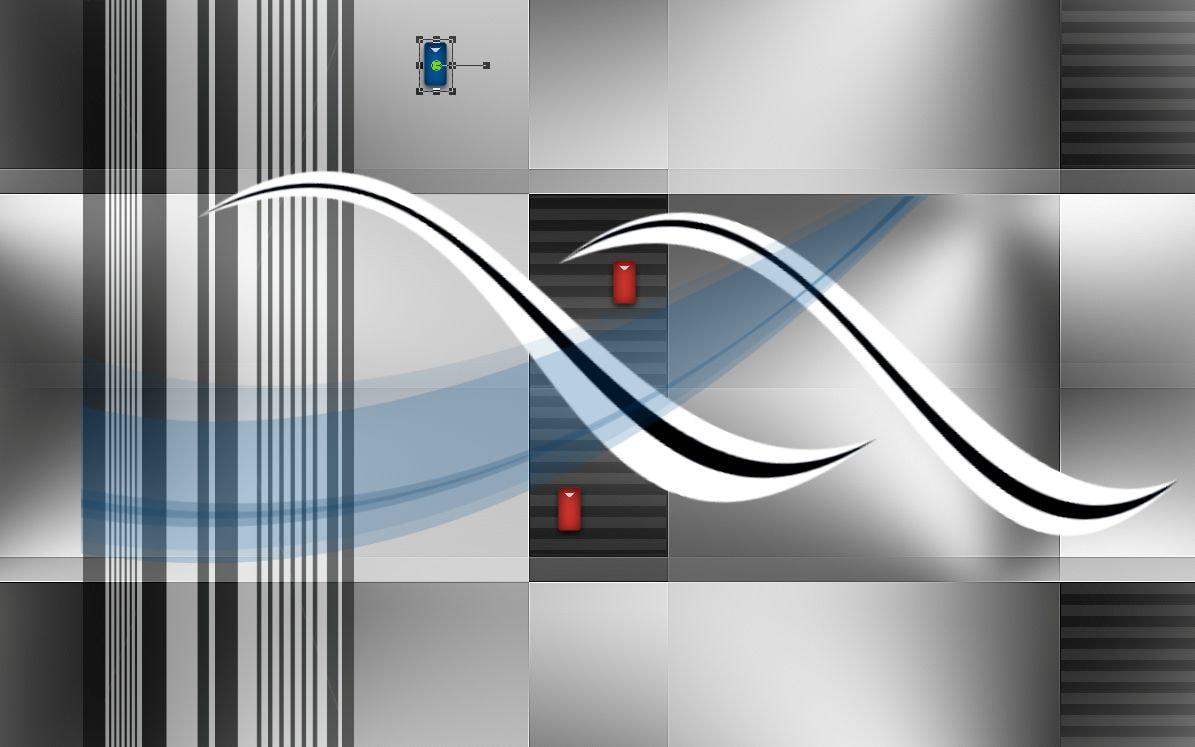
16.

17.
18.
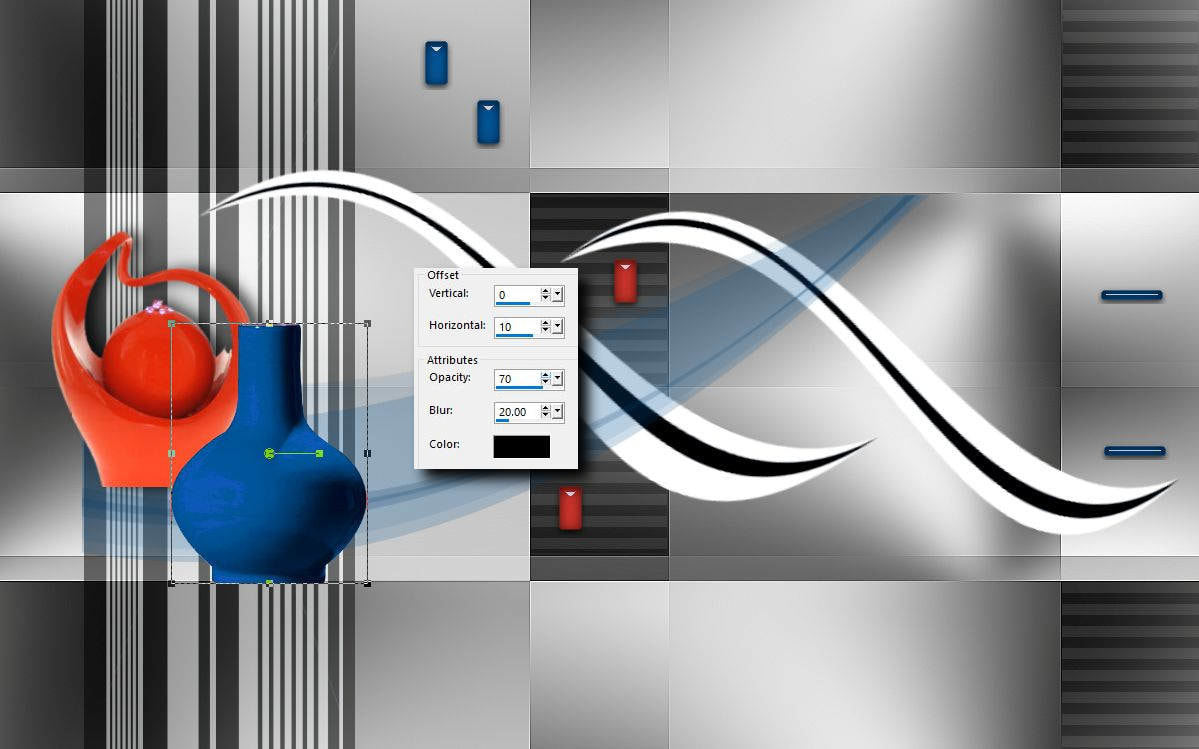
19. Effects - 3 D Effects - Drop Shadows 0,10,70,20
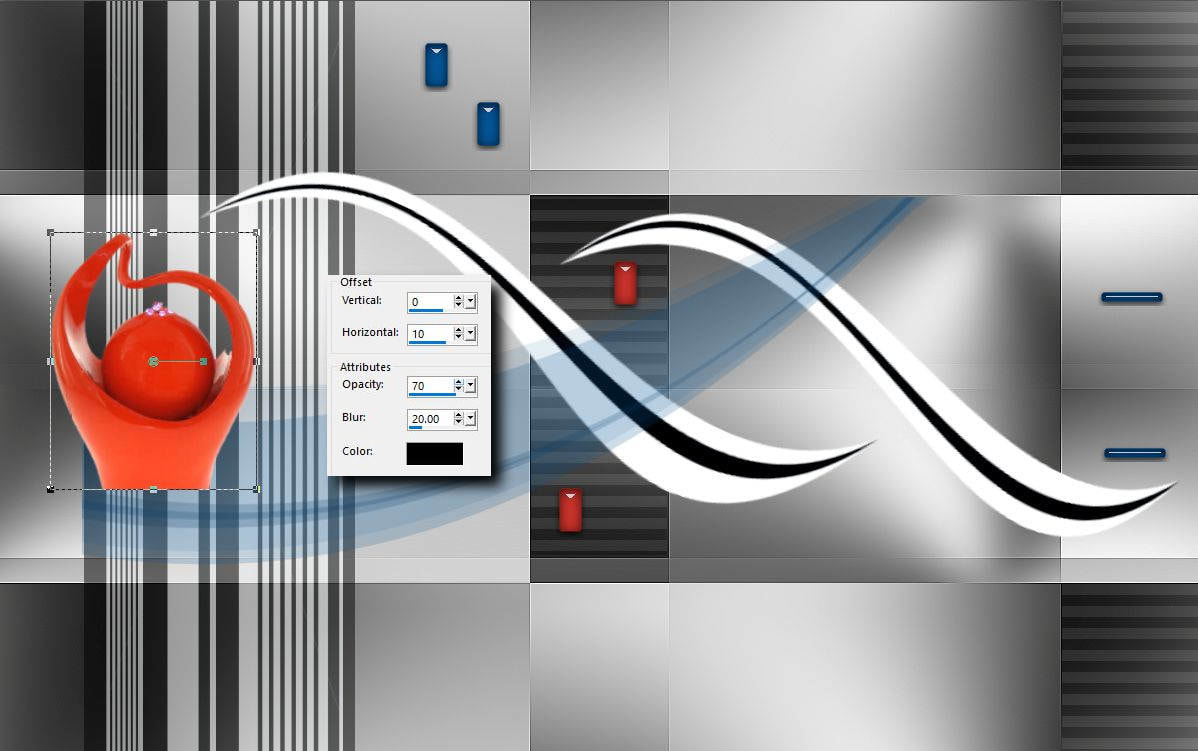
20. Effects - 3 D Effects - Drop Shadows 0,10,70,20
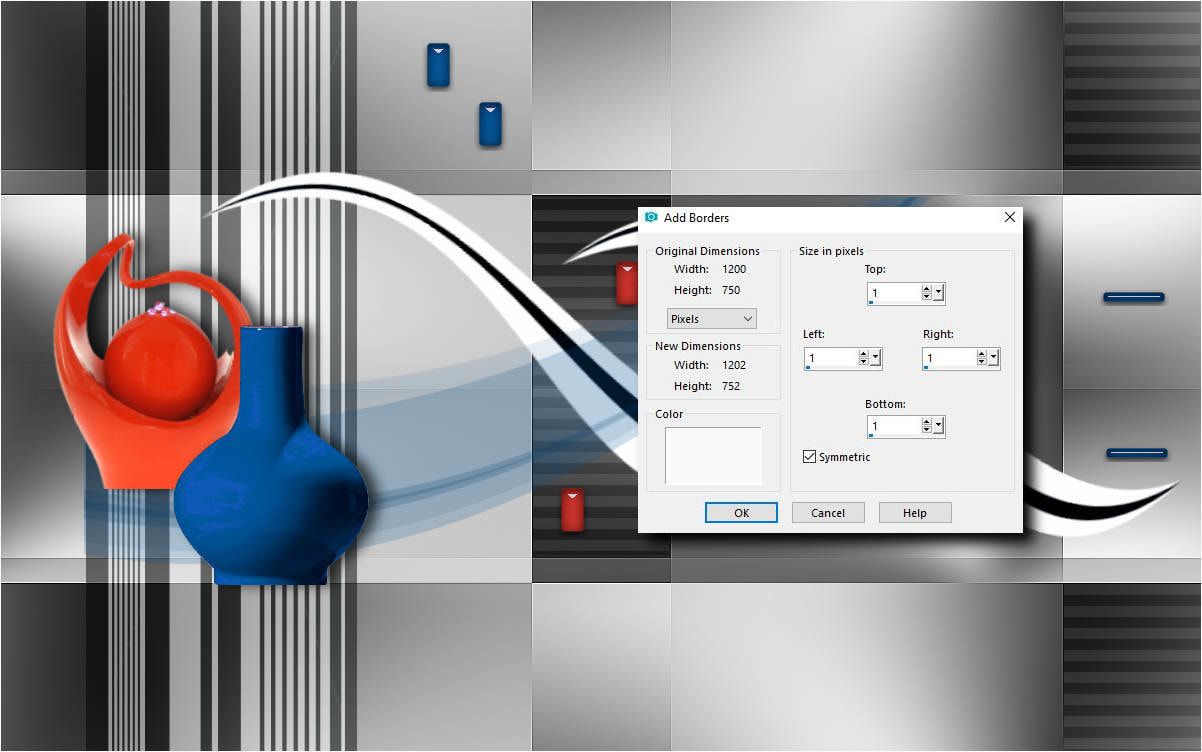
21. Image - Add Borders ( white color )
22.

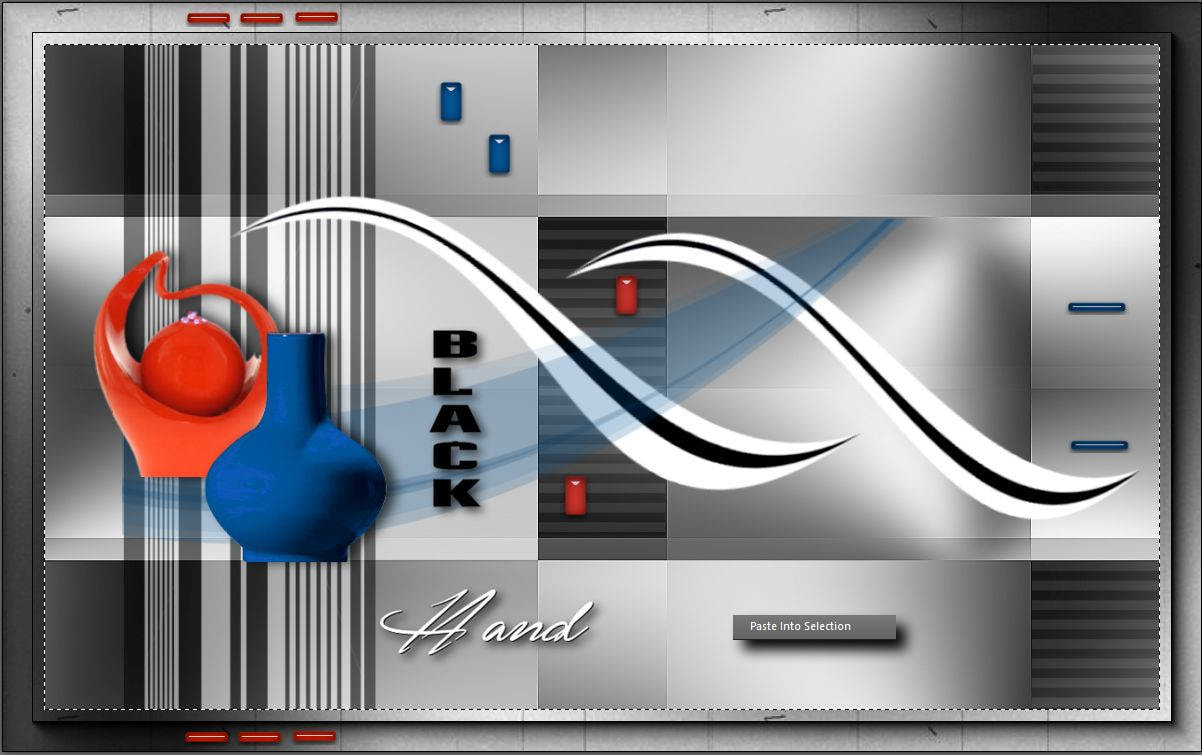
23. Hozd be a Base Image-t a csomagból és tedd rá ezt a kijelölésd.
Load in the base Image from your material package
Selection - Select All
Selection Modify - Contract 42

24. Másold be a képedet a kijelölésbe és szüntesd meg a kijelölést.
Copy on your ready image and paste into selection on base image
Selection None
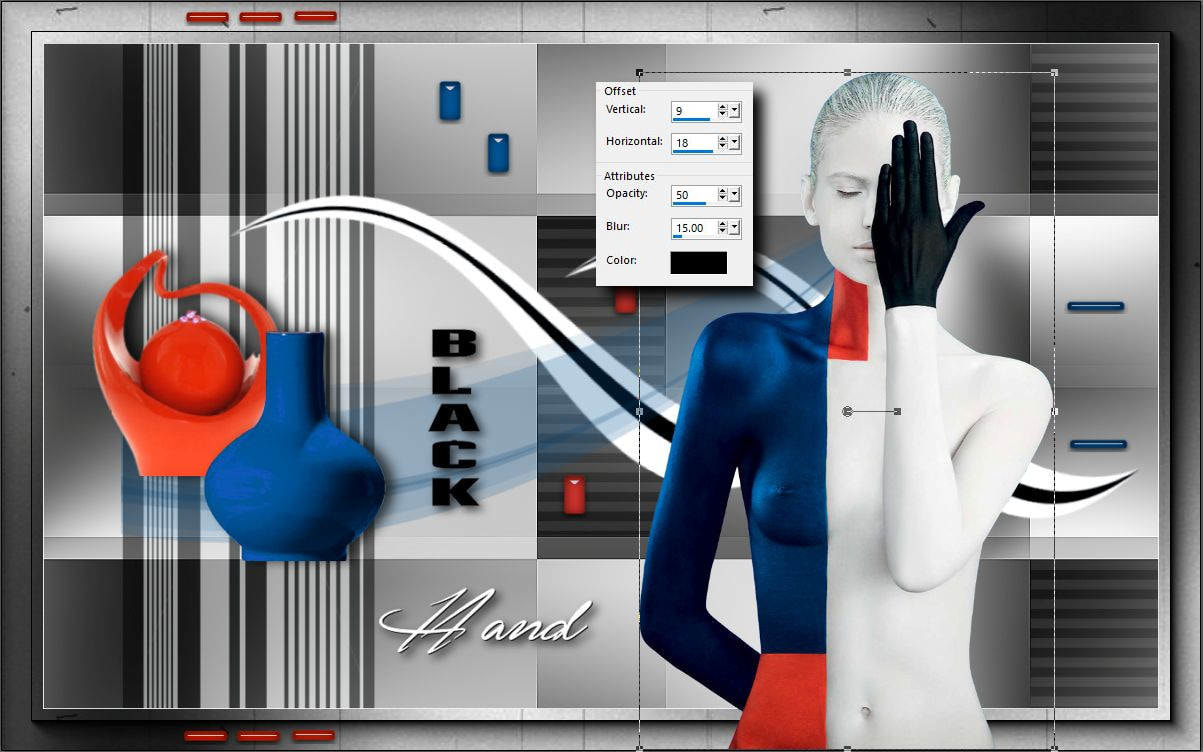
25. Másold be a Cady tube-t a képedre és adj neki árnyékot.
Copy on the Cady tube and paste into your image.
Don't forget the drop shadow 9.18.50.15
Gratulálok már készen is vagy. Remélem ez az érdekes kép is megnyerte a tetszésedet és hamarosan látlak ismét.
Congratulations you're done! I hope you like this tutorial also and I will see you soon again.