

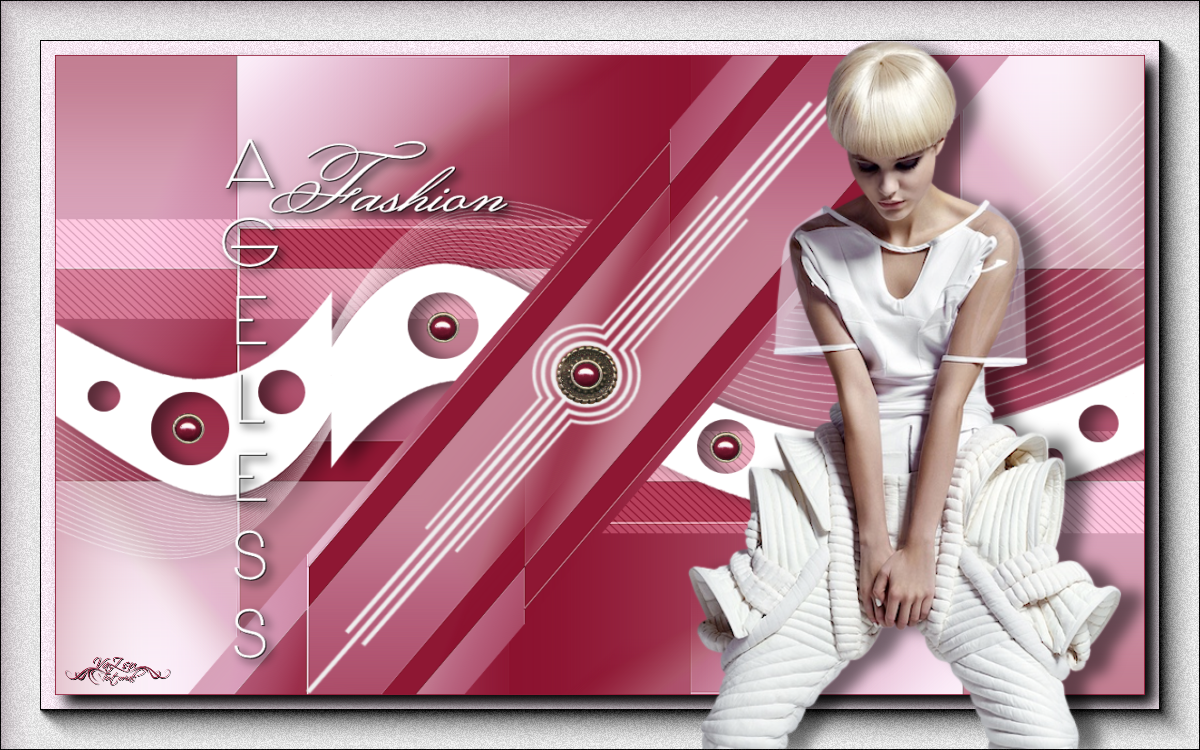
Ebben a bemutatóban egy egyszerü módszert mutatok be ahhoz,hogy hogyan is lehet látványt okozni egy szerkesztett képen. A "lyukak" egy képen nemcsak érdekes látványt tudnak okozni de dimenziót is létrehozhatunk vele egy - egy képen. Remélhetöleg ennek a képnek a szerkesztése is remek elfoglaltságot ígér annak aki úgy dönt, hogy elkészíti.
Képméret / Image Size: 1200 x 750 vagy / or 800 x 500

| t_232_pack.rar |
Special thanks for my friends for translate this tutorial to French, Dutch and Spanish language.


1. Hozz be egy új áttetszö hátteret.
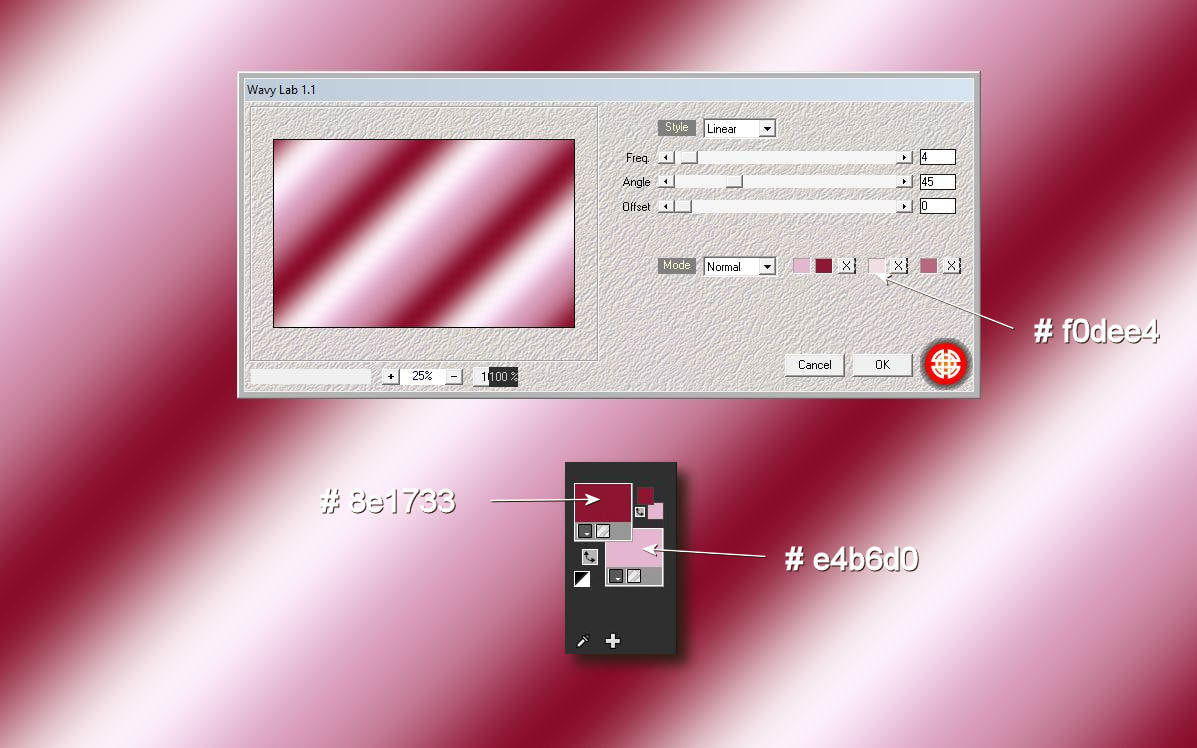
Állítsd be a színpalettáidat és tedd rá ezt a szüröt.
Load in the new transparent background and set up your color palettes.
Effects - Plugins - Mehdi - Wavy Lab
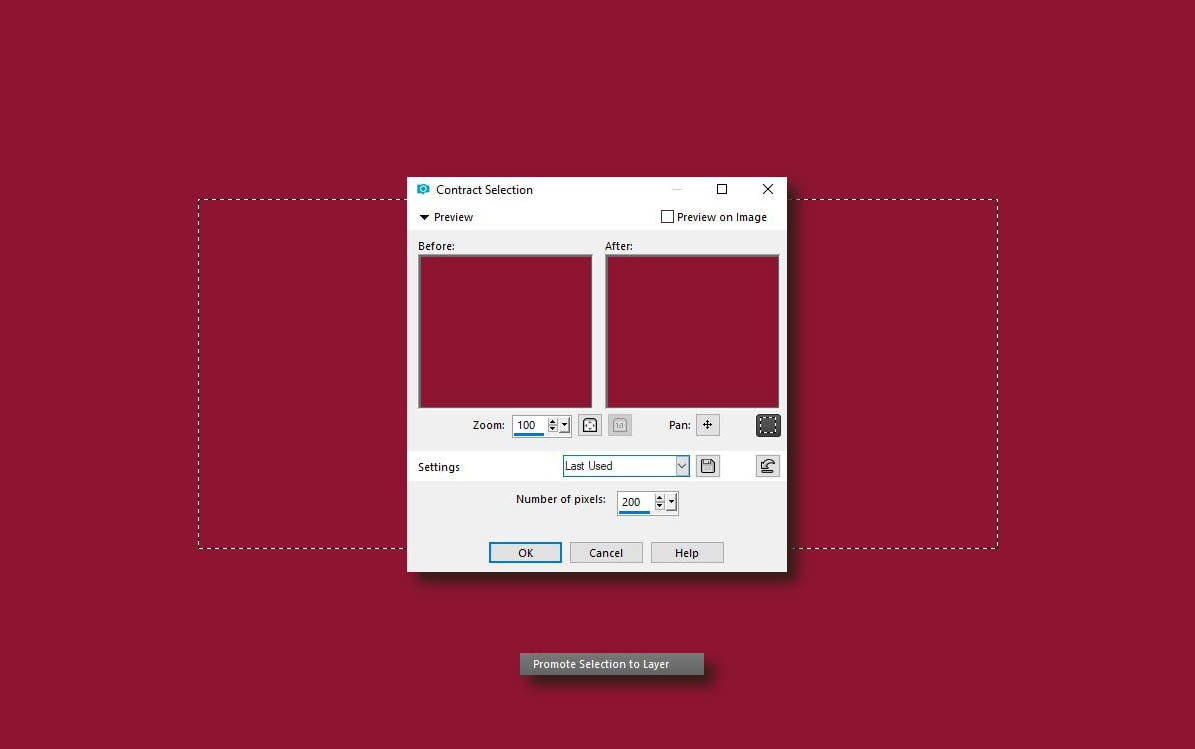
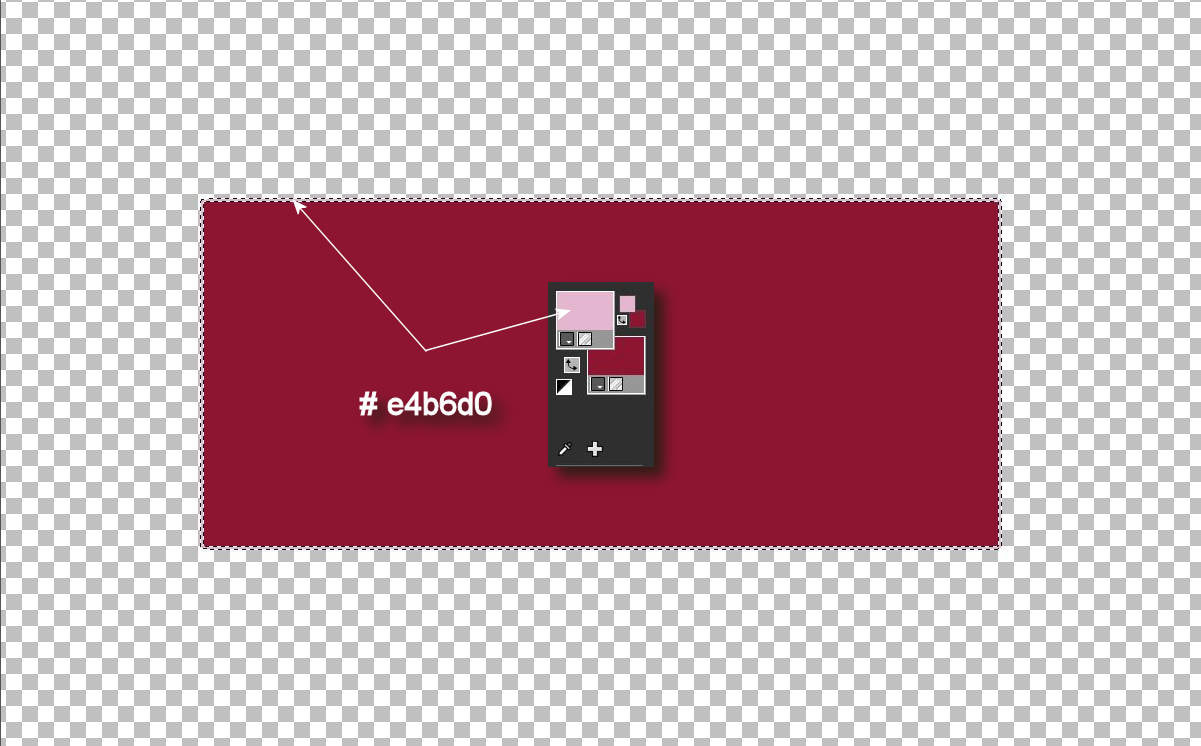
2. Hozz be egy újabb üres lapot üntsd ki a felsö színpalettád színével. Tedd rá ezt
a kijelölést és promótáld azt.
Load in the another transparent background.
Fill up with the color of your top color palette.
Selection - Select All
Selection - Modify - Contract 200
Promote selection to layer
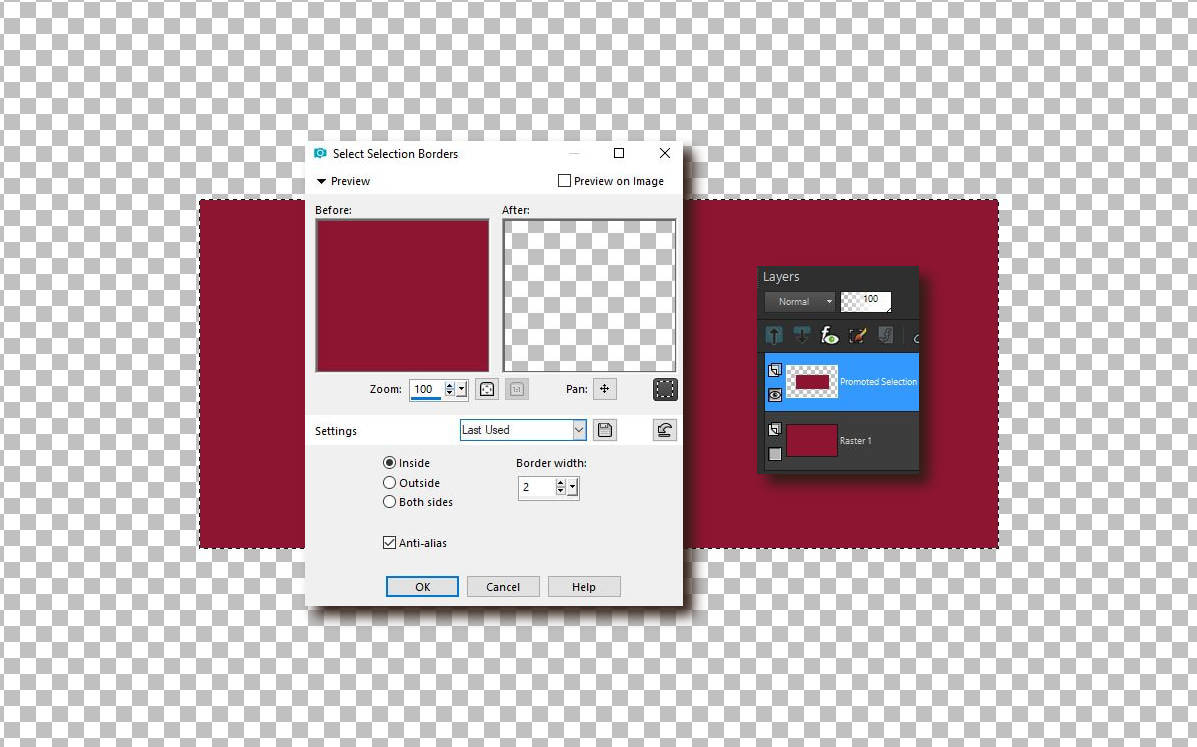
3. Ne szüntesd meg a kijelölést menj a promótált rétegre csukd be az alsó rétegszemet
és ott folytasd a müveletet.
Selection still on. Close the eye of the bottom layer and go to the top layer
Selection - Modify - Select Selection Border
4. Öntsd ki a keretet ezzel a színnel. Katt erre a rétegre és copy.
Fill up the frame with this color. Make a copy on this layer
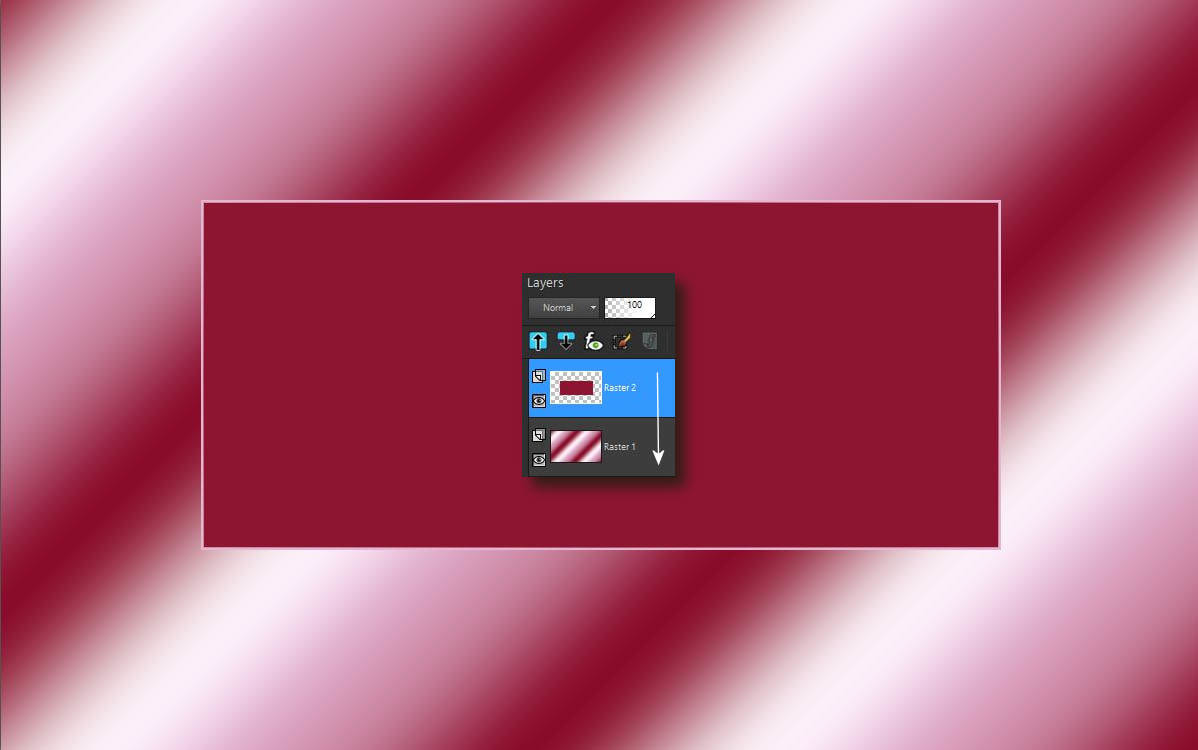
5. Másold át a képalapodra ezt a réteget és add össze öket.
Paste this layer into your image.
Layers - Merge visible
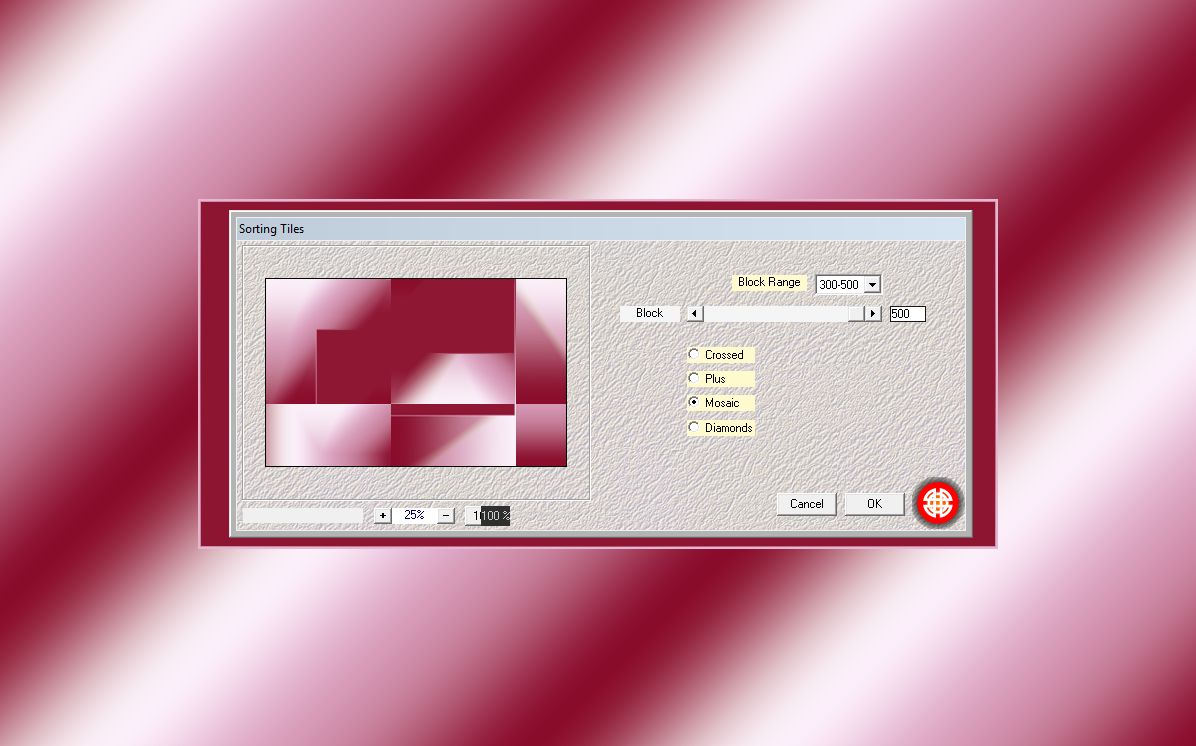
6. Effects - Plugins - Mehdi - Sorting Tiles
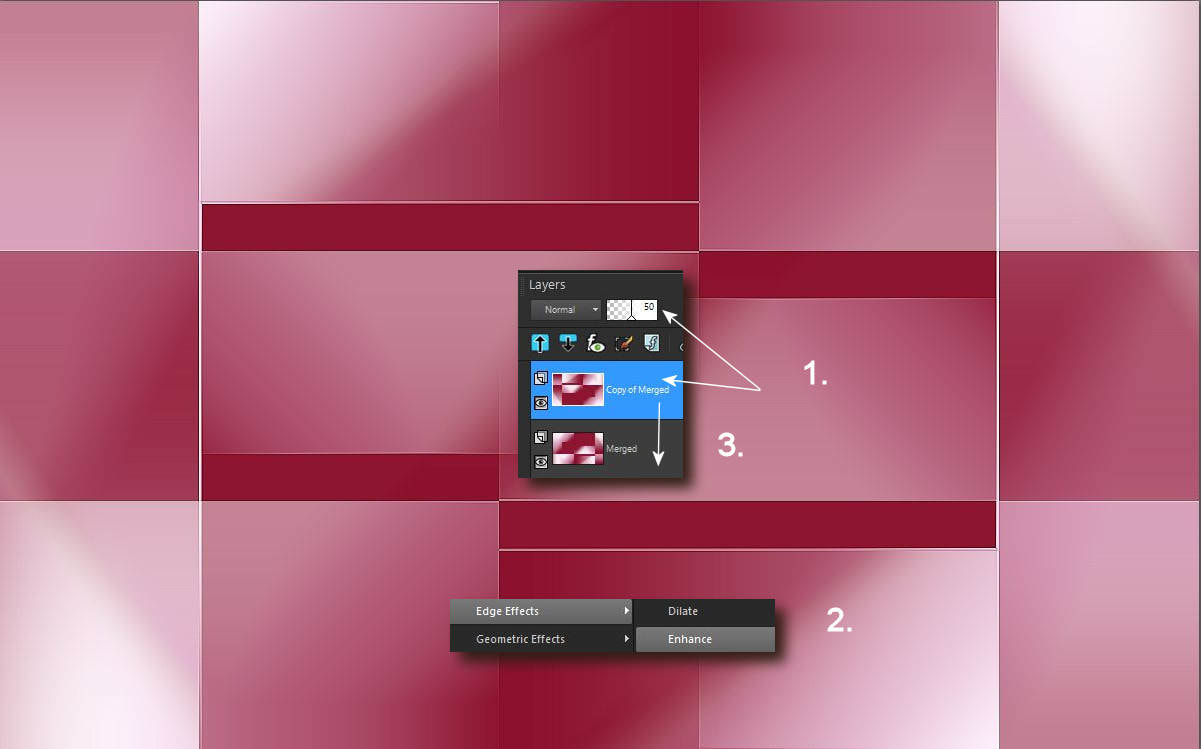
7. Duplázd meg a réteget és fordítsd át horizontálisan és vertikálisan is.
Layers duplicate
Image - Flip - Flip Horizontal
Image - Flip - Flip Vertical also
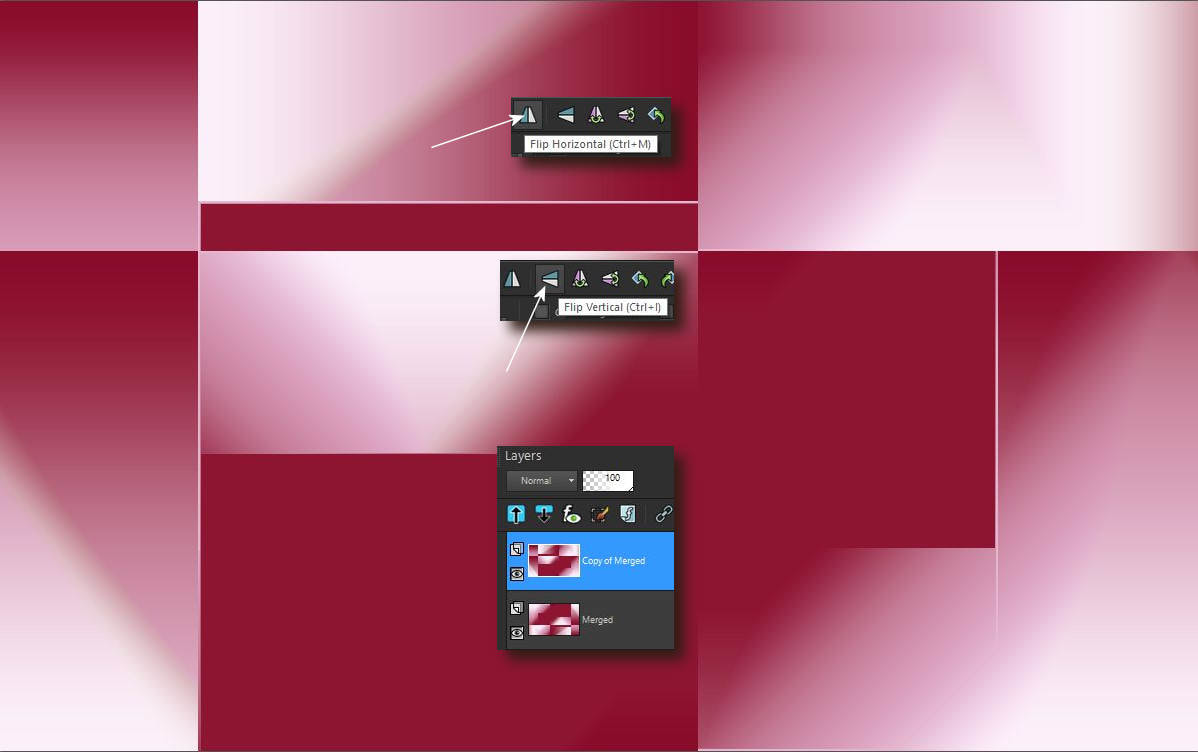
8. Blend mode 50% of top layer
Effects - Edge Effects - Enhance ( both of layers )
Layers - Merge visible
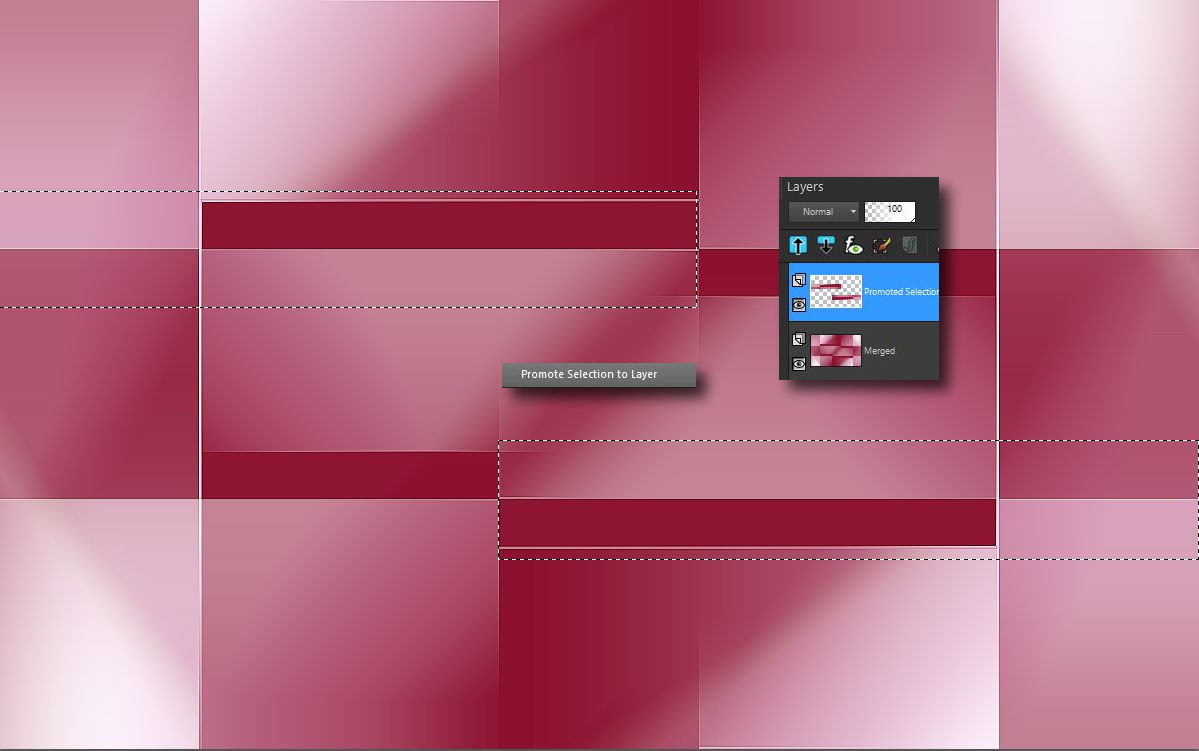
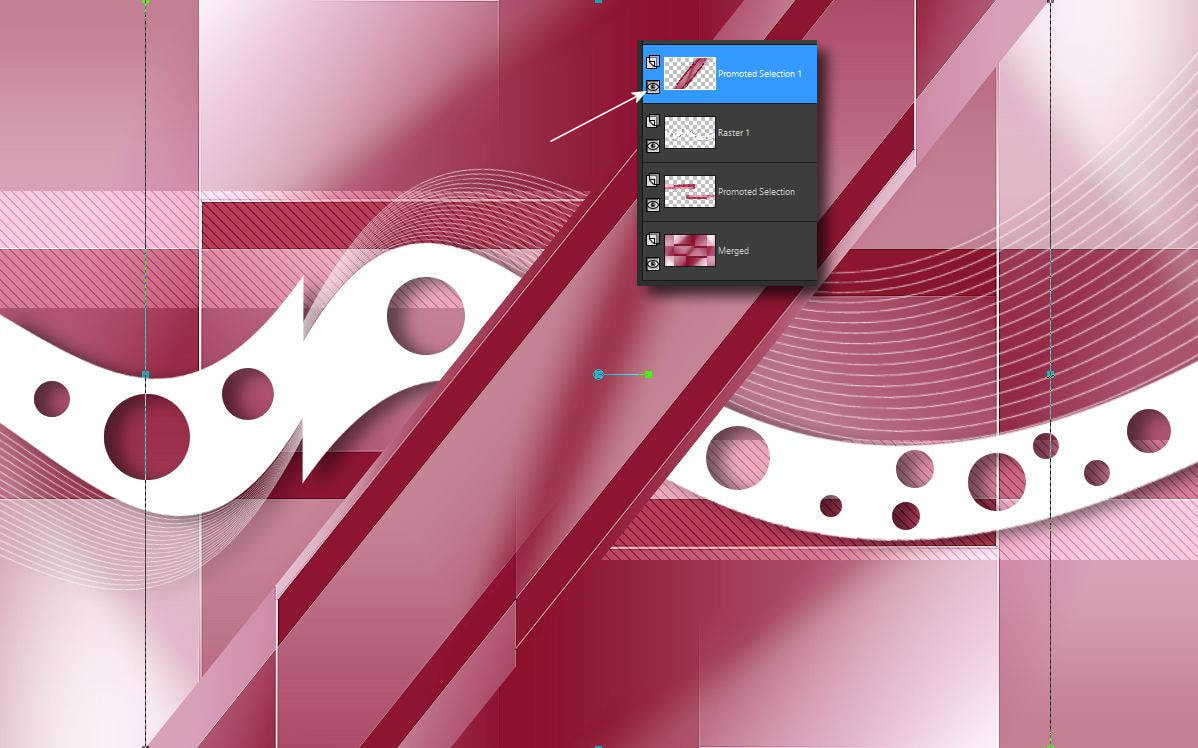
9. Csinálj egy ilyen kijelölést a képen és promótáld azt.
Make a selection like you see here on the demo image
Selection - Promote selection to layer
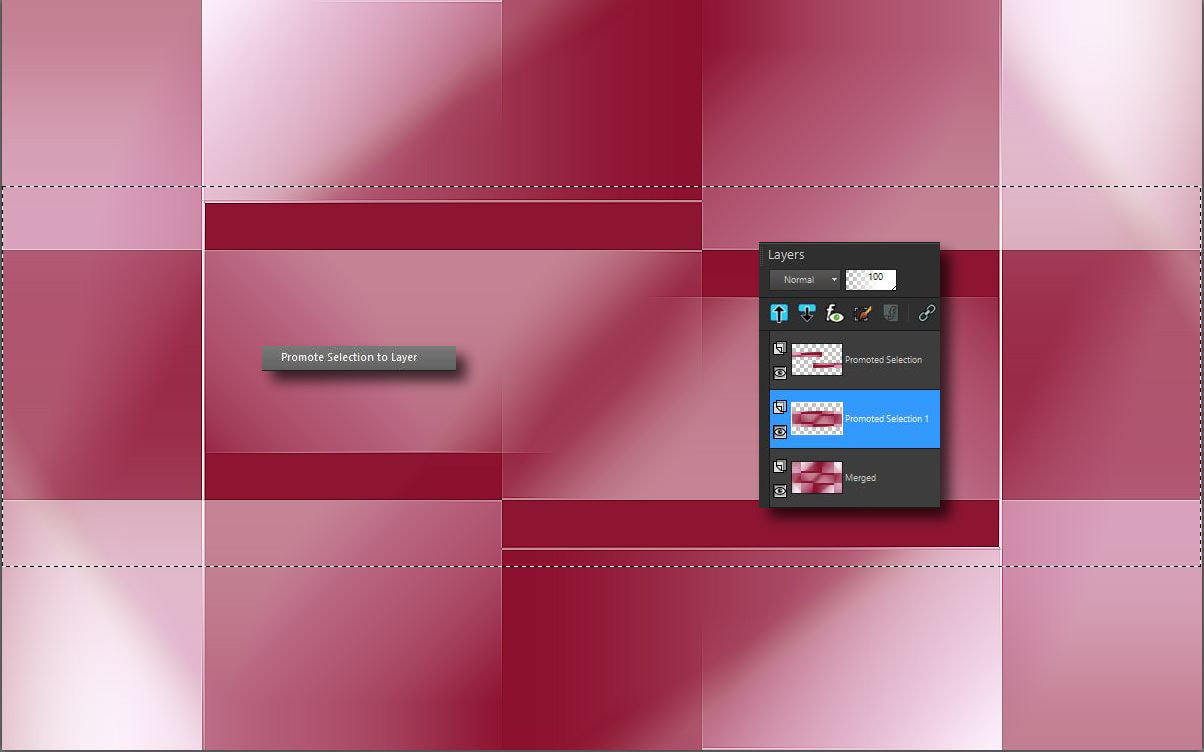
10. Menj vissza az alsó rétegre és csinálj rajta most egy ilyen kijelölést és
promótáld azt is.
Go back to the bottom layer. Make a selection again like this.
Selection - Promote selection to layer
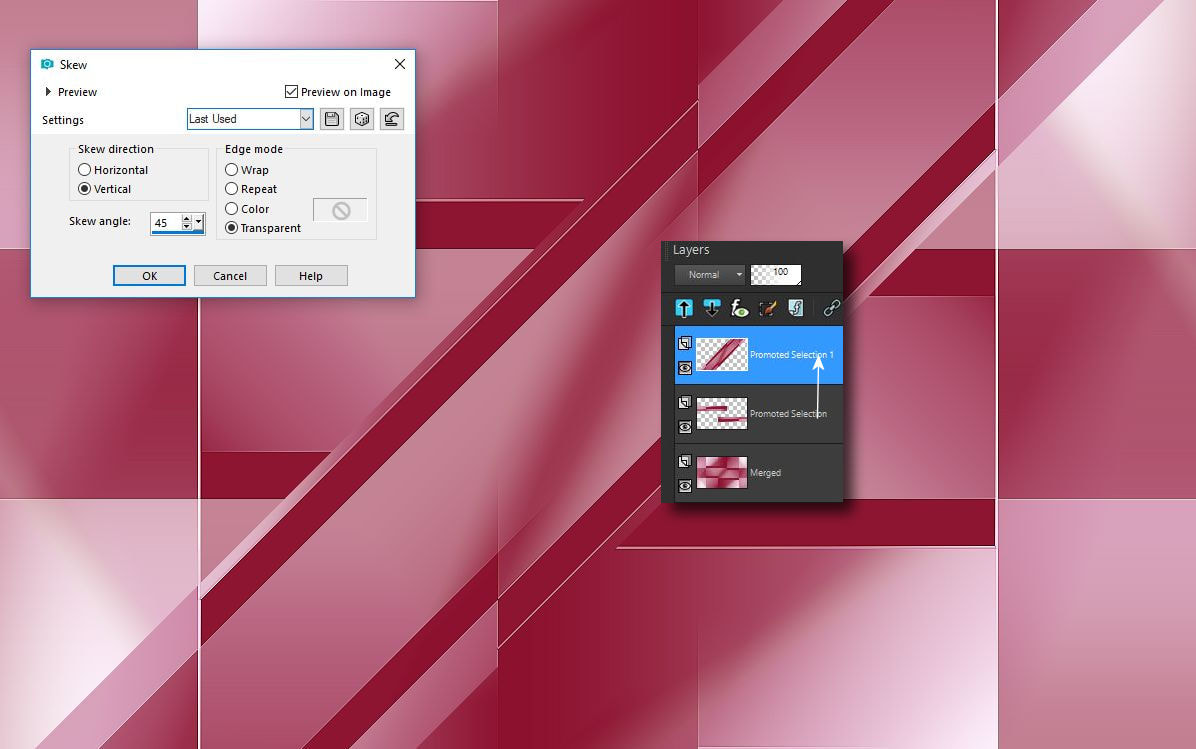
11. Ezt a réteget vidd felülre és tedd rá ezt az effectet.
Move this layer to the top and apply this effect.
Effects - Geometric Effects - Skew
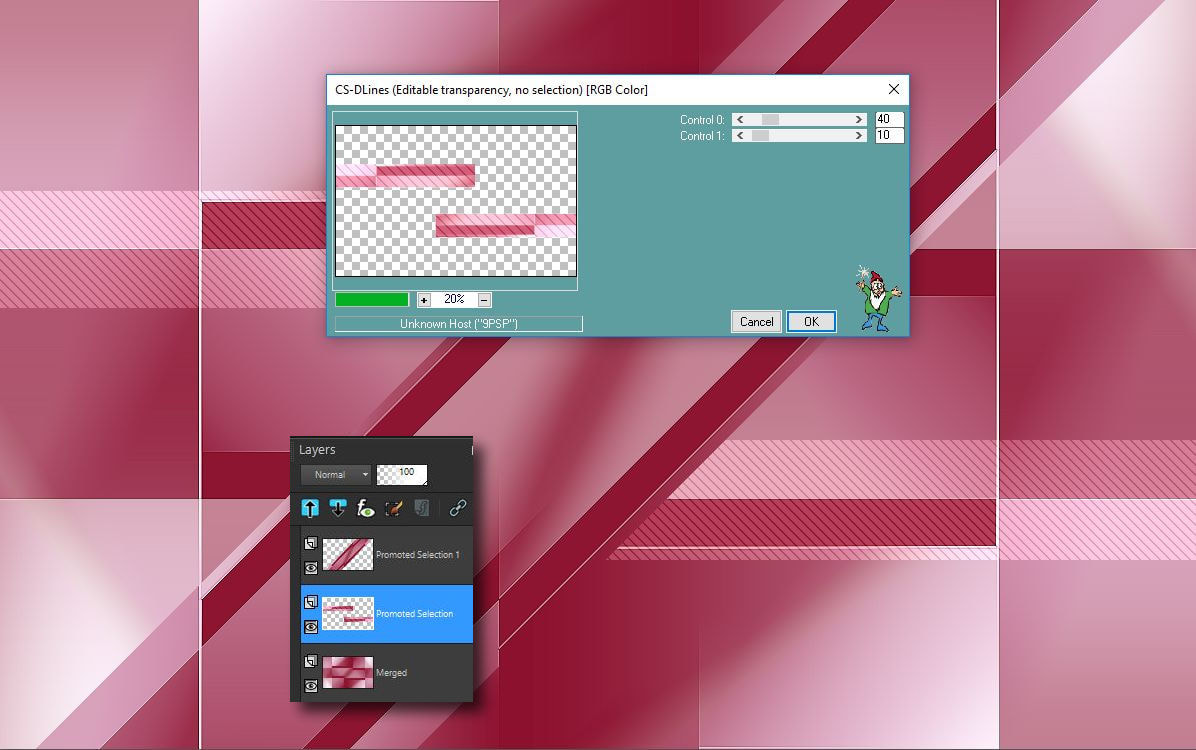
12. Menj vissza a középsö rétegre és tedd ár ezt a szüröt.
Go back to the middle layer
Effects - Plugins - Caroline and Sensibility - Cs D Lines
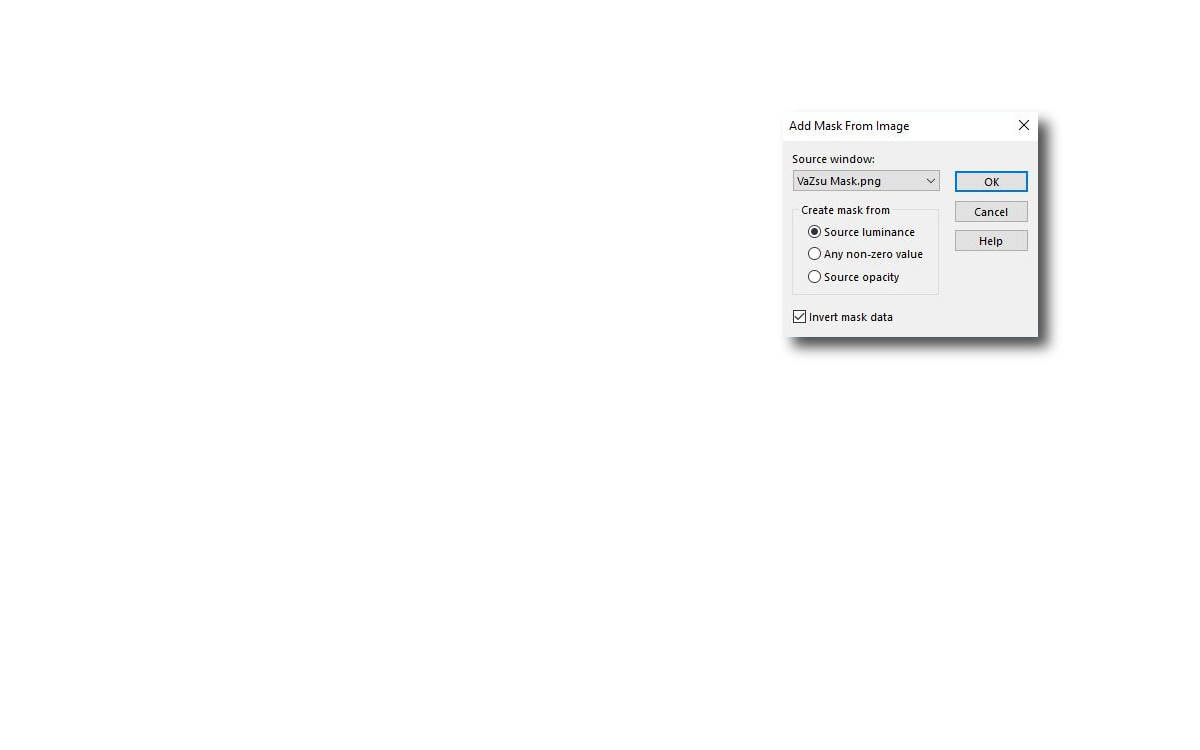
13. Hozz be egy üres lapot és öntsd ki fehér színnel. Hozd be a maszkot is a
csomagból és csináld meg a maszkolást.
Load in the new transparents background and fill up with white color.
Load in the mask from your material package and do the mask on it.
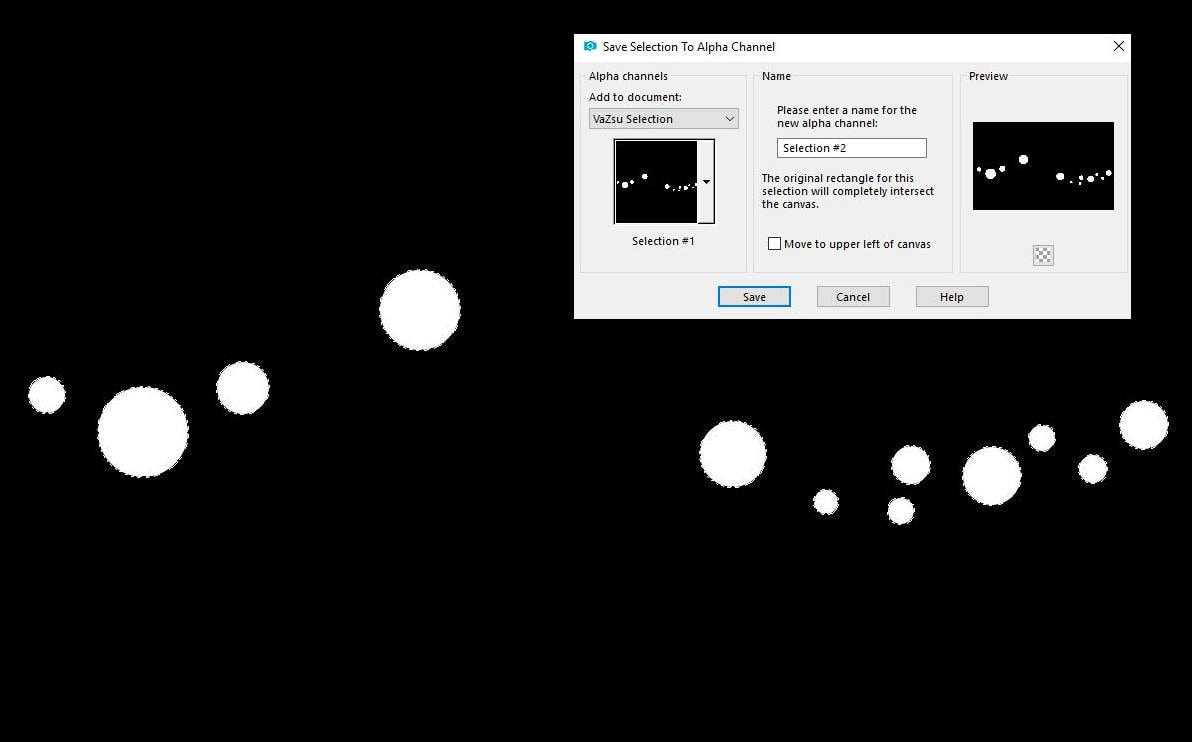
14. Jelöld ki a selection lapon a köröket és ments be az alpha csatornába a kijelölést
Do the selection on the circles and save it to the Alpha Channel
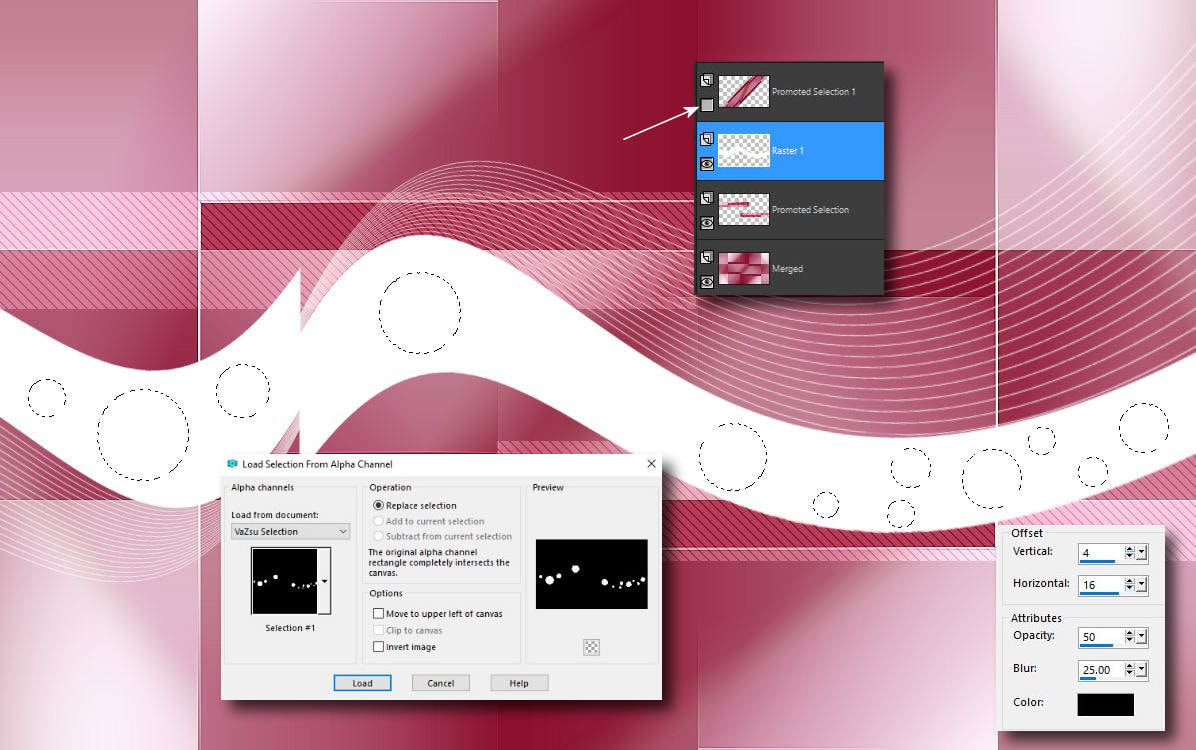
15. Menj vissza a képedre csukd be a felsö rétegszemet majd állj a maszk rétegre.
Hozd be a kijelölést az Alpha csatornából. Ha készen vagy nyomd meg a
delete gombot a klaviatúrádon és adj árnyékot a maszkodnak.
Go back to your image. Close the eye of the top layer
Move to the mask layer
Selection - Load selection from Alpha Channel
When you done hit the delete button on your keyboard
Effects - 3D effects - Drop Shadow
16. Nyisd ki a felsö rétegszemet és gyözödj meg ennek a rétegnek a megfelelö
pozíciójáról.
Open the eye of the top layer and make sure about the perfect position of
this layer
17. Kezdjünk díszíteni a csomagból kövesd a képeken látottakat.
Let's start decorating from the material package and follow the pictures we see.

18.

19.

20.

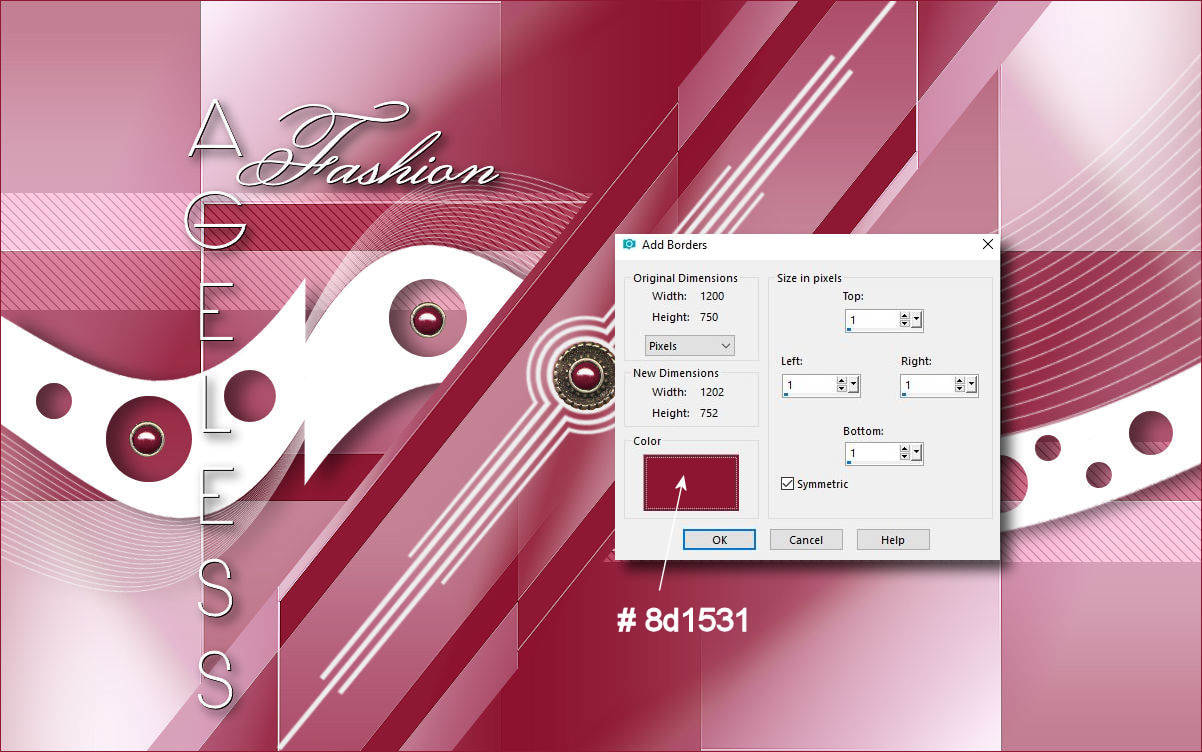
21. Image - Add Borders
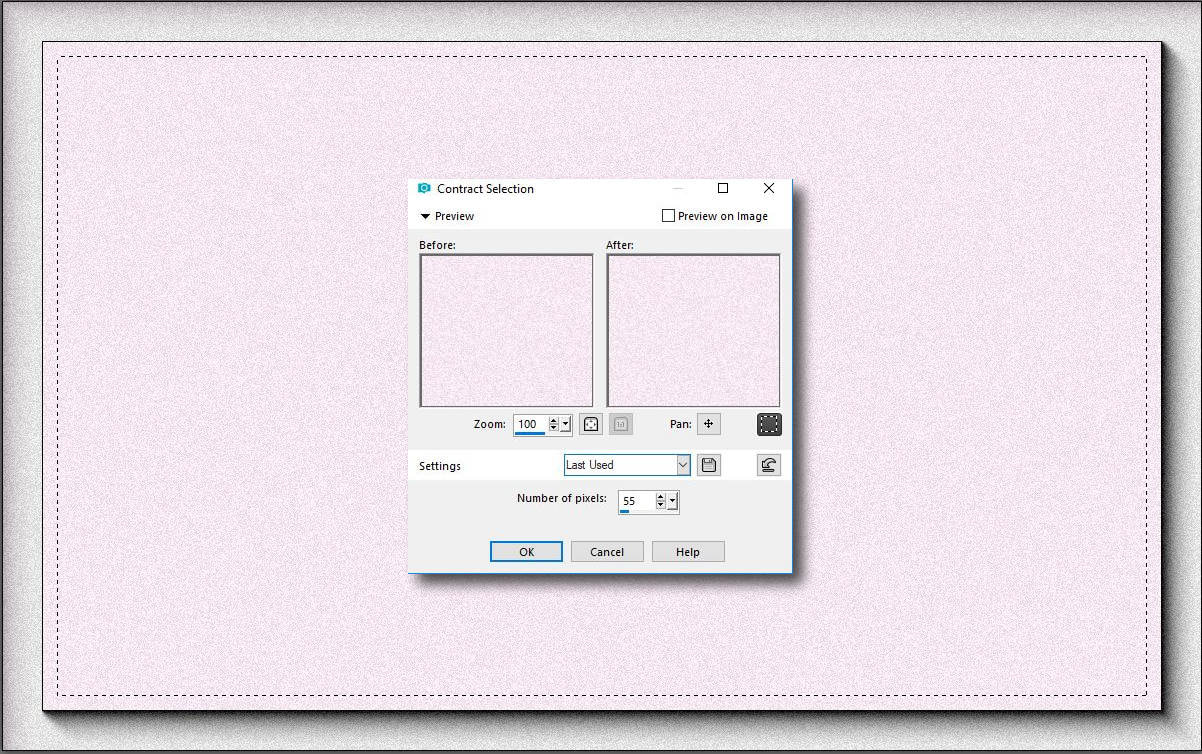
22. Hozd be a base image -t a csomagbol és tedd rá ezt a kijelölést.
Load in the base image from your material package
Selection - Select All
Selection - Modify - Contract 55
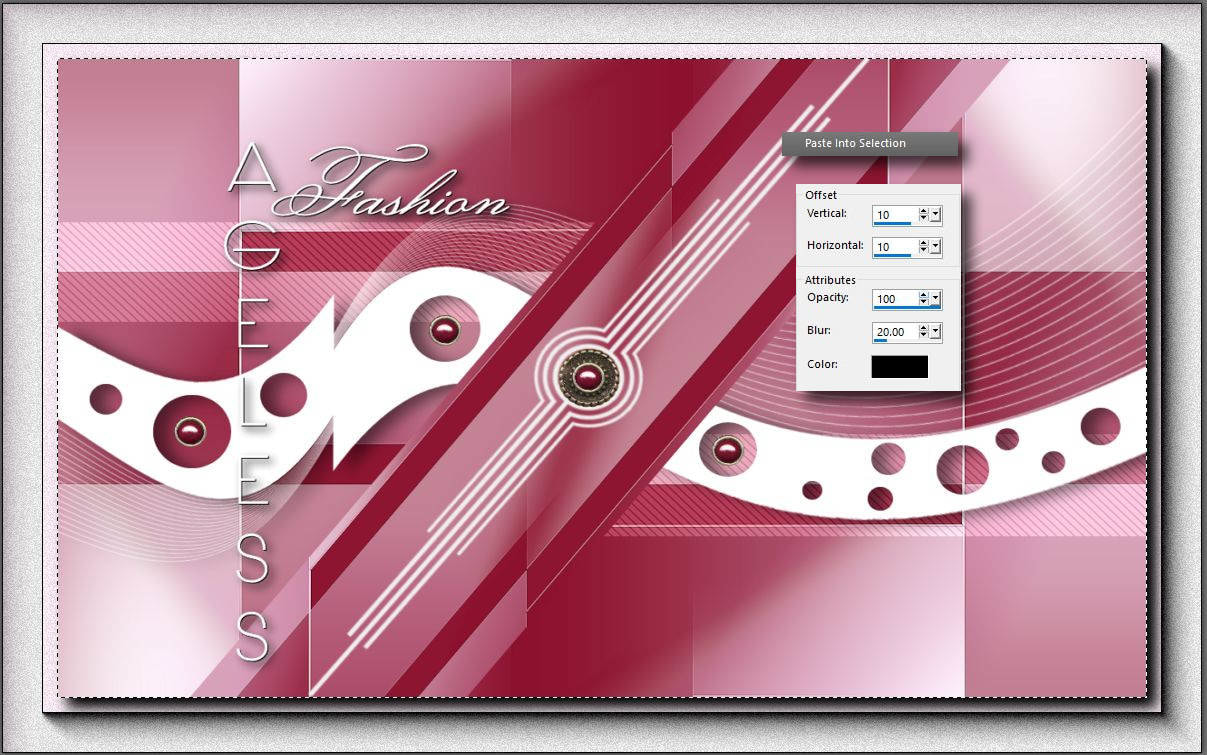
23. Másold be a képedet a kijelölésbe és adj neki árnyékot.
Szüntesd meg a kijelölést.
Copy your image into the selection and give it a drop shadow.
Selection None
24. Másold be az Ana Ridzi tubet a képedre és adj neki árnyékot.
Copy the Ana Ridzi tube to your picture and give it a shadow.
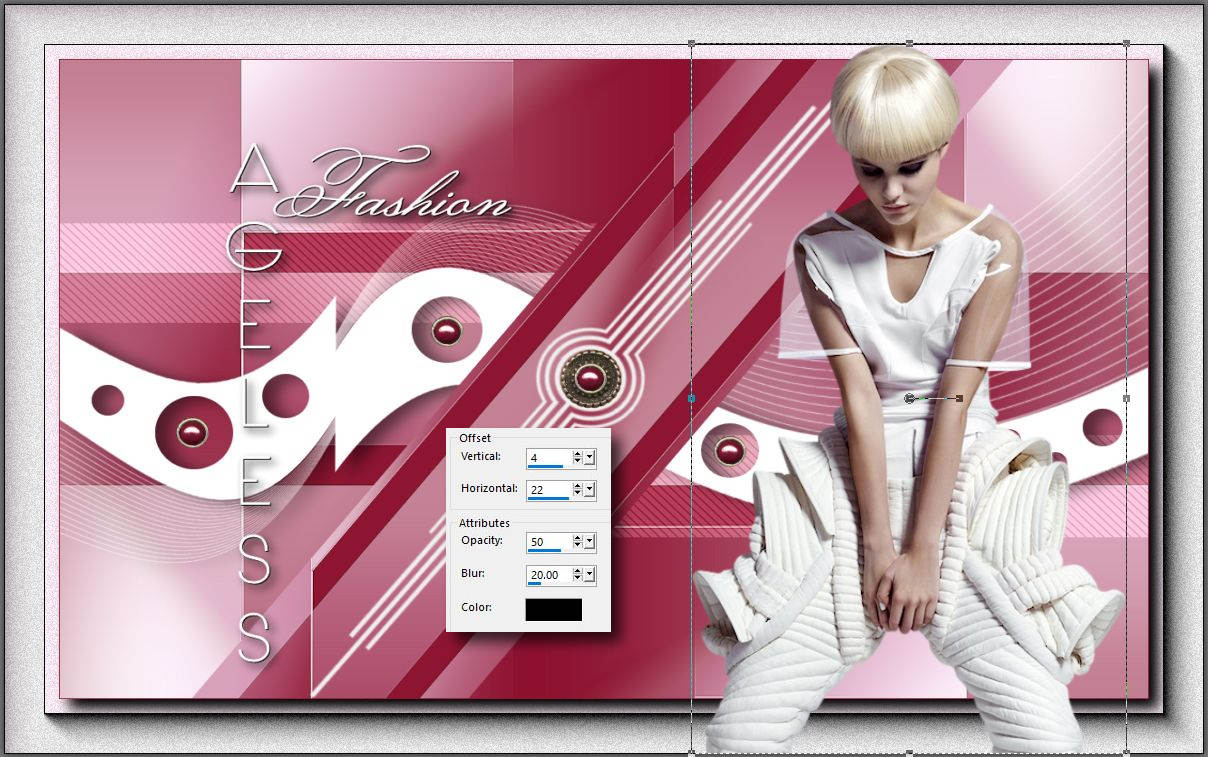
Gratulálok már készen is vagy. Remélem ez a kép is megnyerte a tetszésedet és hamarosan látlak ismét a következö tutorialnál.
Congratulation you're done! I hope I will see you soon again.
