
Ebben a bemutatóban azt szeretném megmutatni, hogy egy könnyen elkészíthetö alapra, hogyan is lehet egy különleges keretet valamint egyéb más dekorációt csinálni. Tehát ez a tutorial inkább a dekoranyagok készítéséröl szól. Nagyon sok munka van a tutorialok elökészítésénél is amely anyagokat csak a csomagban szoktatok kapni. Most érezhetitek, hogy az apróságok is sok munkaidöt vesznek igénybe és akkor még nem is beszéltem arról, hogy azokat ki is kell találni.
In this tutorial, I would like to show you how to make a special frame and other decorations on a simple basis. So this tutorial is about decorating. There's also a lot of work to prepare tutorials that you only get in the package. Now you can feel that the little things take a lot of time and then I haven't even talked about finding them out.

| t_263_pack.rar |
Special Thanks for MoonLightAngel ( Lisette ) for translating this tutorial to Dutch language.


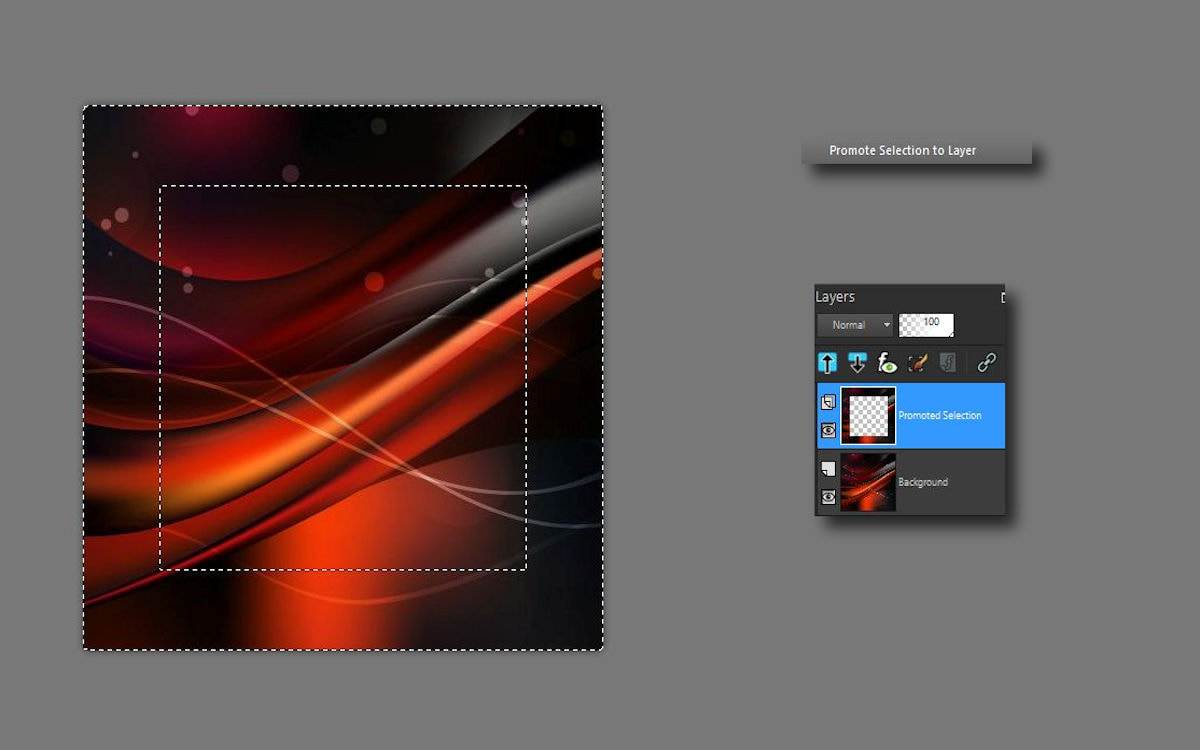
1.Hozd be a csomagból az abstract négyzetedet és csinálj rajta egy ilyen kijelölést.
Load in the abstract square from your material package.
Selection - Select All
Selection - Modify - Select Selection Borders

2. Selection - Promote Selection To Layer
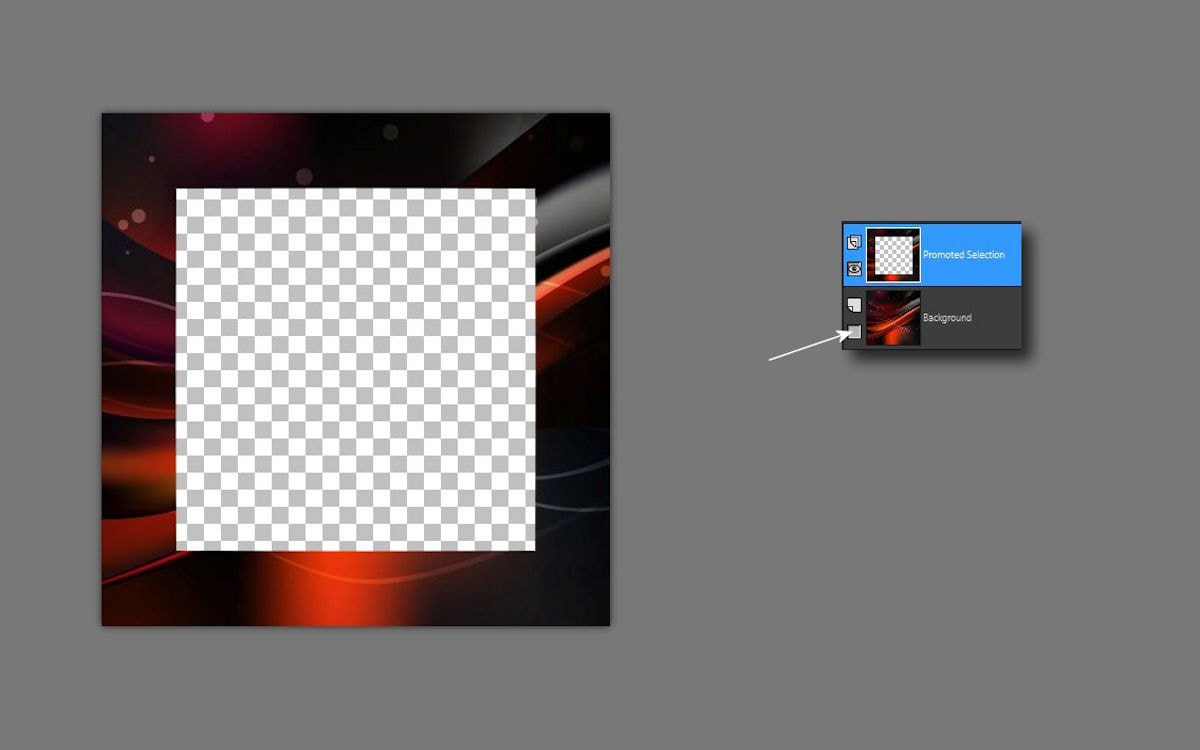
3. Csukd be az alsó rétegszemet és maradj a felsö rétegen.
Close the eye of bottom layer and stay on the top layer
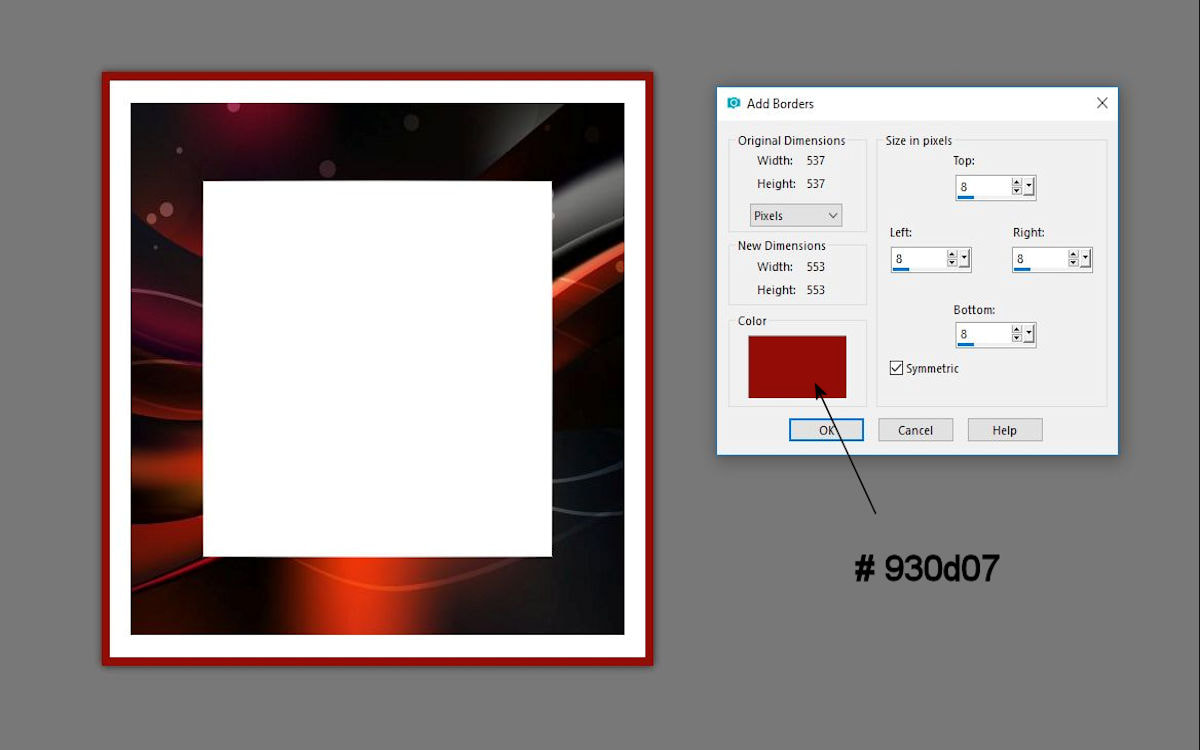
4. Image -Add borders
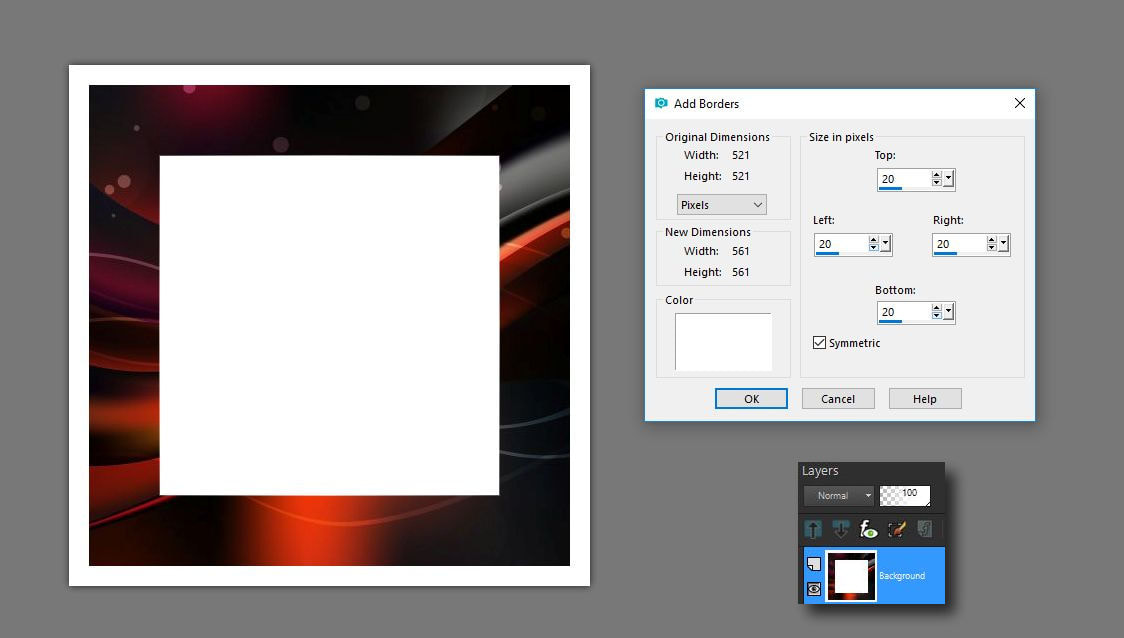
5. Image - Add Borders
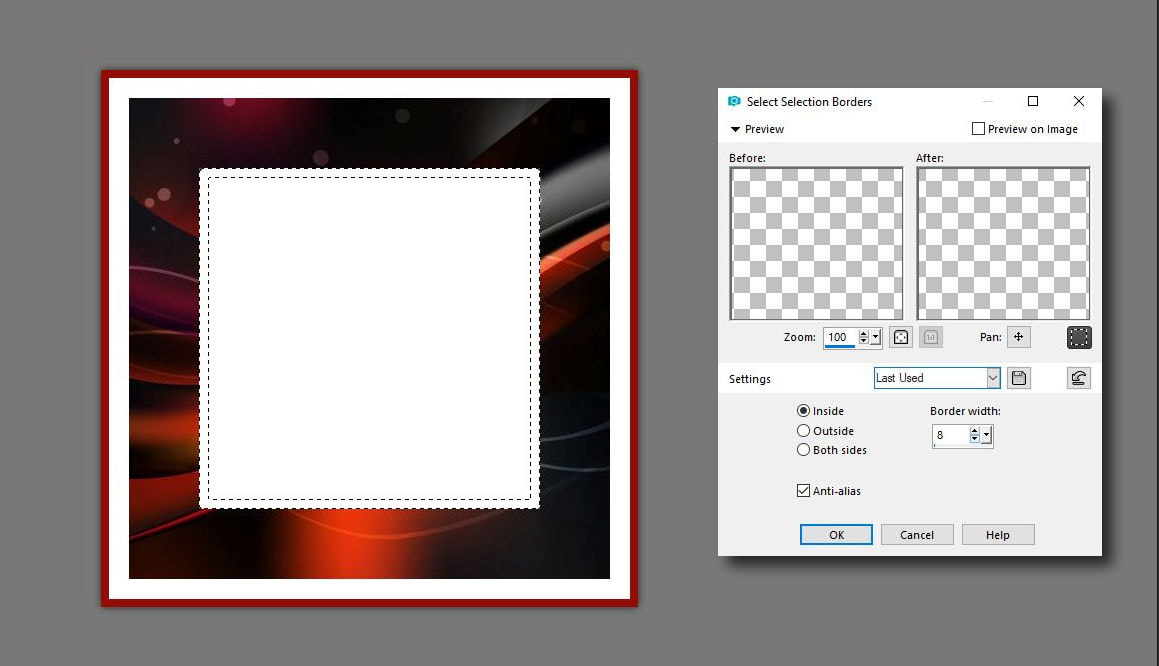
6. Pontosan jelöld körbe a belsö keretet és add hozzá ezt a kijelölést
Mark the inner frame exactly.
Selection - Modify - Select Selection Borders
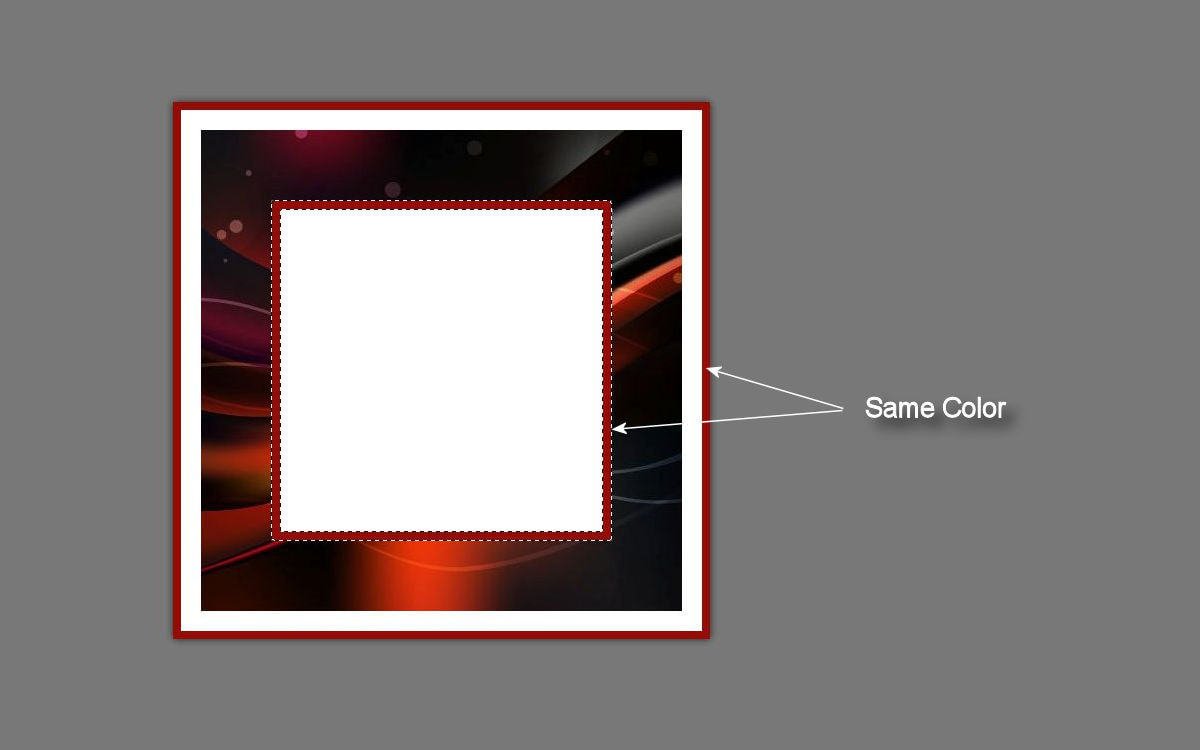
7. Öntsd ki ugyanazzal a piros színnel mint amivel a külsö keret van.
Fill up with the same red color.
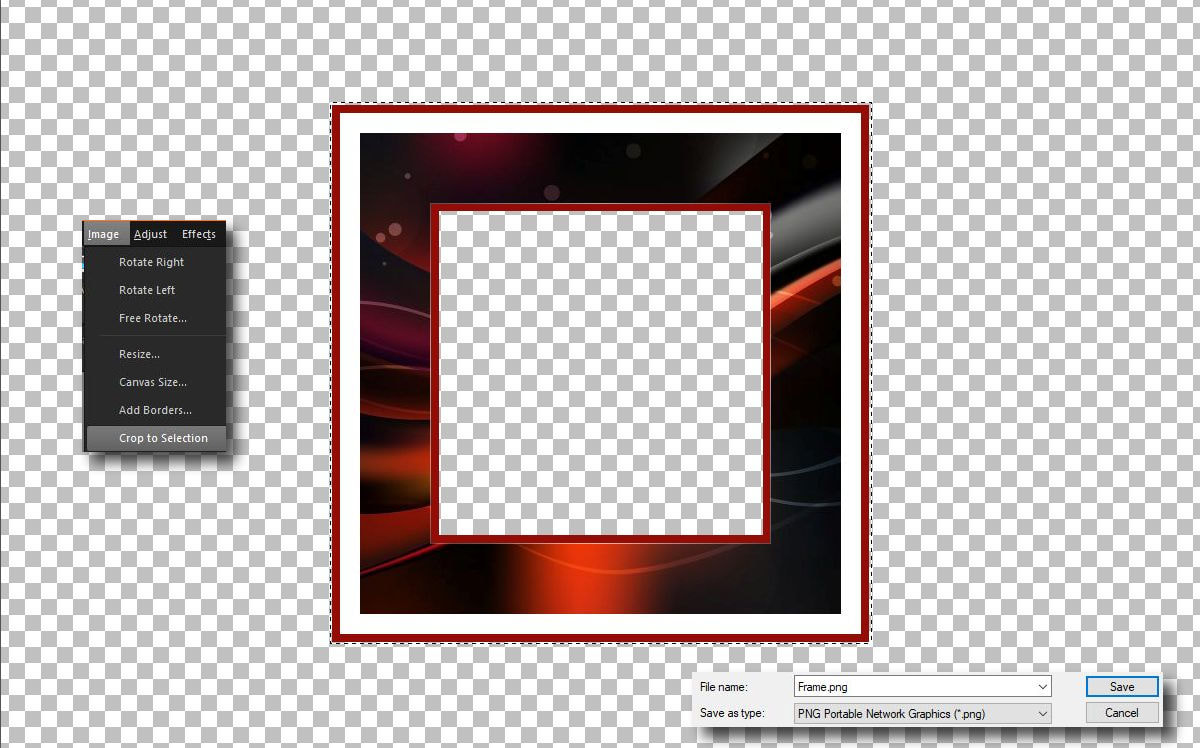
8. Másold át az egész keretet egy üres lapra hogy ismét png keretet kapjunk.
Nagyon pontosan jelöld körbe a belsejét vagy varázspálcázz aztán nyomd meg a
delete gombot a klaviatúrádon.
Open the new transparent background and copy your frame over to this sheet
Make a selection in the middle or click with the magic wand in the middle white
part. Hit the delete button on your keyboard

9. Jelöld körbe a keretedet, vágd ki és mentsd el png formátumban.
Do the selection around the your frame,
Crop to selection and save it in png format
10. Kezdjük elkészíteni az alapot ehhez minden megtalálsz a csomagban.
Pontosan dolgozz!
Let's start making the base you can find everything in your material package.
Work exactly!
11.

12.

13. Blend modes 70%
Layers - Merge Visible

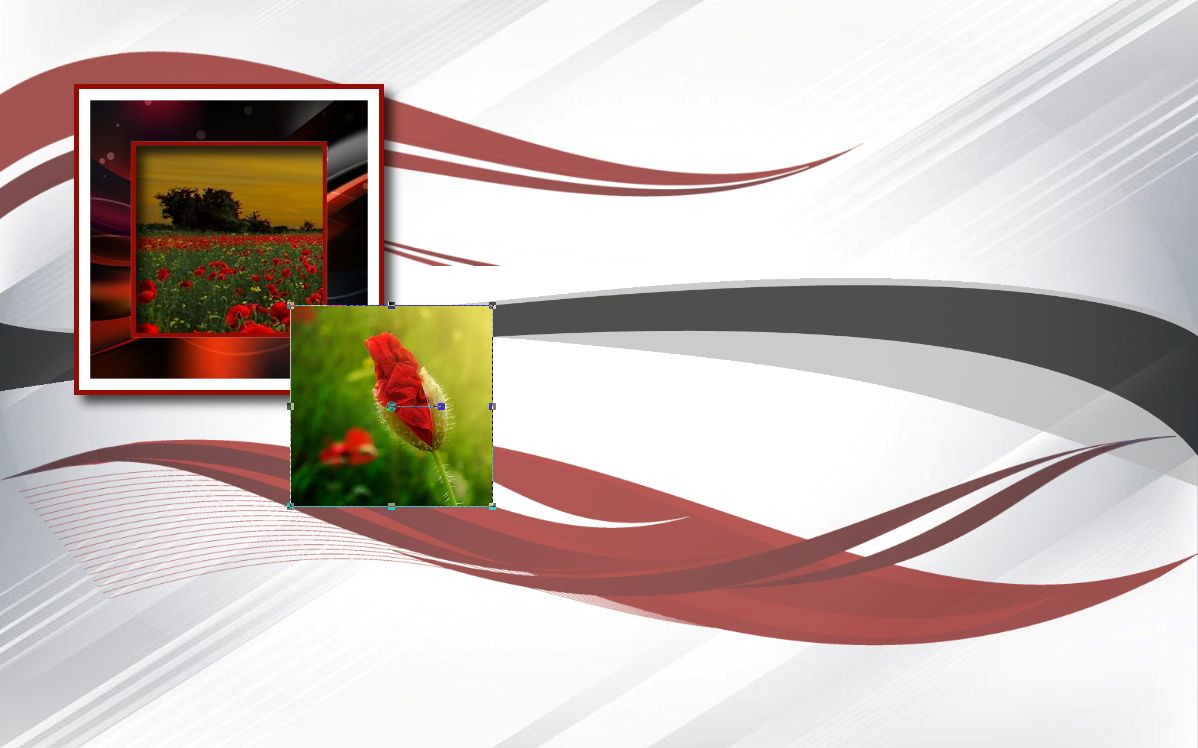
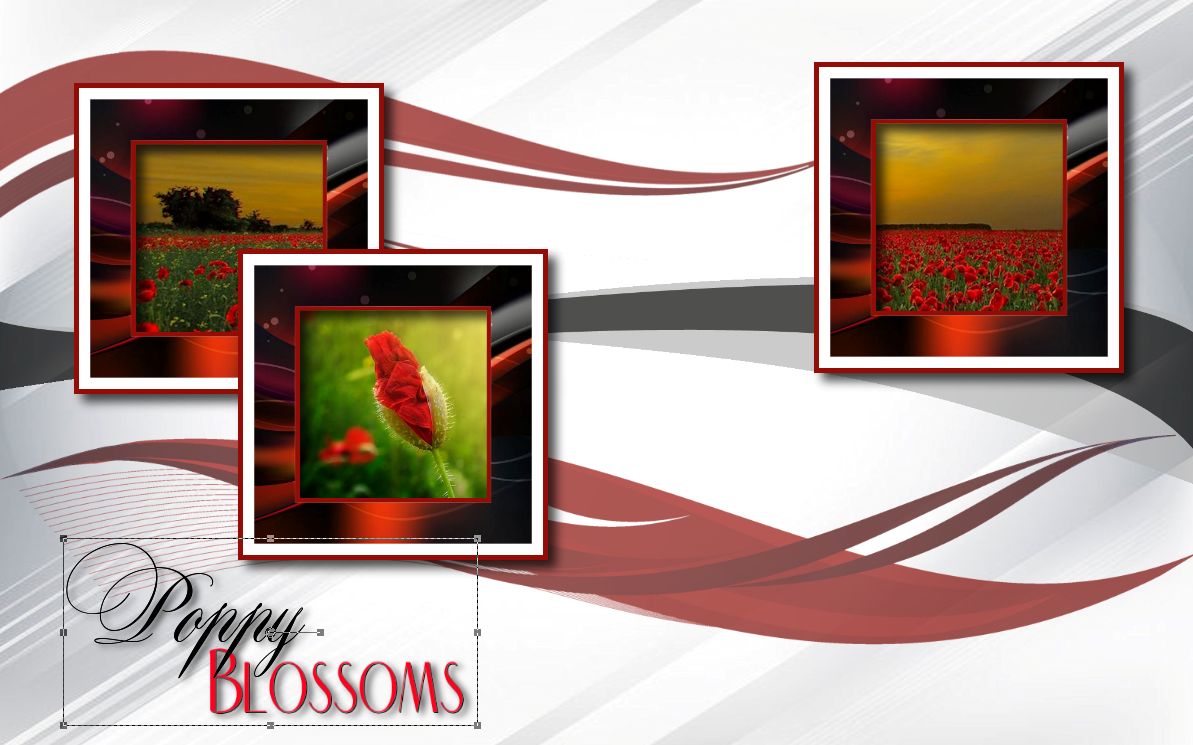
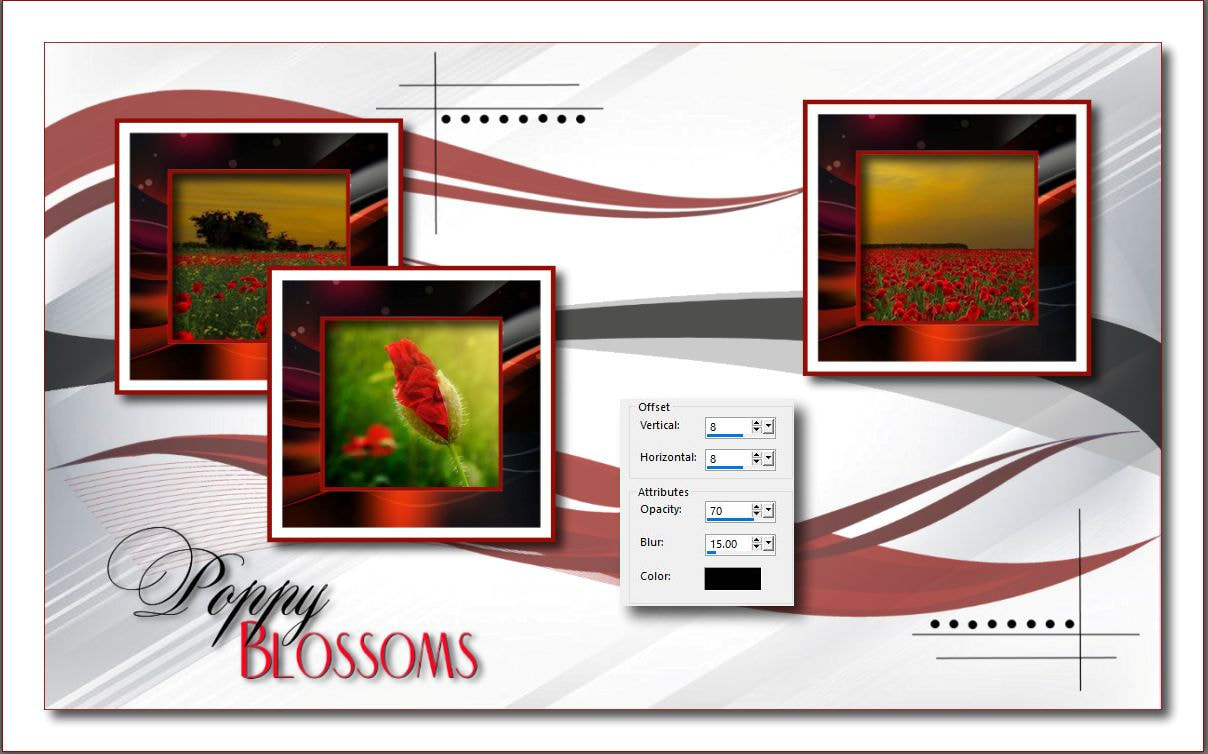
14. Kezdjük a képünket dekorálni. Nagyon fontos a pontos pozícionálás.
Kövesd a képeken látottakat.
Let's start to decorate our image. Exact positioning is very important.
Follow what you see in the demo images

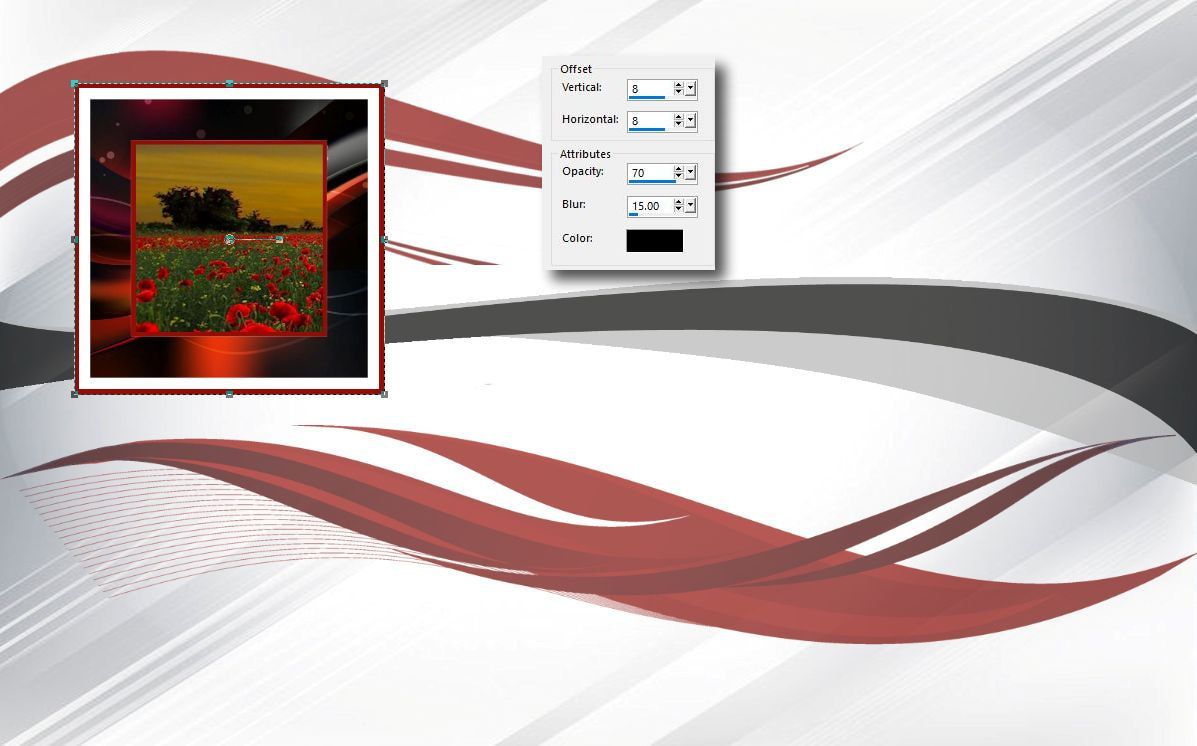
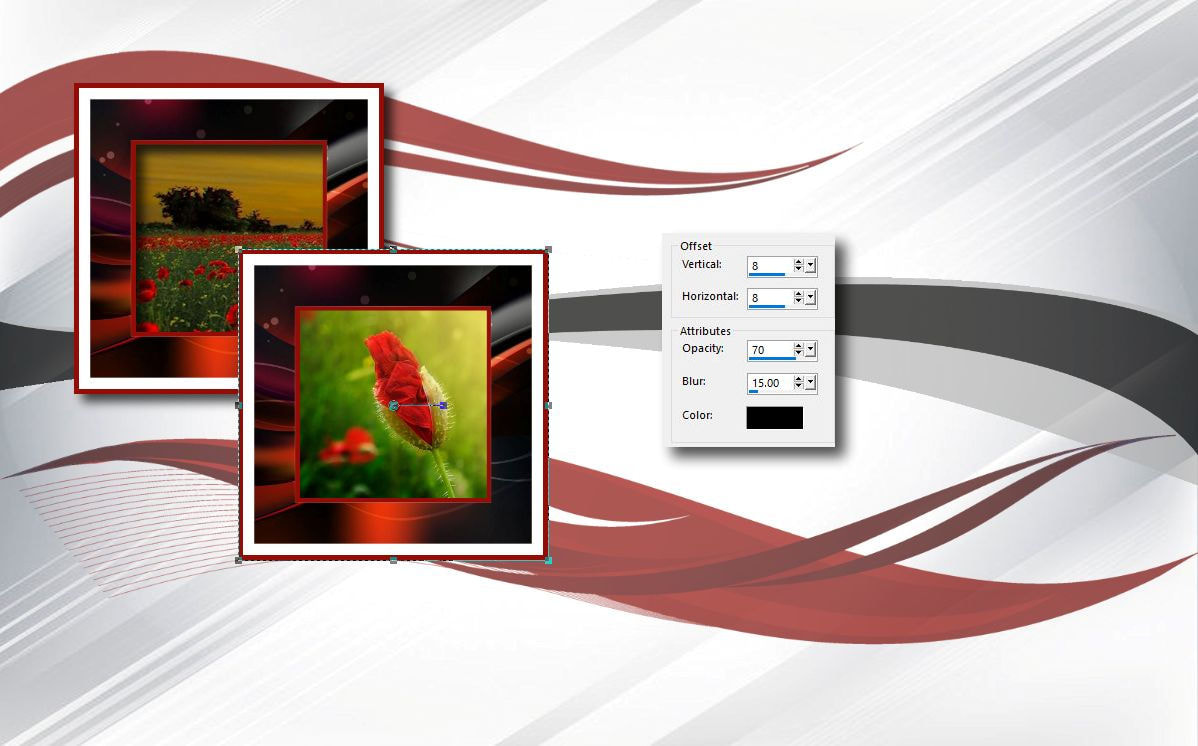
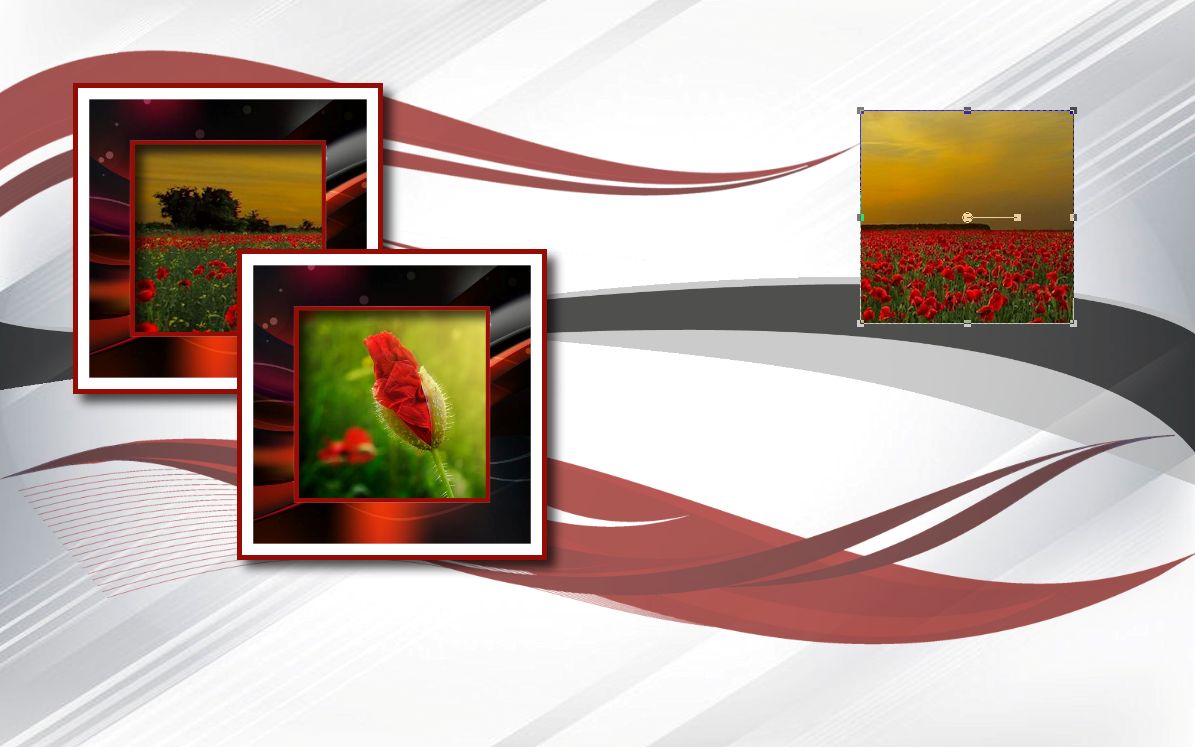
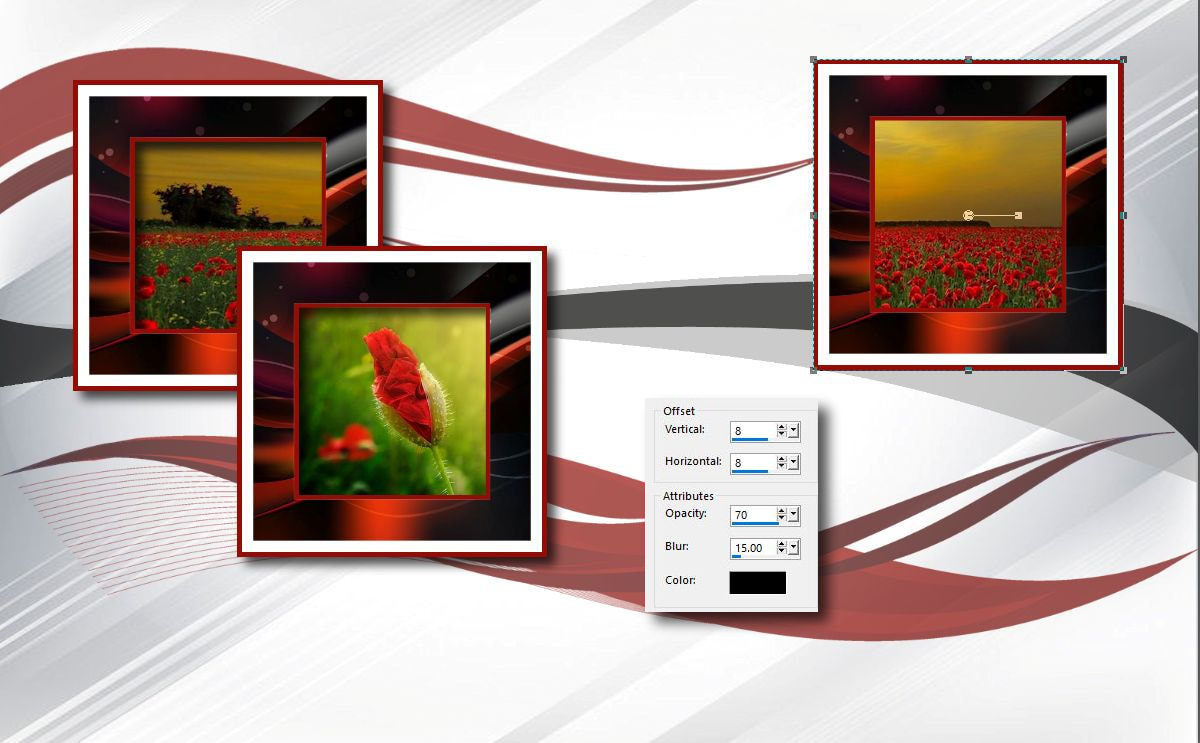
15. Adj a keretnek árnyékot.
Effects - 3D Effects - Drop Shadows
16.
17.
18.
19.
20.
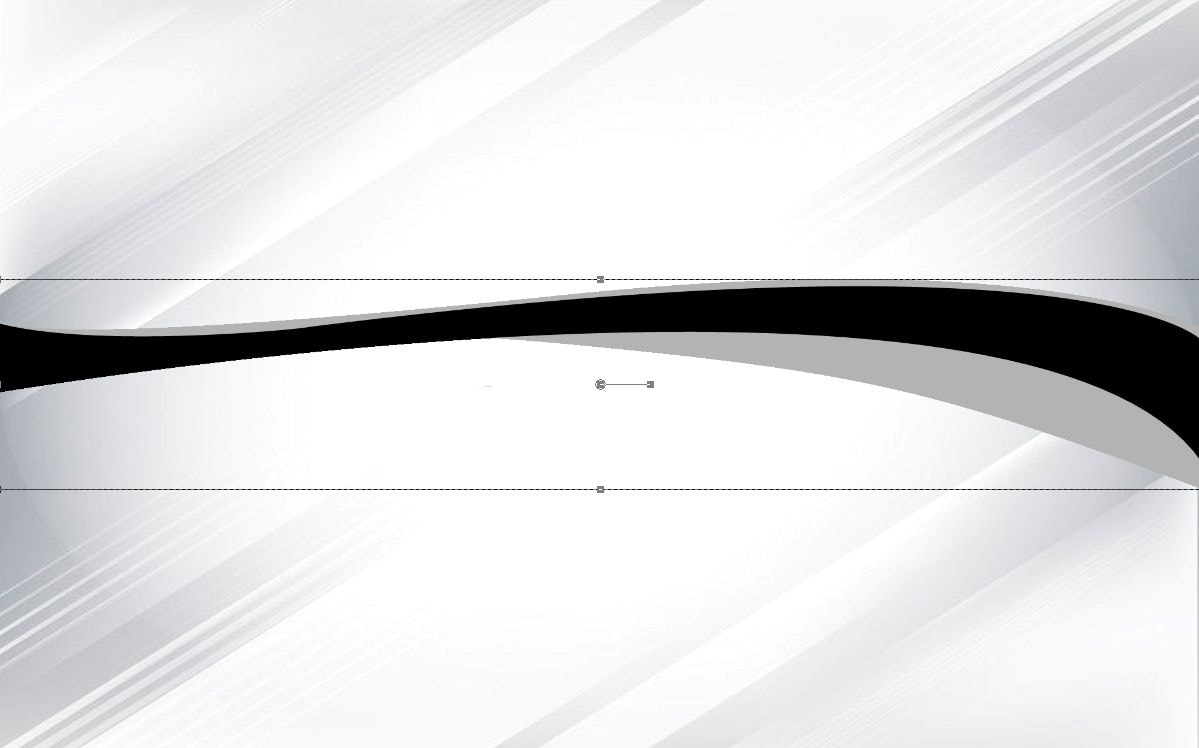
21. Kezdjük készíteni a másik dekorációt. Ez a decor megtöri a képünkön a szögletes
formákat és eleganciát ad a képednek.
Hozz be egy új lapot. és húzz vonalakat. A kis kockák segítenek a méretben.
Let's start making the other decor. This decor breaks the image of angular
shapes and adds elegance to your image.
Load in the new transparent background and draw lines.
Small gray and white squares helps in sizing.
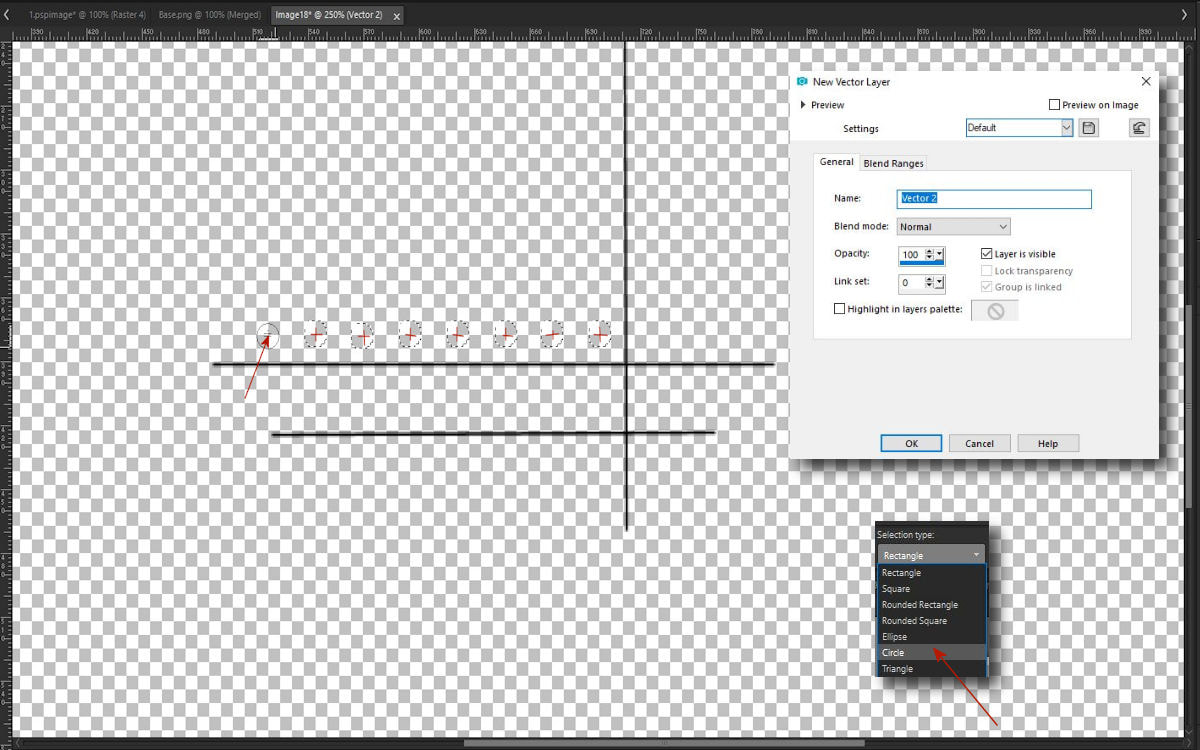
22. Hogy jobban lásd ezt a müveletet tekerd fel az egereden található középsö kereket
az alap nagyításához. Nyiss egy új vector réteget. Állítsd a selection tool-t
a körre. Kezdj el kis köröket kijelölni úgy, hogy azt a kockák találkozási
pontjárol indítsd el. Türelmesen dolgozz ez a müvelet nem könnyü. Gondolj
arra, hogy most tanulunk valamit.
To better see this operation, wrap the middle wheel on the mouse to enlarge
the base. Open a new vector layer. Set selection tool to circle.
Start selecting the small circles so that where the cubes meets
Working patiently with this operation is not easy.
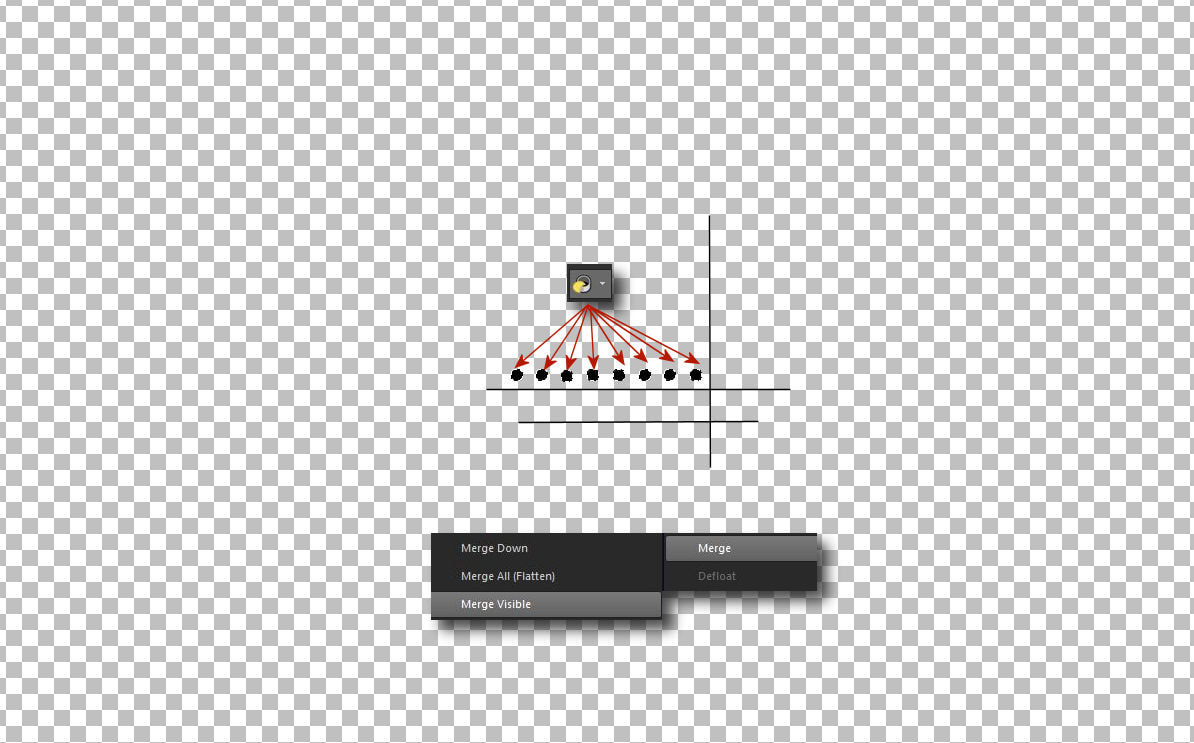
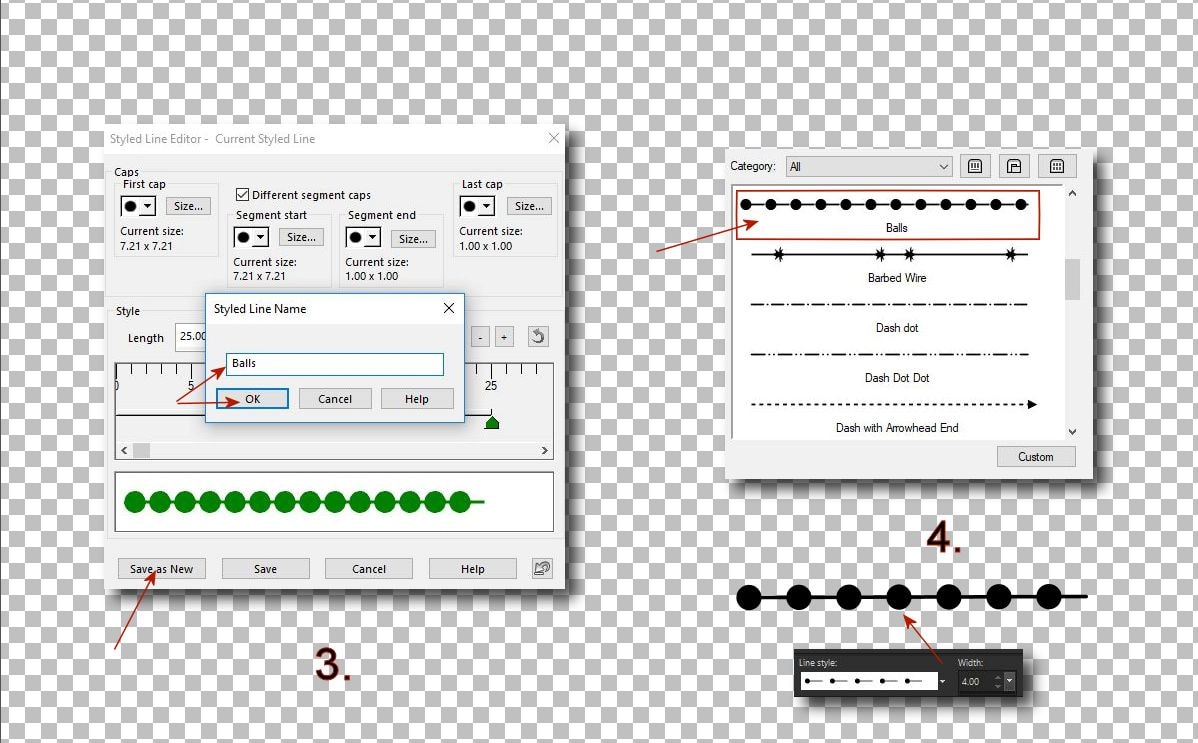
23. Ha készen vagy önts ki a köröket fekete színnel. Tekerd vissza az egered kerekét
a normál méretig. Add össze a rétegeket.
When ready fill up the circles with black color. Roll the mouse wheel back to
normal size. Layers - Merge Visible
24. Jelöld körbe a decorodat és vágd ki azt és mentsd el png formátumban.
Do the selection around your decor and crop to selection.
Save it in the png format just in case

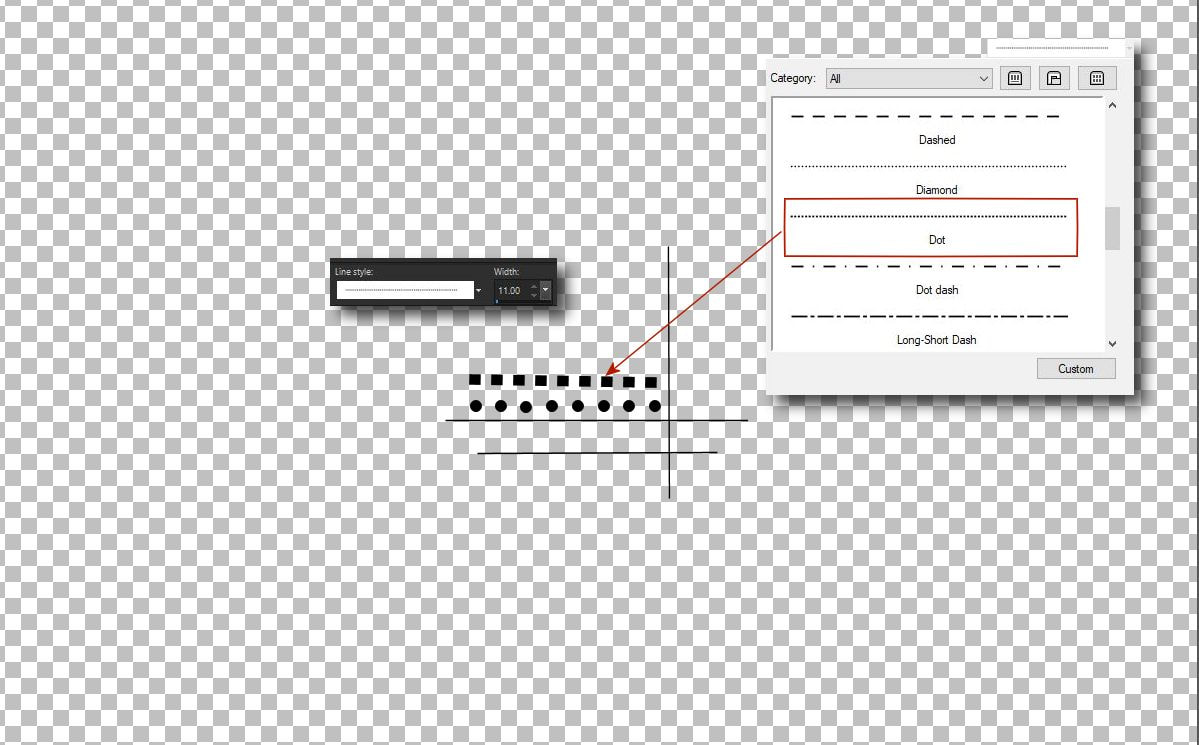
24 a . Itt mondom el, azért kellett köröket csinálni mert a Corel creativ content
vonal csomagjában nincsen kör. A pont megnevezésü vonalak is csak
négyzetkockákat rajzolnak.
I like to tell you if we want to do circles sometimes, because there are no
circles line in the Corel Creative Content lines package.
Lines with the dot name draw only squares.
24 b. Készíthetünk a programban saját kör alakú vonaltípust is amit ehhez
kapcsolódva mutatok be itt. De az a probléma, hogy ehhez mindig az egyenes
vonaltípusra kell állni és a körök így eleve egy vonalra kerülnek nem állnak
külön - külön.
You can also create your own circular line type in this program.
I show you that with couple of steps.
But the problem is, before you start working, you have to set the straight line
to open the lines window. Then you need to set up the circle shapes.
That way, all the circles are in line and are not separate
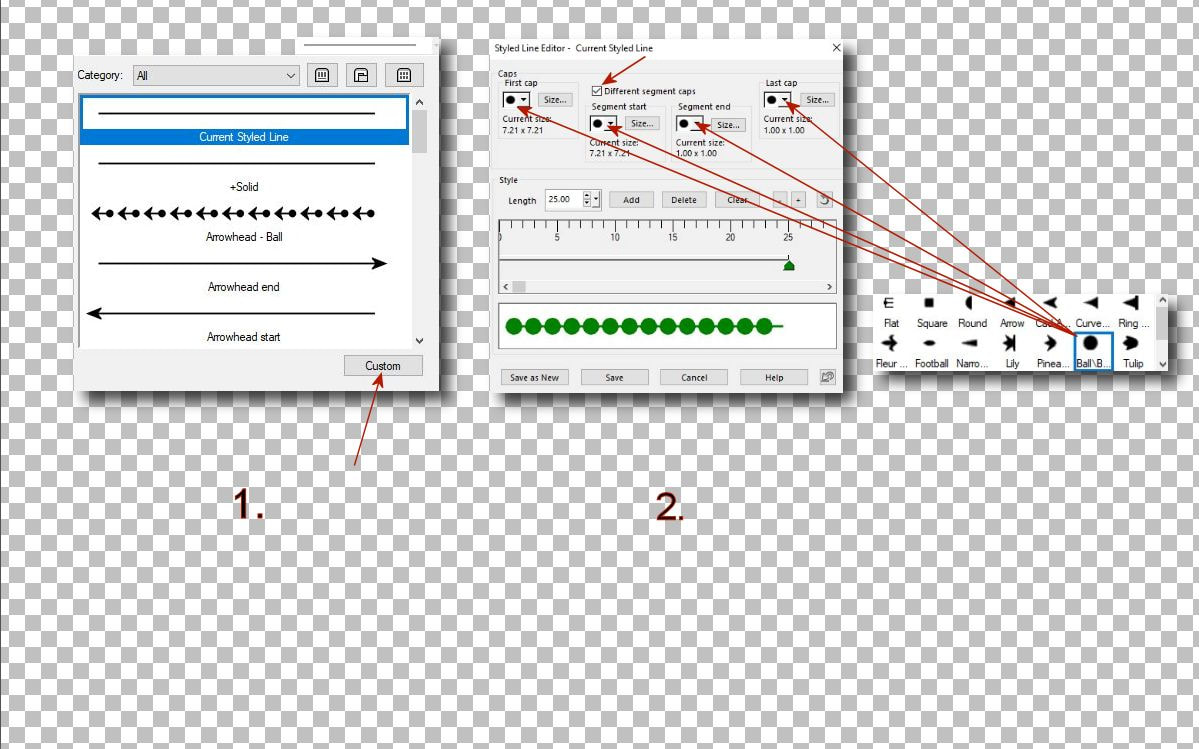
24 c. Amikor készen vagy a folyamattal el kell mentened a saját készítésü vonaladat.
A késöbbiekben megtalálod azt a vonalak között további használatra.
When you are ready you need to save your own line. Later you can find it
in the lines window and use it the another time.
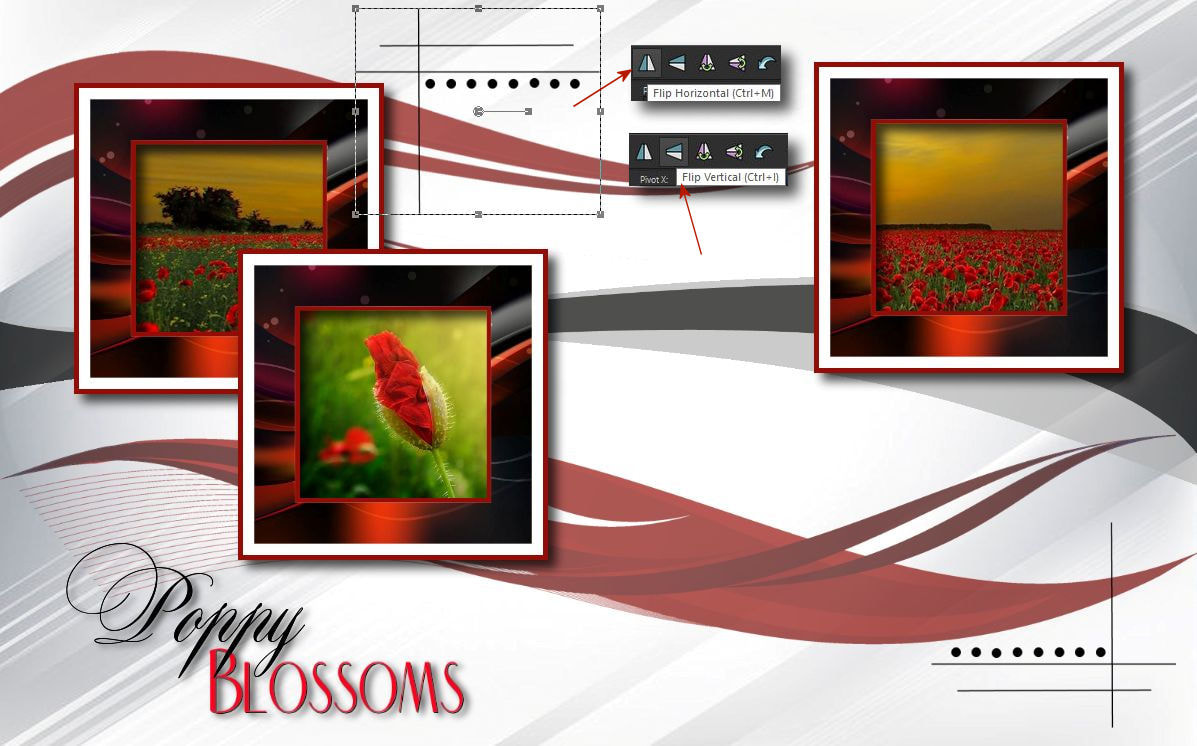
25. Folytassuk a képünk szerkesztését a képeken látható módon
Then, after the small detour, continue editing your image as shown in the
demo images

26. Image - Flip - Flip horizontal and vertical also
27. Image - Add Borders
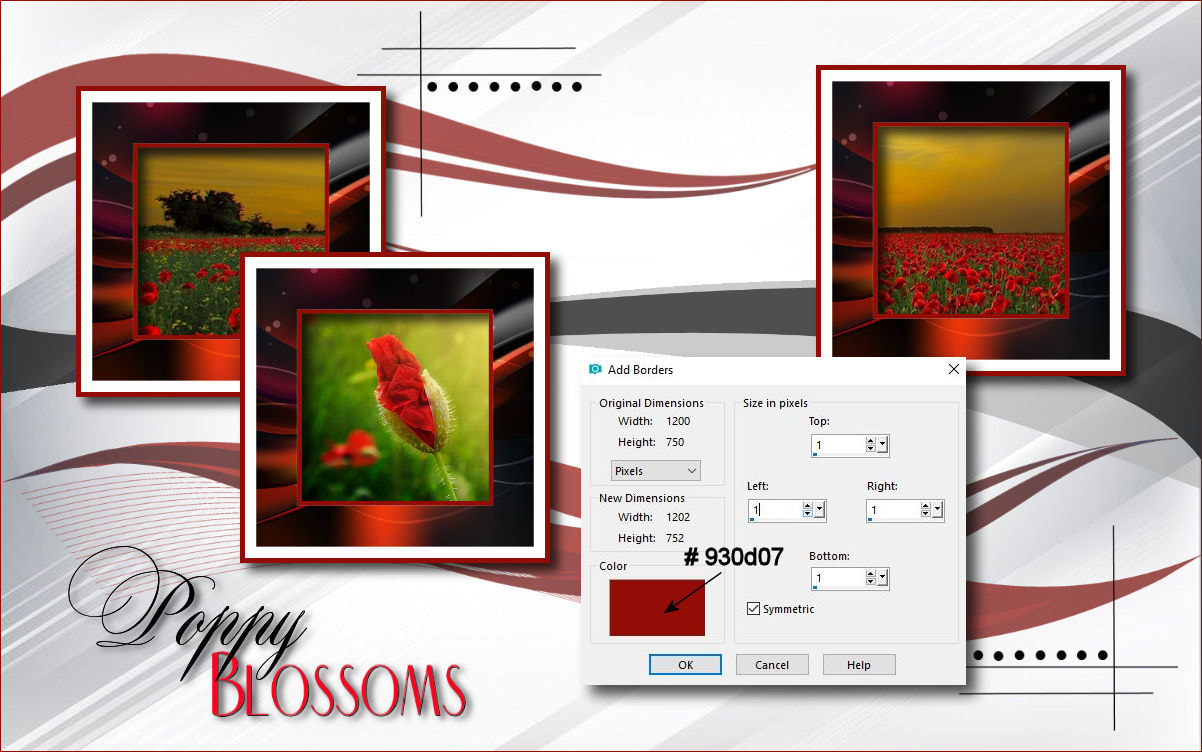
28. Hozz be egy új lapot és öntsd ki fehér színnel. Csinálj rajta egy ilyen
kijelölést.
Load in the new transparent background and fill up with white color.
After add borders do the selection like this.
Selection - Select All
Selection - Modify - Contract

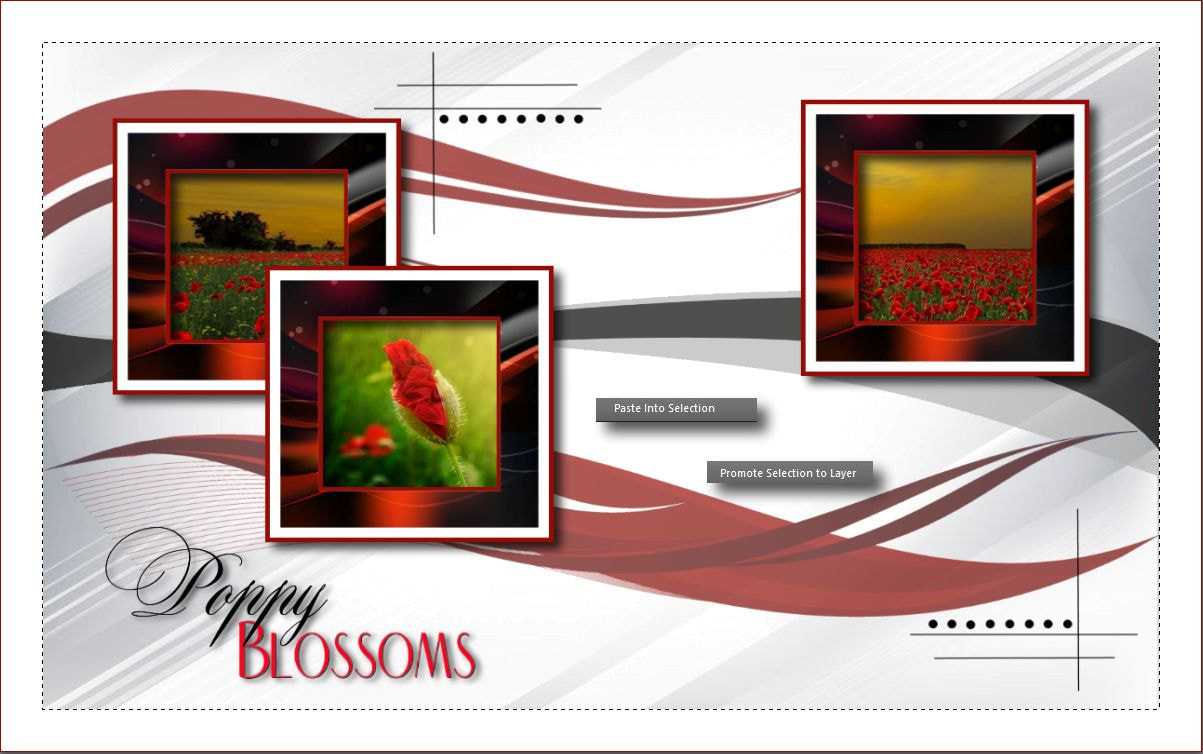
29. Másold be a képedet a kijelölésbe és promótáld azt, majd szüntesd meg a
kijelölést.
Copy your ready image to the selection and promote it as a new layer.
30. Adj neki áryékot.
Effects - 3D Effects - Drop Shadow
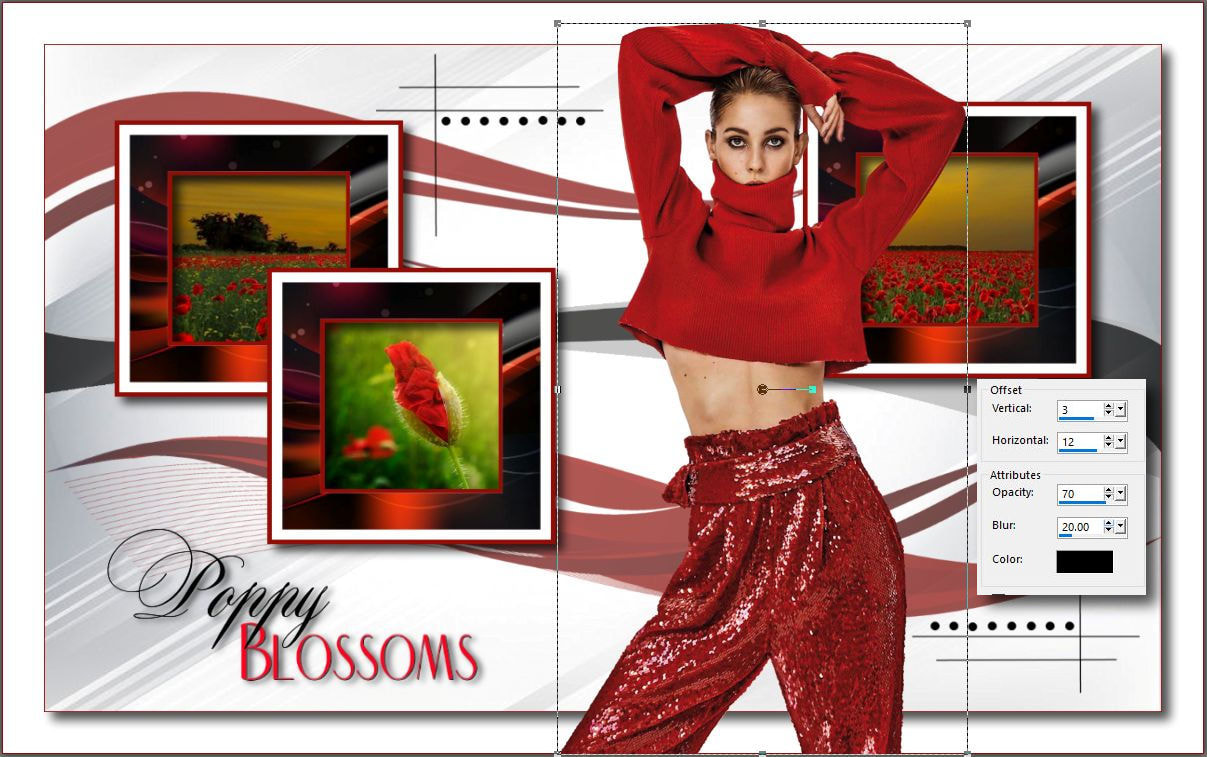
31. Helyezd el a Cady tube-t és adj annak is árnyékot.
Place it the Cady Tube flip it horizontal and don't forget the shadow
Gratulálok már készen is vagy. Ez komoly munka volt. Igy mostmár azt is tudhatjátok, hogy egy szép tutorialhoz mennyi elömunkálat kell , amikor szép dekorokat láthattok egy képen. Remélem ez nem vette el a kedveteket a képszerkesztést10l és hamarosan látlak ismét.
Congratulations you are ready. It was a serious job. So now you can also know how much preliminary work you need for a nice tutorial when you see beautiful decorations on a picture. I hope this hasn't taken off your willingness from the image editing and I will see you soon again.