

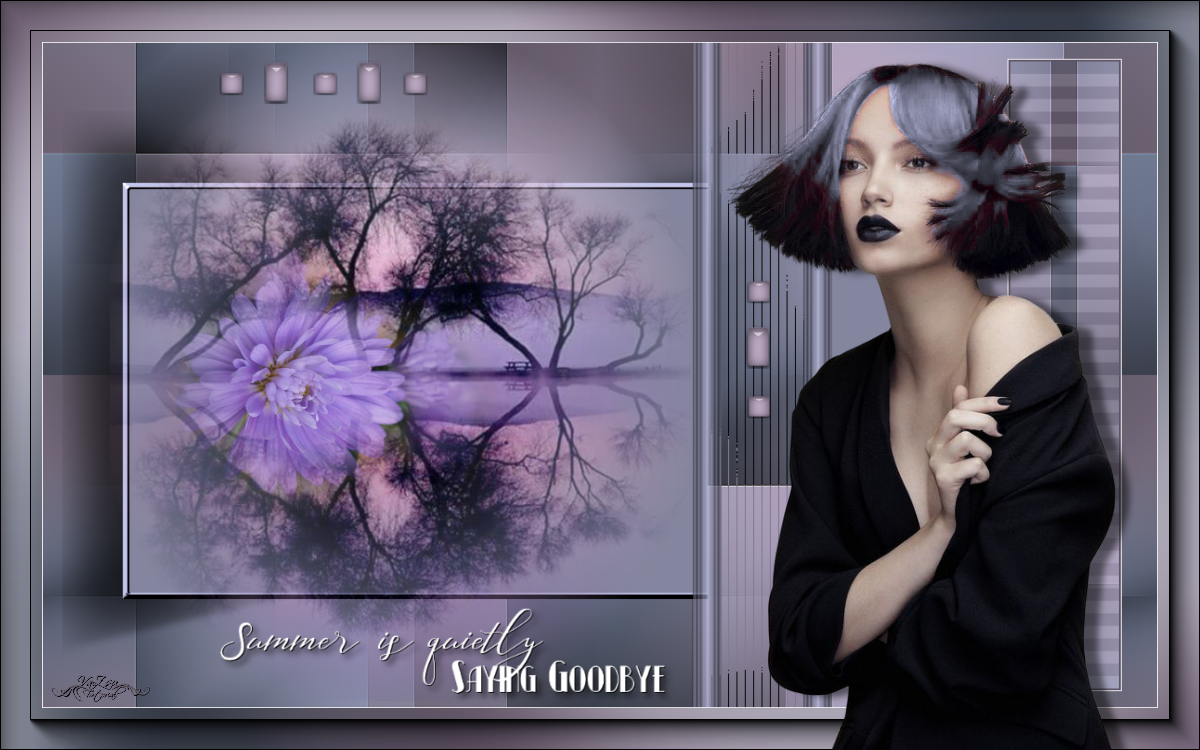
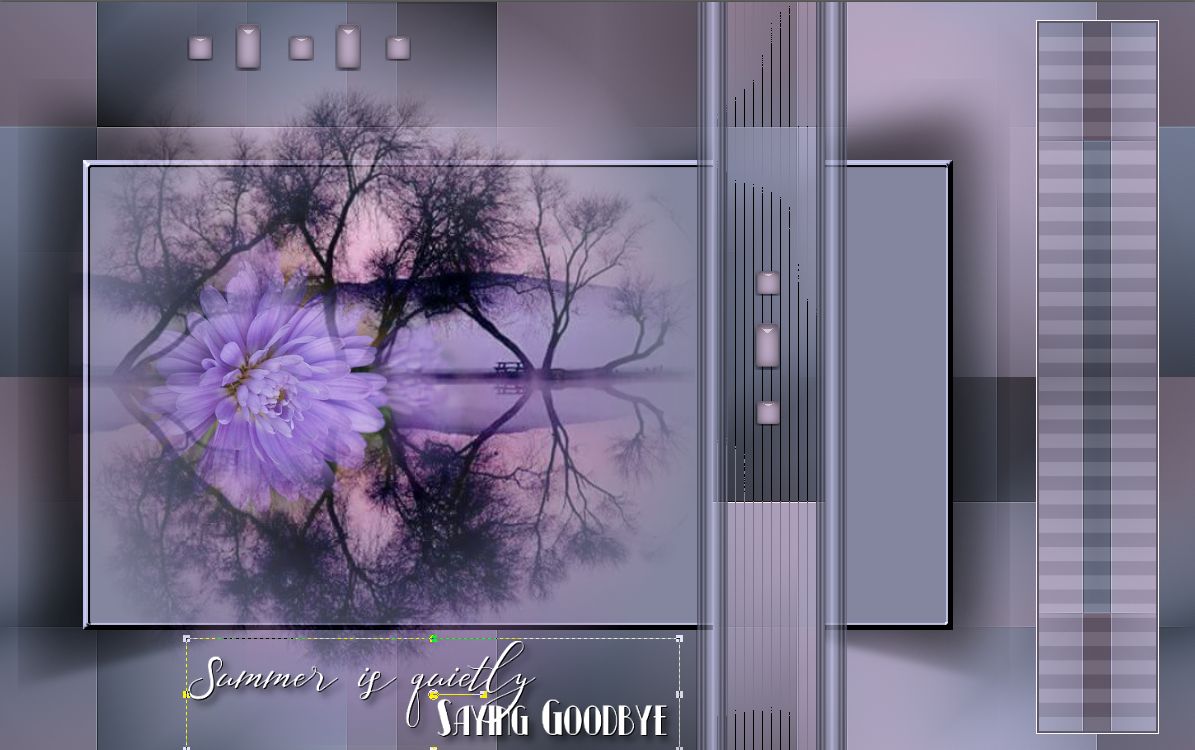
Ebben a bemutatóban egy olyan képet csinálunk, amelynek a címe Csendesen búcsúzik a nyár. Egy szép átmenetet mutat be az öszi idöszakról. A kép érdekessége a középen elhelyezkedö panel lap széleinek dimenziós hatásának elkészítése.

| t_237_pack.rar |
Special thanks for my friends for translate this tutorial to French , Dutch and German language.


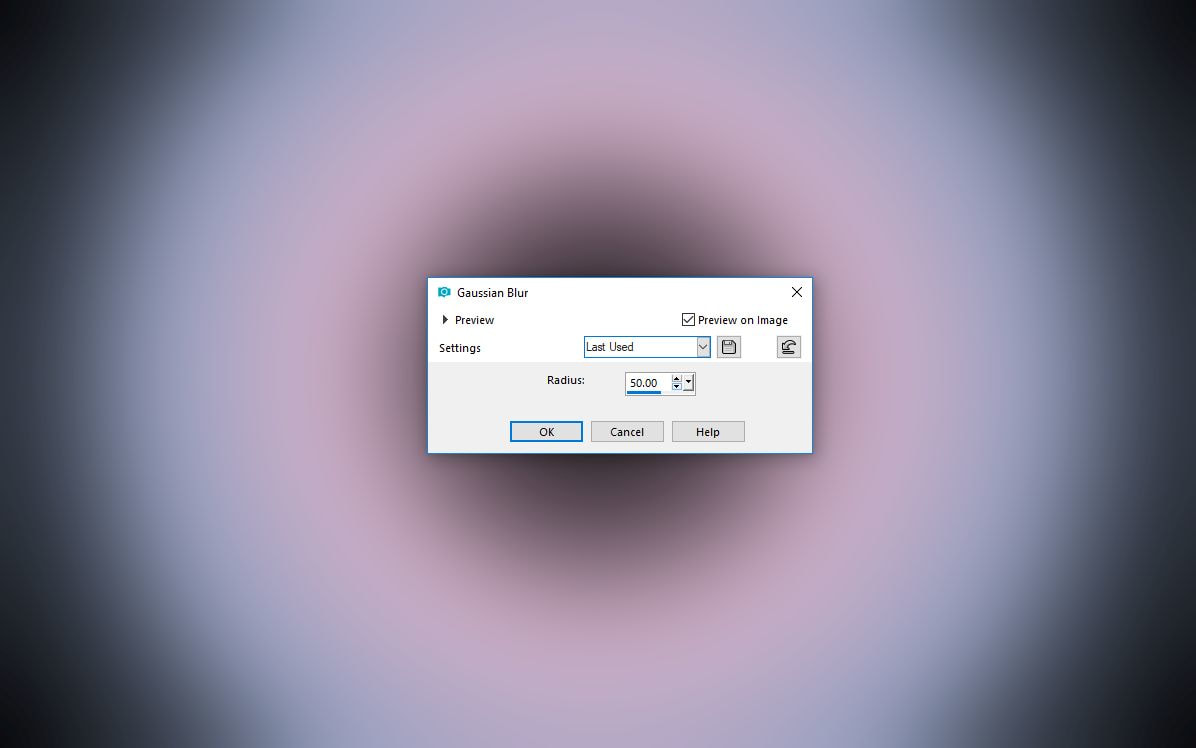
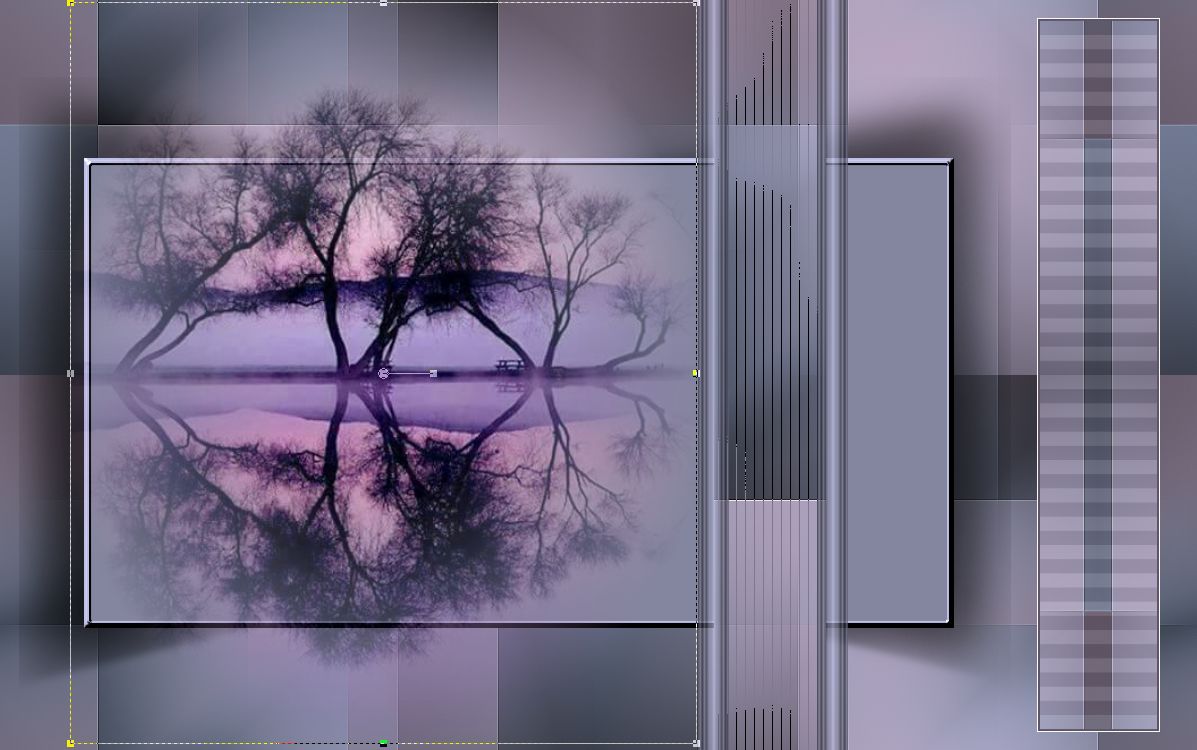
1. Hozd be a gradient alapot a csomagból és dolgozz vele az alábbi menüpontban..
Load in the gradient sheet from your material package.
Adjust - Blur - Gaussian Blur 50
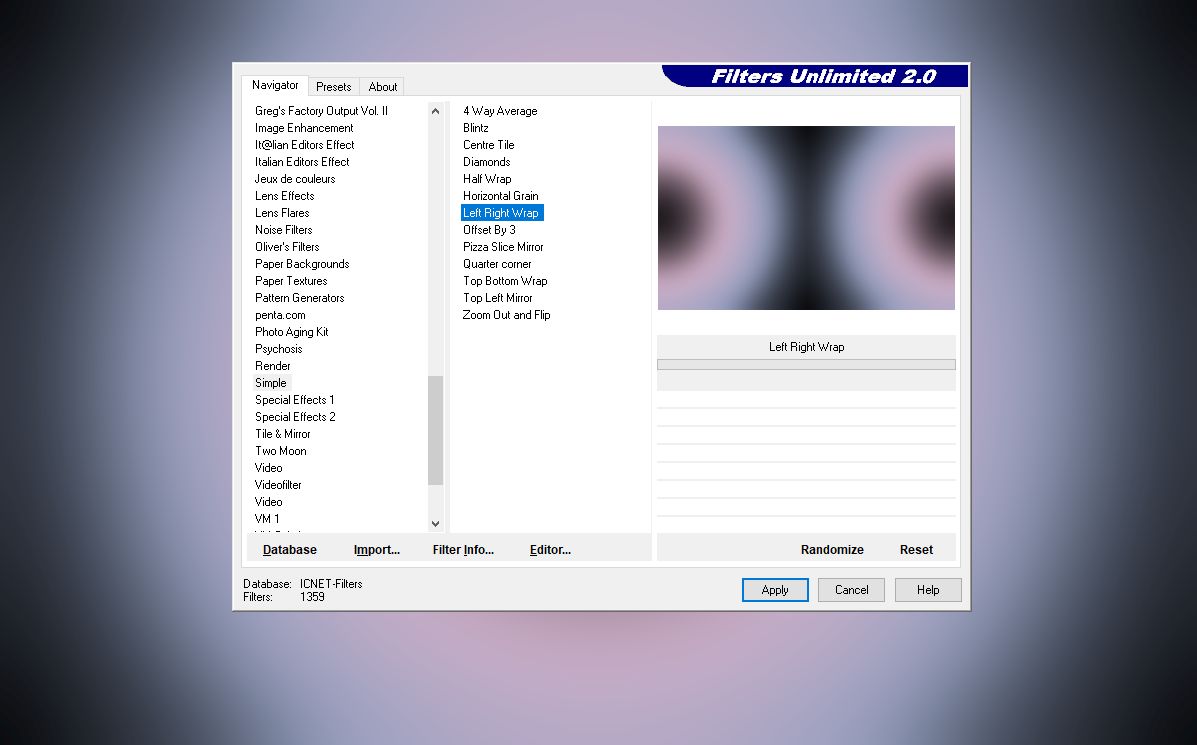
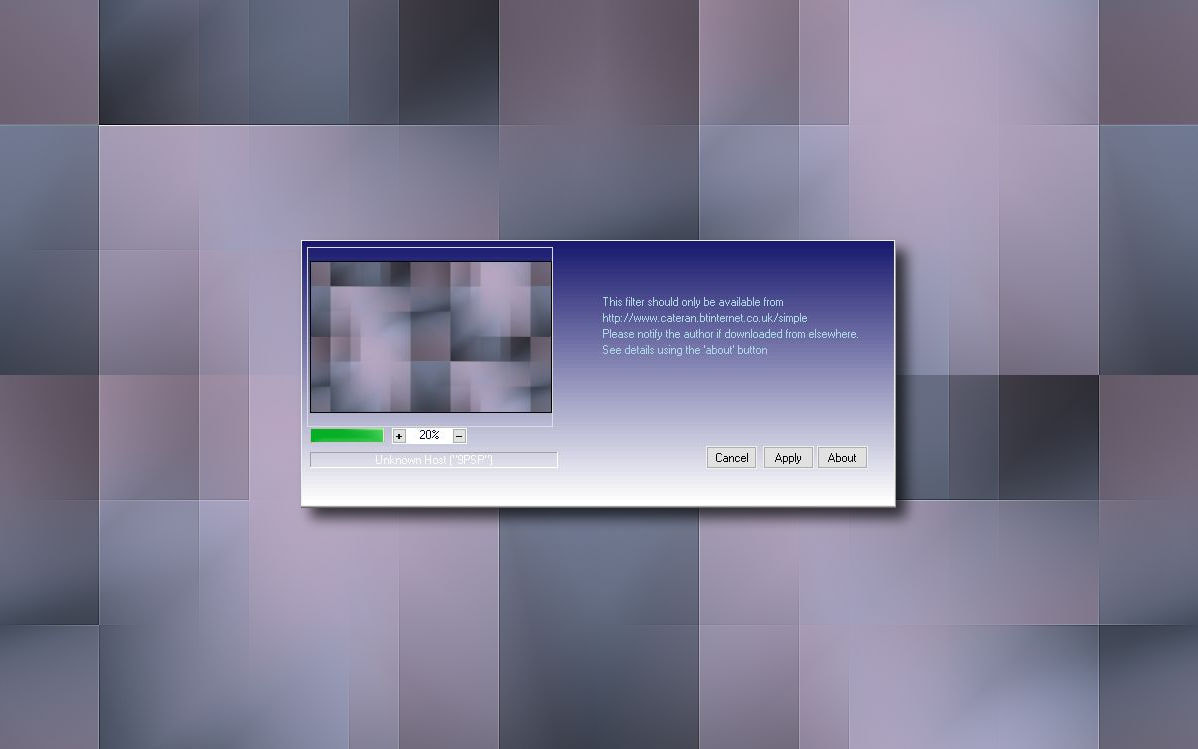
2. Effects - Plugins - Filter Unlimited - Simple - Left Right Wrap
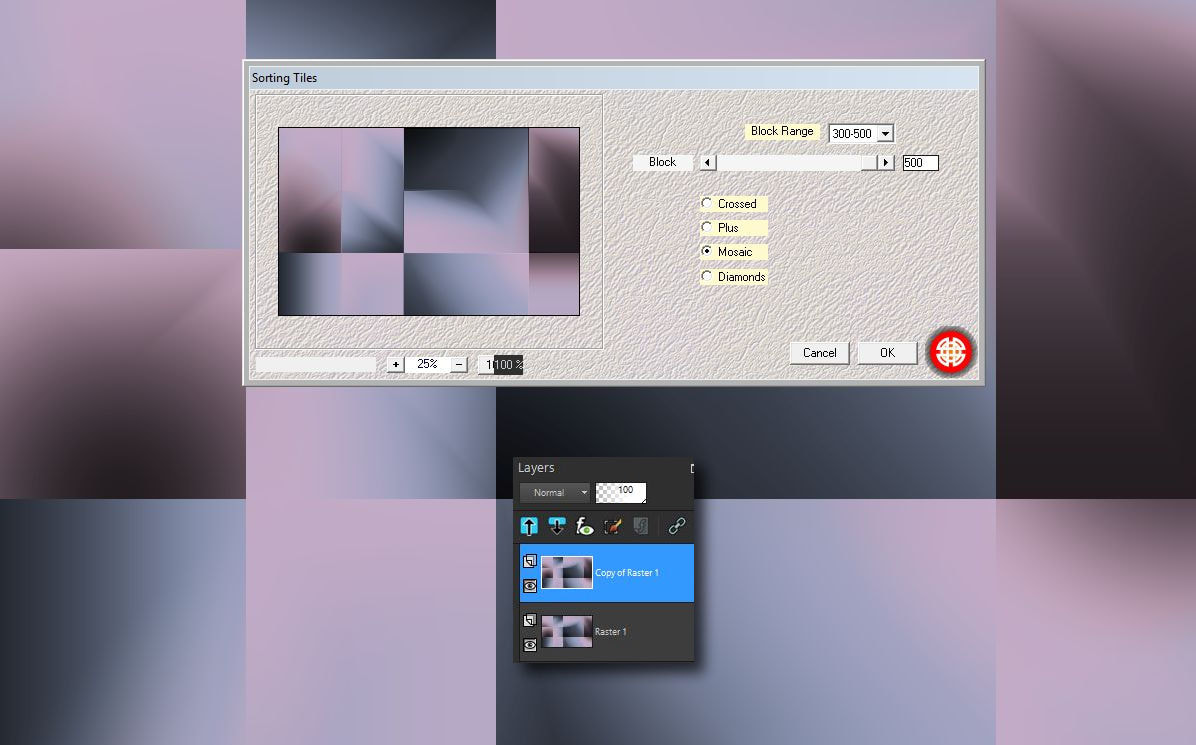
3. Effects - Plugins - Mehdi - Sorting Tile
Layers duplicate
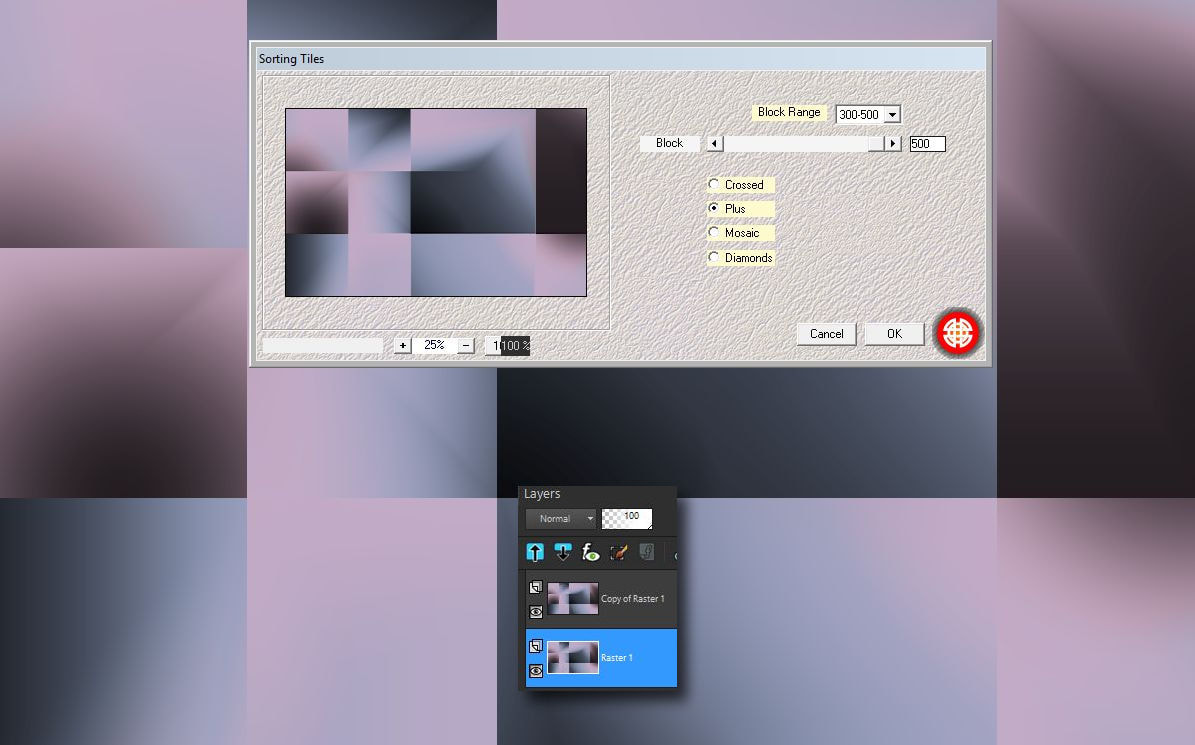
4. Állj a felsö rétegre és tedd rá ezt a szüröt.
Go to the top layer.
Effects - Plugins - Mehdi - Sorting Tiles
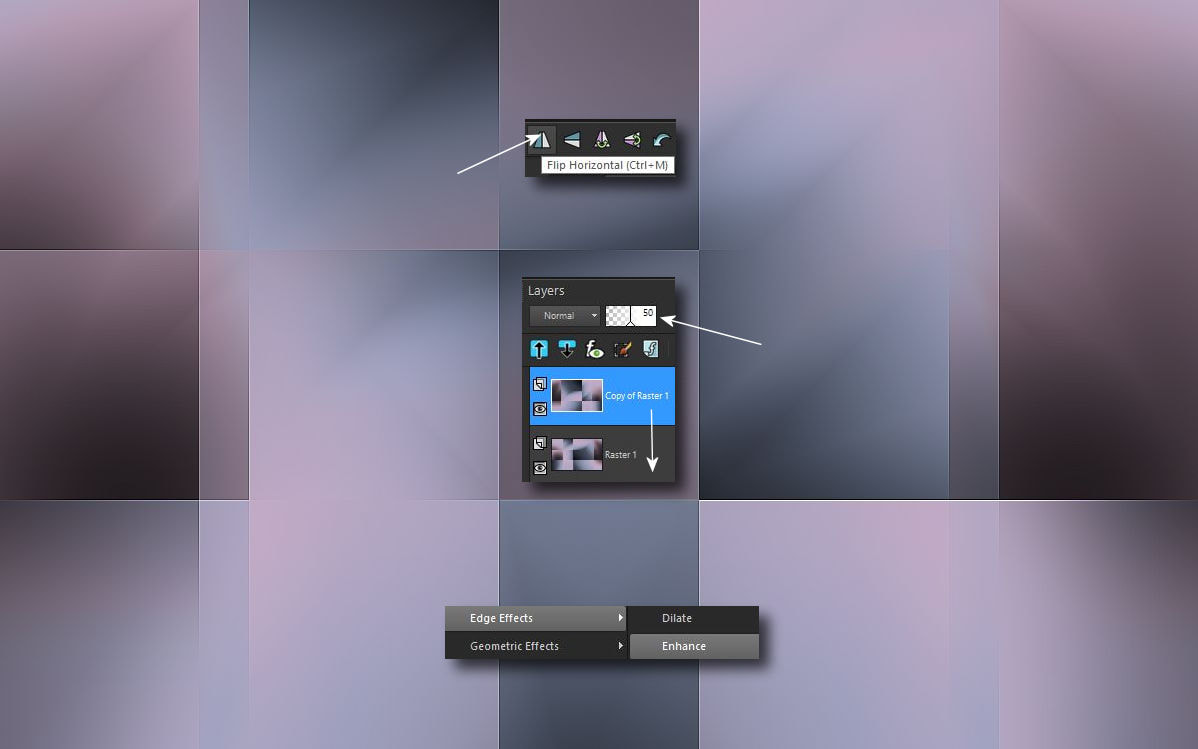
5. Fordítsd át ezt a réteget horizontalásan tegyél mindkettö rétegre enhance-t.
A felsö réteg blend modját tedd 50%-ra és add össze a két réteget.
Image - Flip - Flip Horizontal
Effects - Edge effects - Enhance ( both of layers )
Top layer blend mode 50%
Layers - Merge down
6. Effects - Simple - Quick Tile
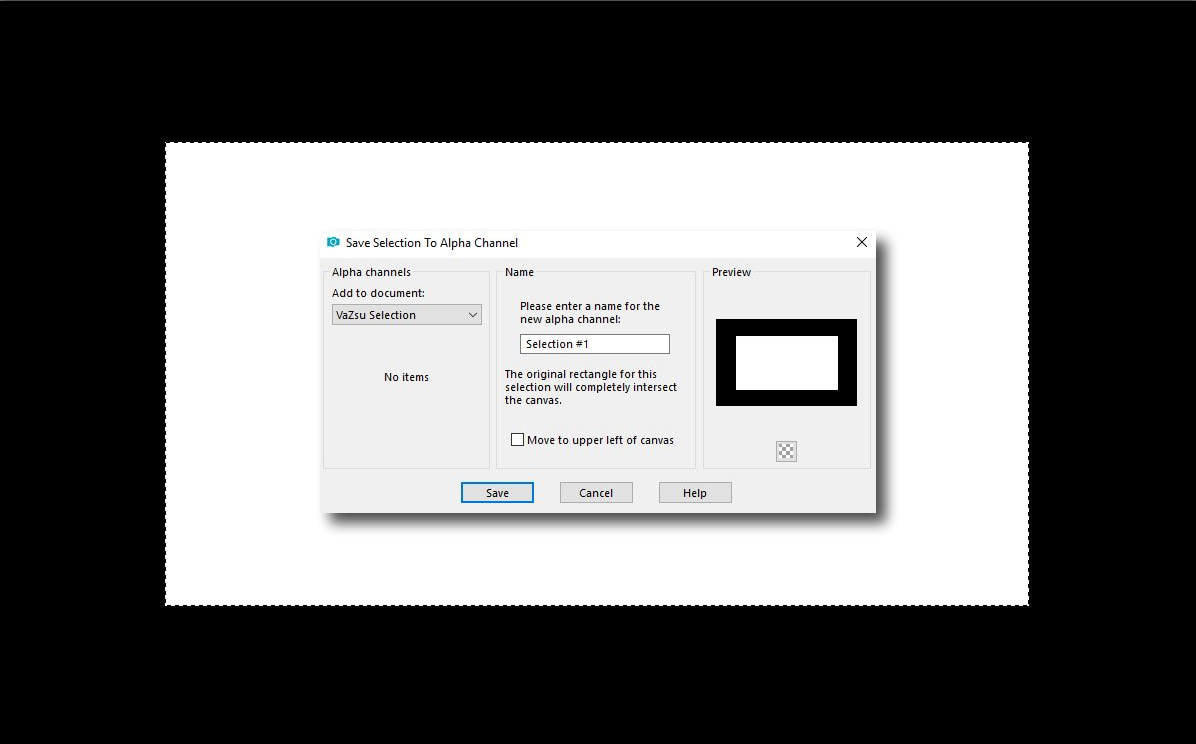
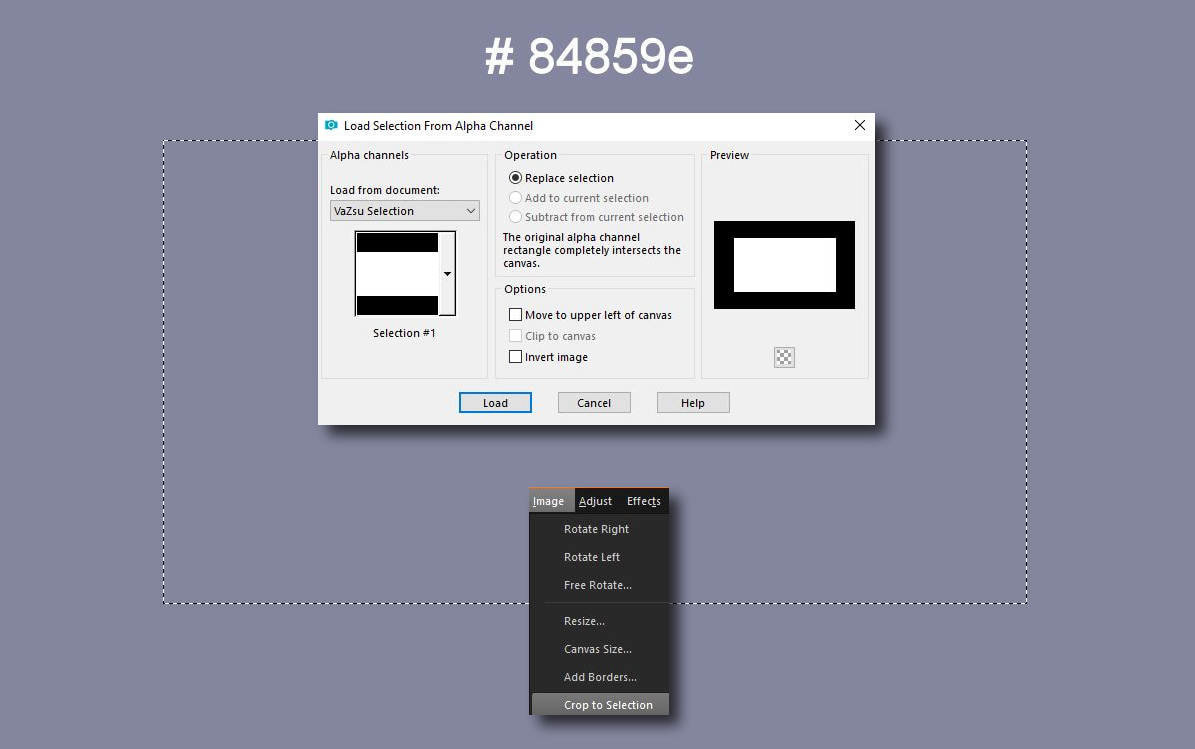
7. Hozd be a csomagból a selection-t és mentsd be az Alpha Csatornába
Load in the VaZsu Selection from your material package and save is
to the Alpha Channel
8. Hozz be egy üres lapot és öntsd ki ezzel a színnel. Hozd be a kijelölést az
Alpha csatornából és tedd a rá a lapra. Vágd körbe azt.
Load in the new transparent background and fill up with this color
Selection - Load /Save Selection - Load Selection From Alpha Channel
Image - Crop to Selection
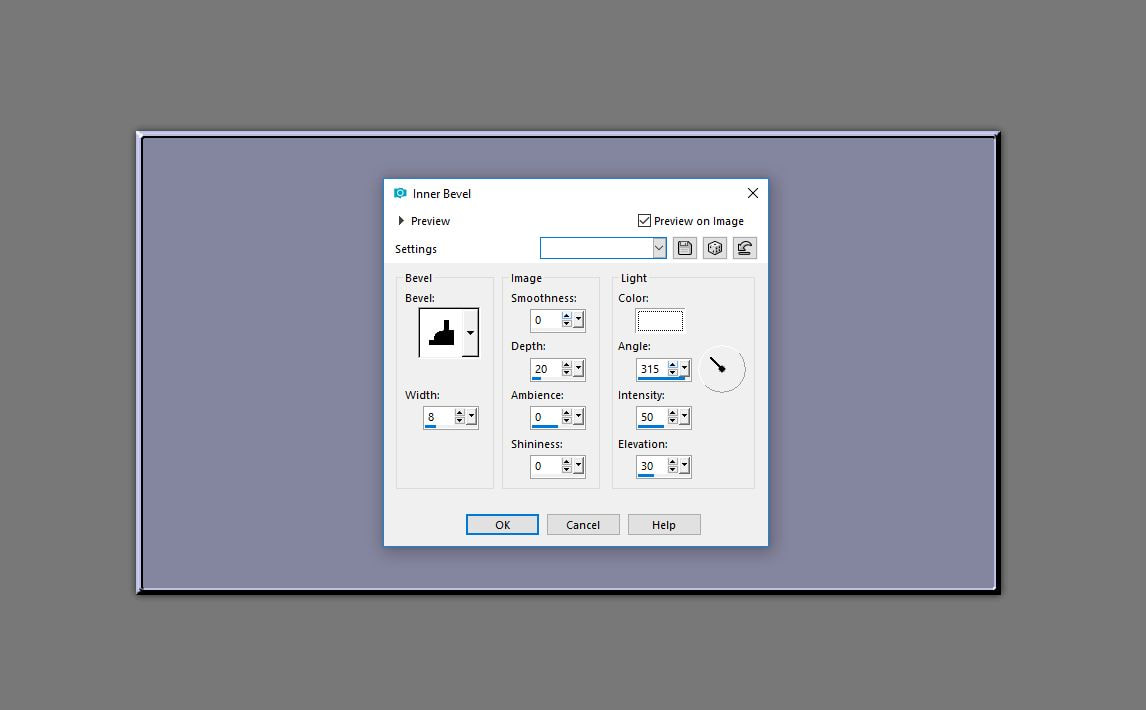
9. Effects - 3D effects - Inner bevel
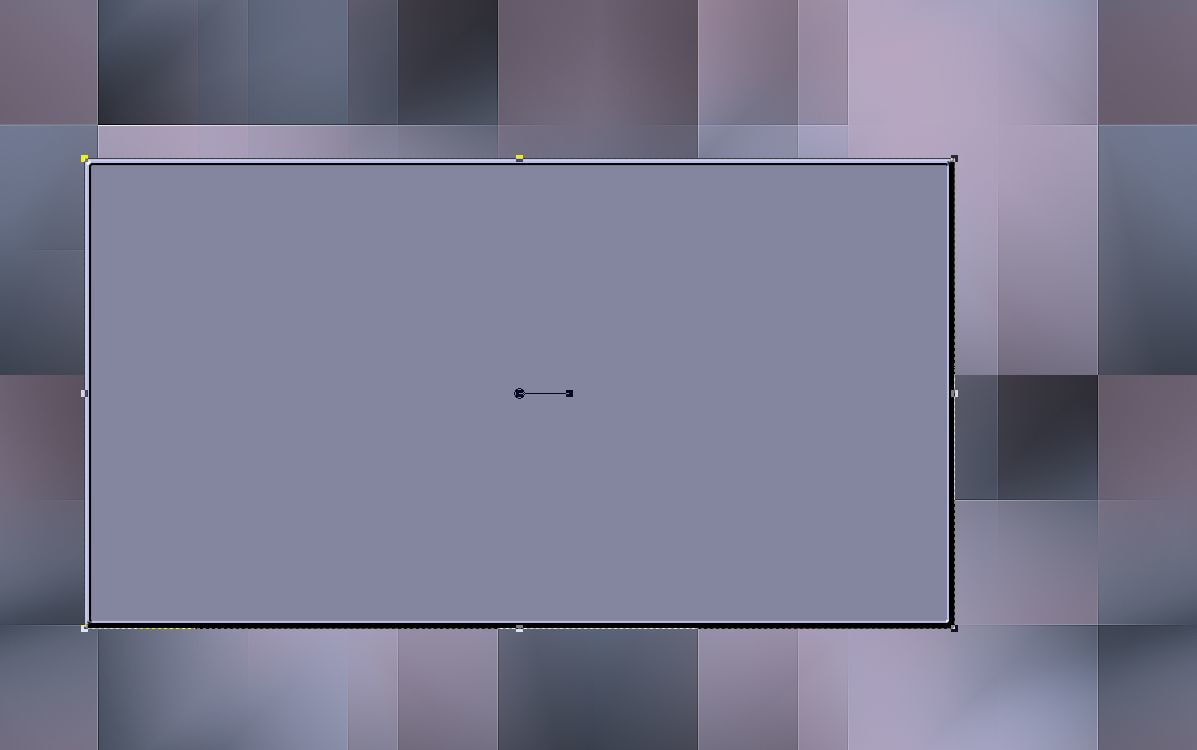
10. Másold be a táblát a képalapodra és pozícionálj pontosan.!
Paste this sheet to your image and do the position correctly!
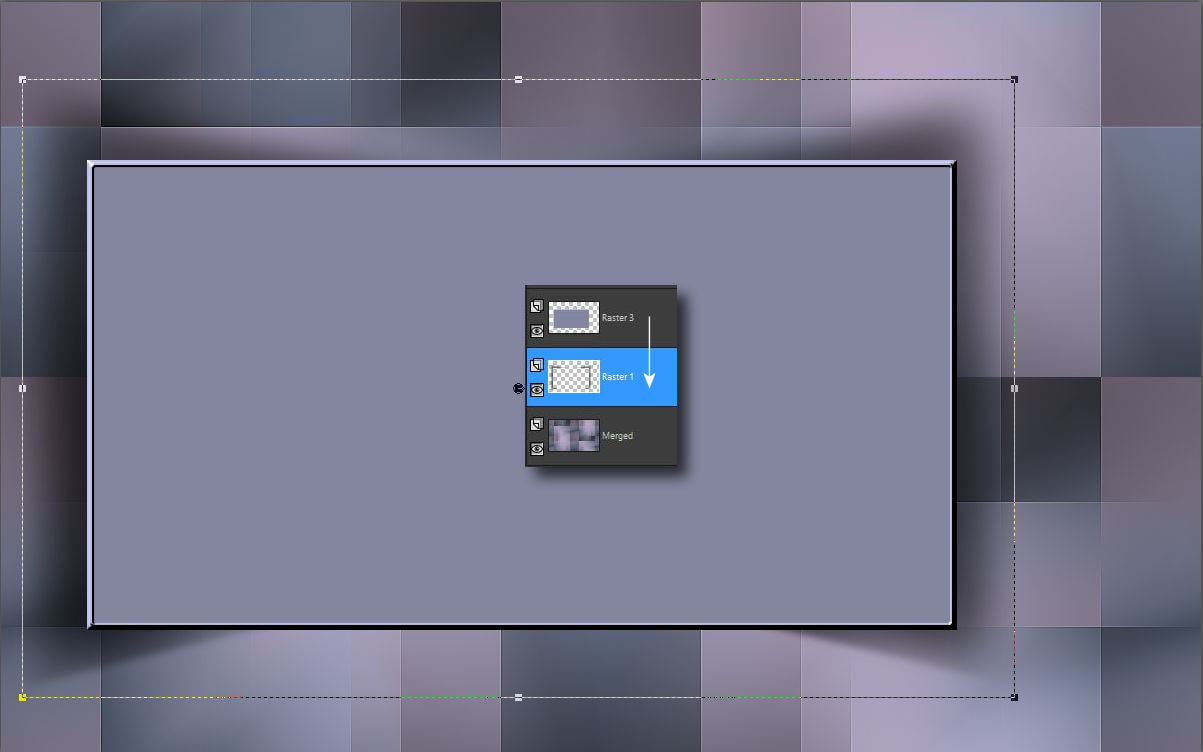
11. Hozd be a VaZsu Shadow-t a csomagból és másold be a képedre majd a réteget
vidd a táblaréteg alá.
Mostmár a szem érzékeli a dimenziót az árnyékhatás miatt.
Load in the VaZsu Shadow from the package.
Copy and paste as a new layer to your image
Move this layer under the top layer
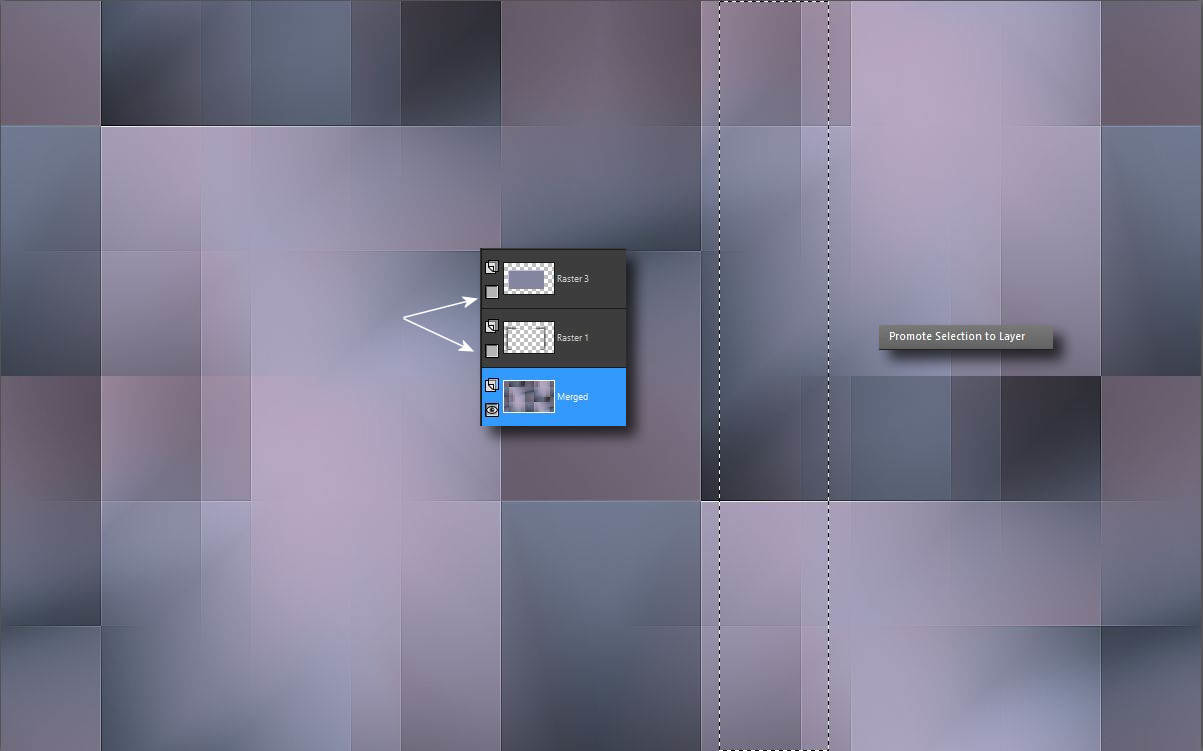
12. Csukd be a felsö rétegek szemeit állj az alsó rétegre és csinálj egy ilyen kijelölést
és promotáld azt.
Go to the bottom layers. Close the two top layers eye.
Make a selection like this.
Selection - promote selection to layer
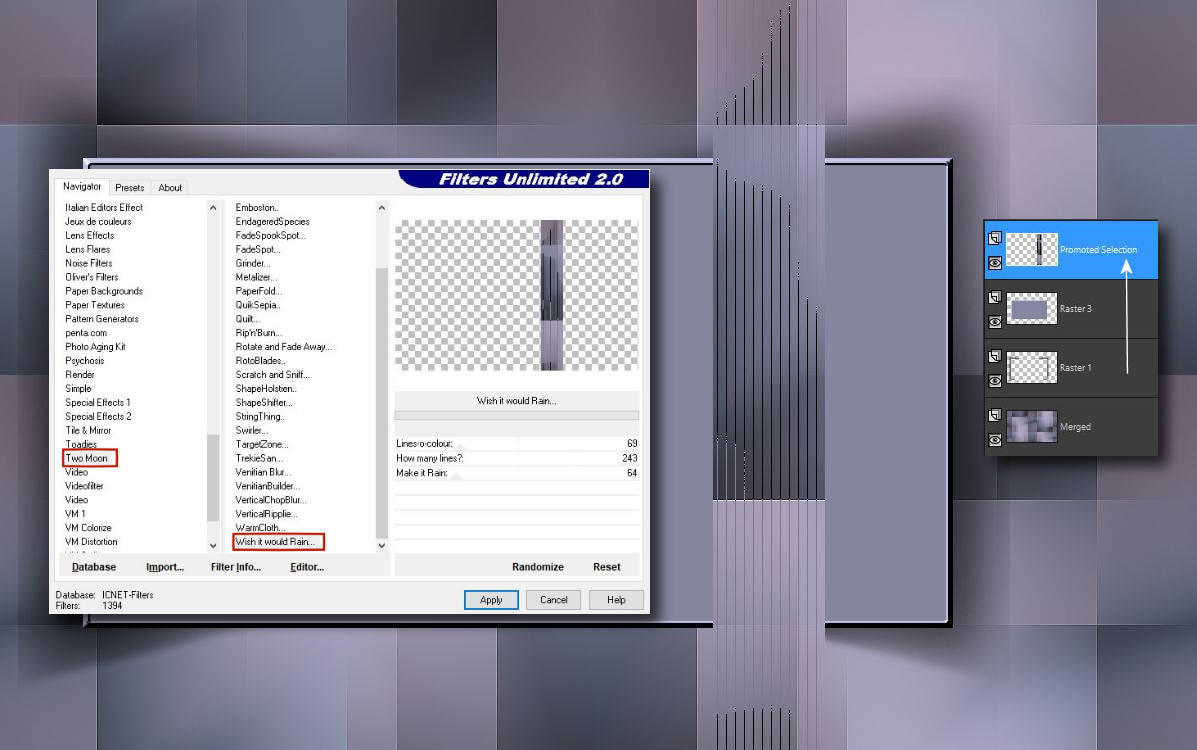
13. Tedd rá ezt a szüröt a promótált rétegre és vidd a réteget legfelülre.
Stay on the promoted layer
Effects plugins - Filters Unlimited - Two Moon - When It Would Rain
Move of this layer to the top layer
14. Hozd be a line dekort a csomagból helyezd el a képeden és a blend modot tedd
70%-ra.
Load in the VaZsu Line decor from your material package.
Copy and Paste into your image. Do the position and the blend mode 70%

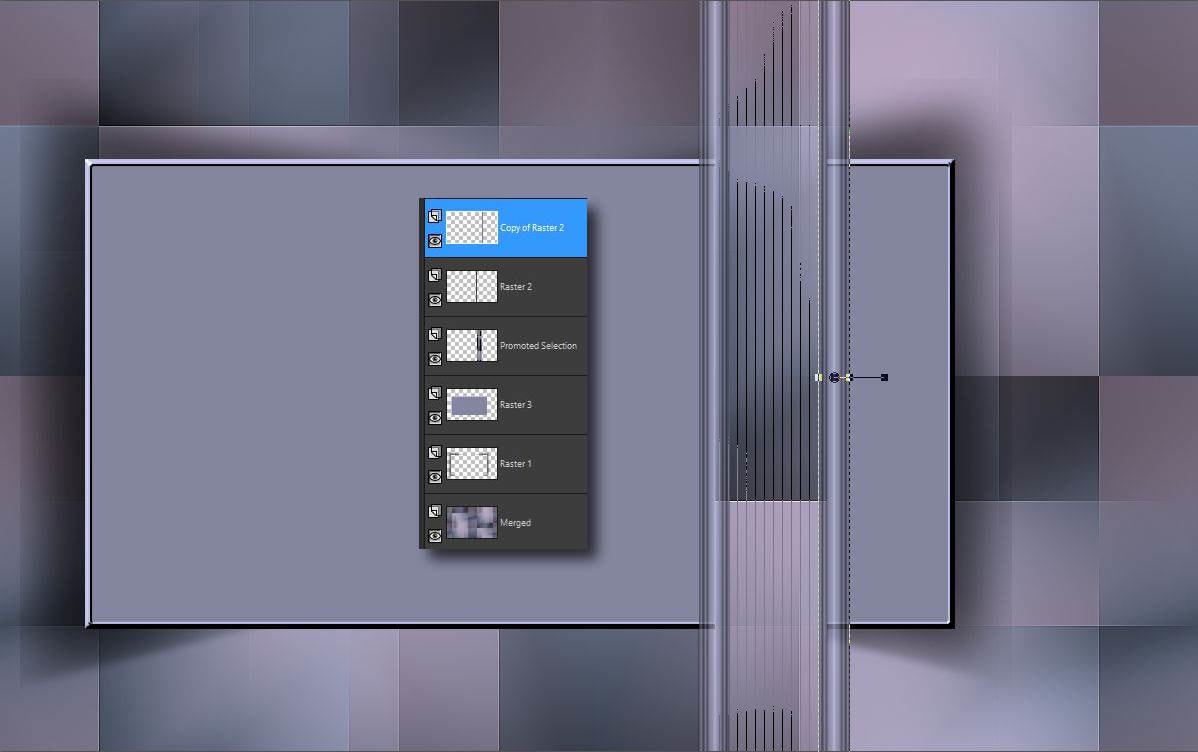
15. Duplázd meg a réteget és pozícionáld a másik oldalra. Jelenleg 6 réteged van
Layer duplicate. Position on the right side of this layer.
You have a six layers now.
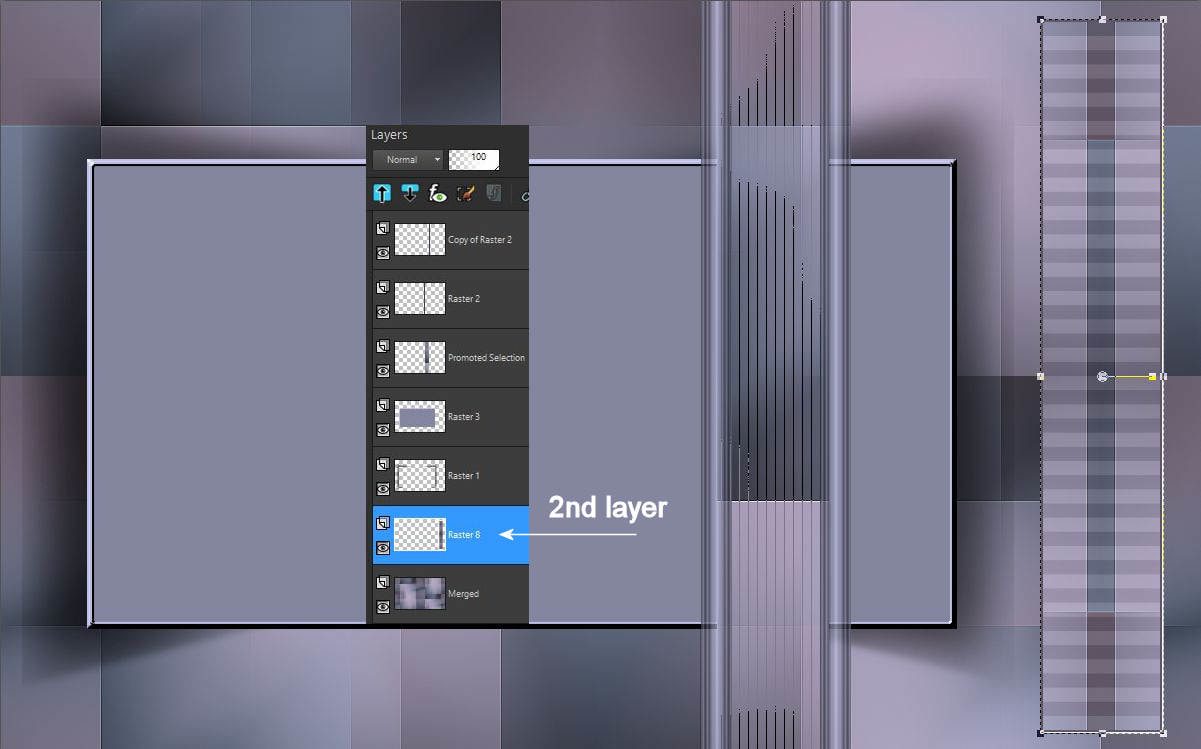
16. Hozd be a csomagból a VaZsu Line Decor 2-t és másold be a képedre.
Vidd ezt a réteget alulra második rétegként.
Load in the VaZsu Line Decor 2 from your package. Copy and Paste
into your image as a new layer.
Move this layer to the 2nd layer.
17. Kezdjünk dekorálni csak kövesd a képeken látottakat.
Let's start decorating just follow the pictures you saw.
18.
19.

20.
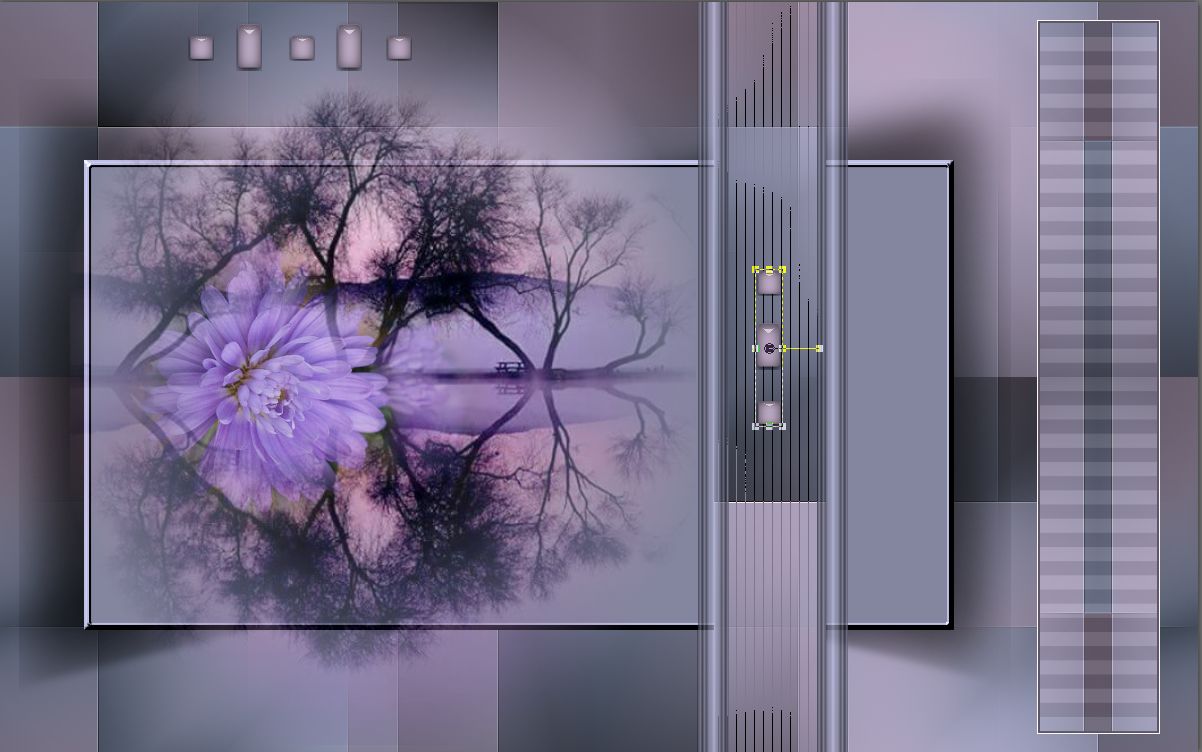
21.
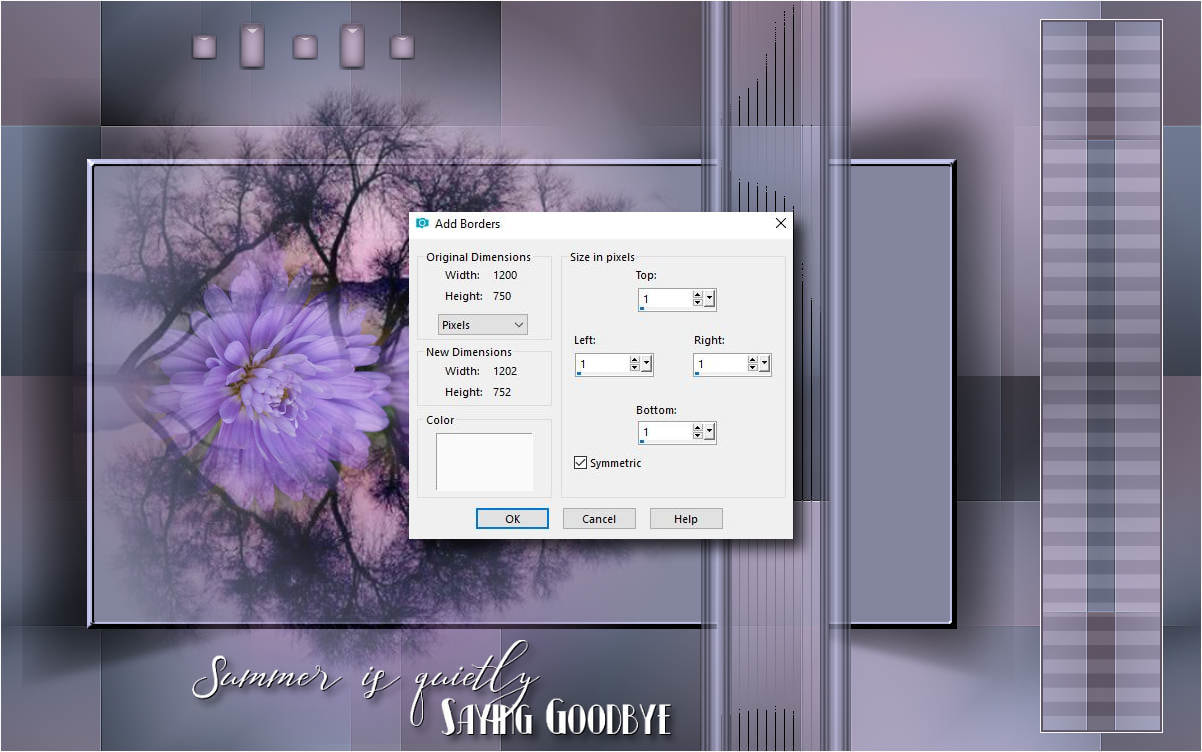
22. Image - Add Borders ( white color )
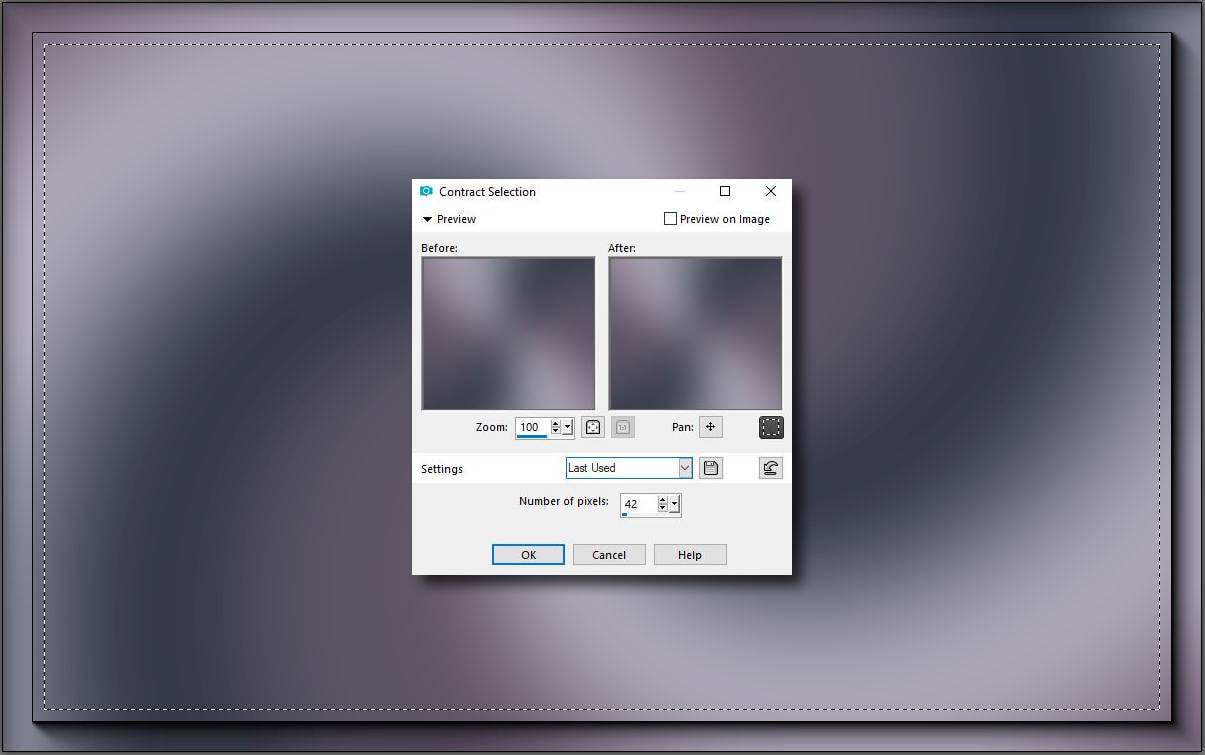
23. Load in the Base Image
Selection - Select All
Selection - Modify - Contract 42
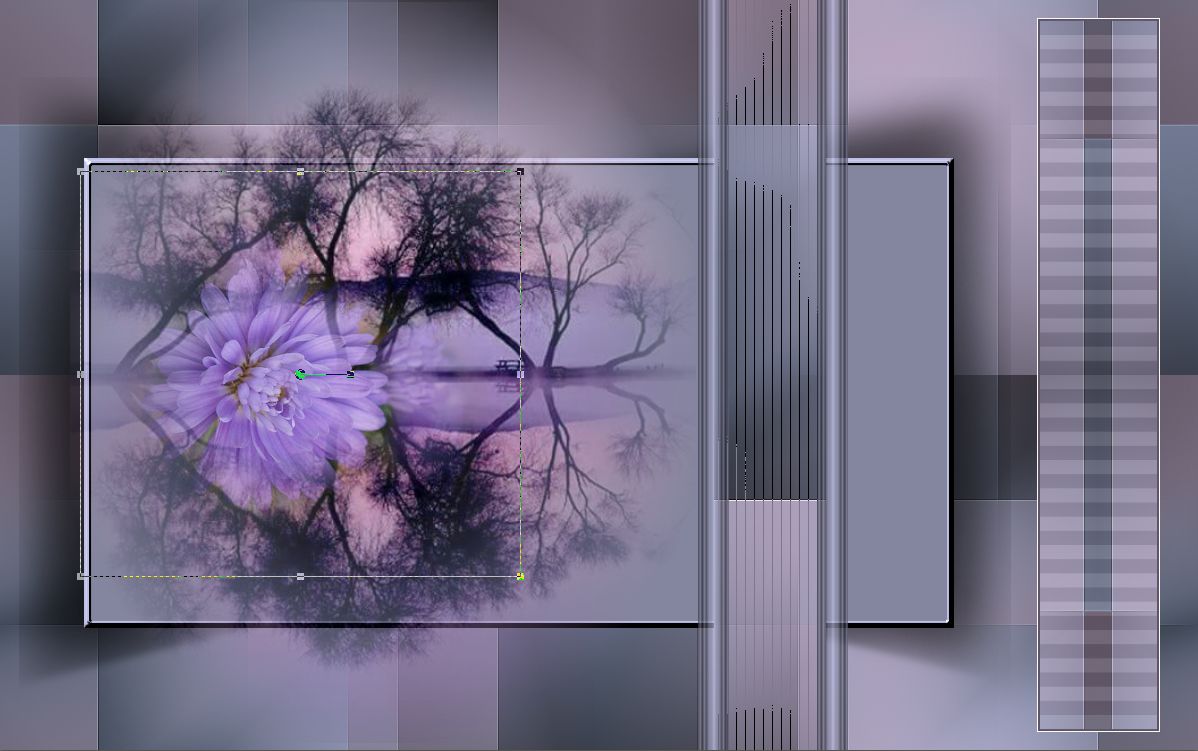
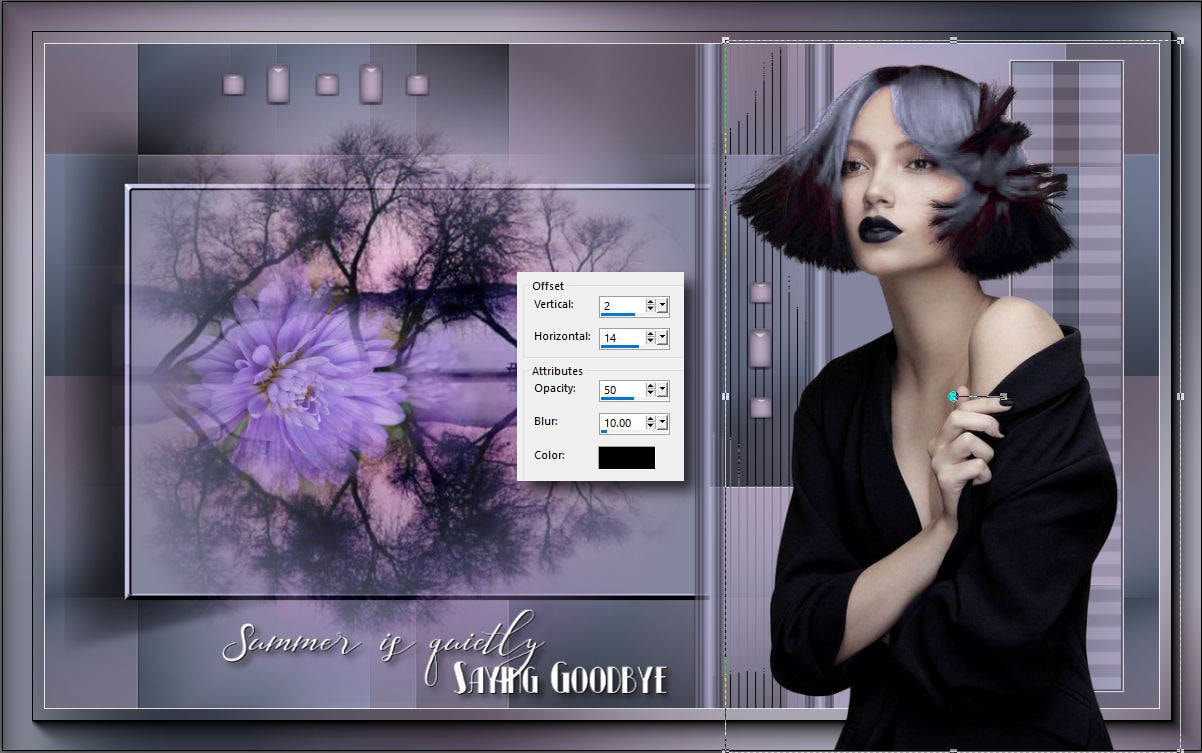
24. Másold be a képedet a kijelölésbe tedd rá a nöi tubet új rétegként és adj neki
árnyékot, majd add össze a rétegeket.
Copy and Paste your ready image to the Selection.
Selection None
Paste the tube into your image also as a new layer.
Effects - 3 D Effects - Drop Shadow
Gratulálok már készen is vagy. Remélem ez a bemutató is tartogatott elég izgalmat
ahhoz, hogy hamarosan vissza gyere a következö tutorialhoz is.
Congratulation you're done! I hope you can come back soon again.