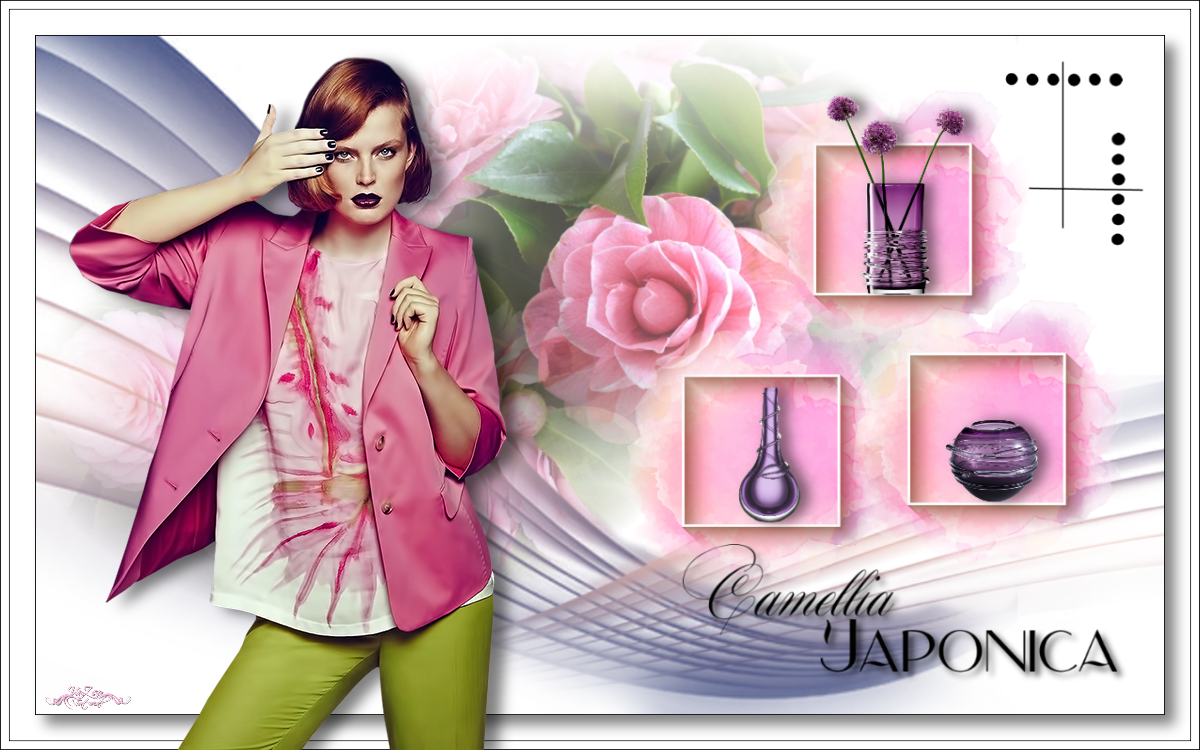
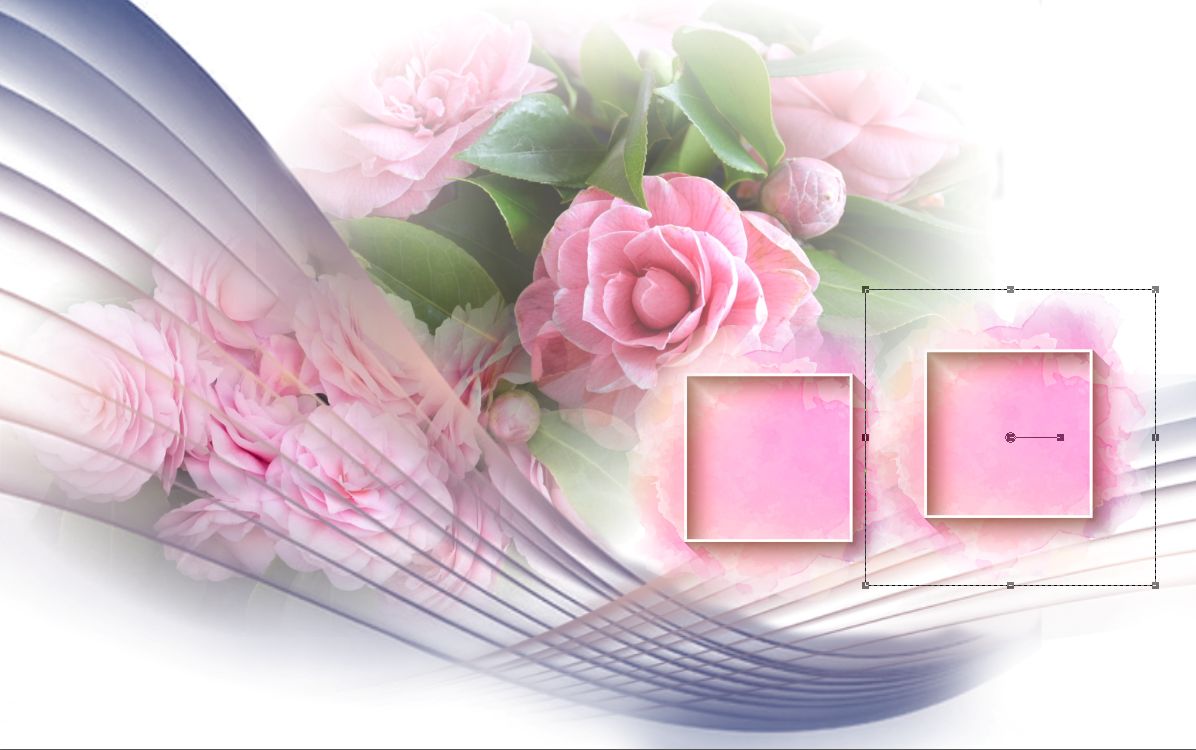
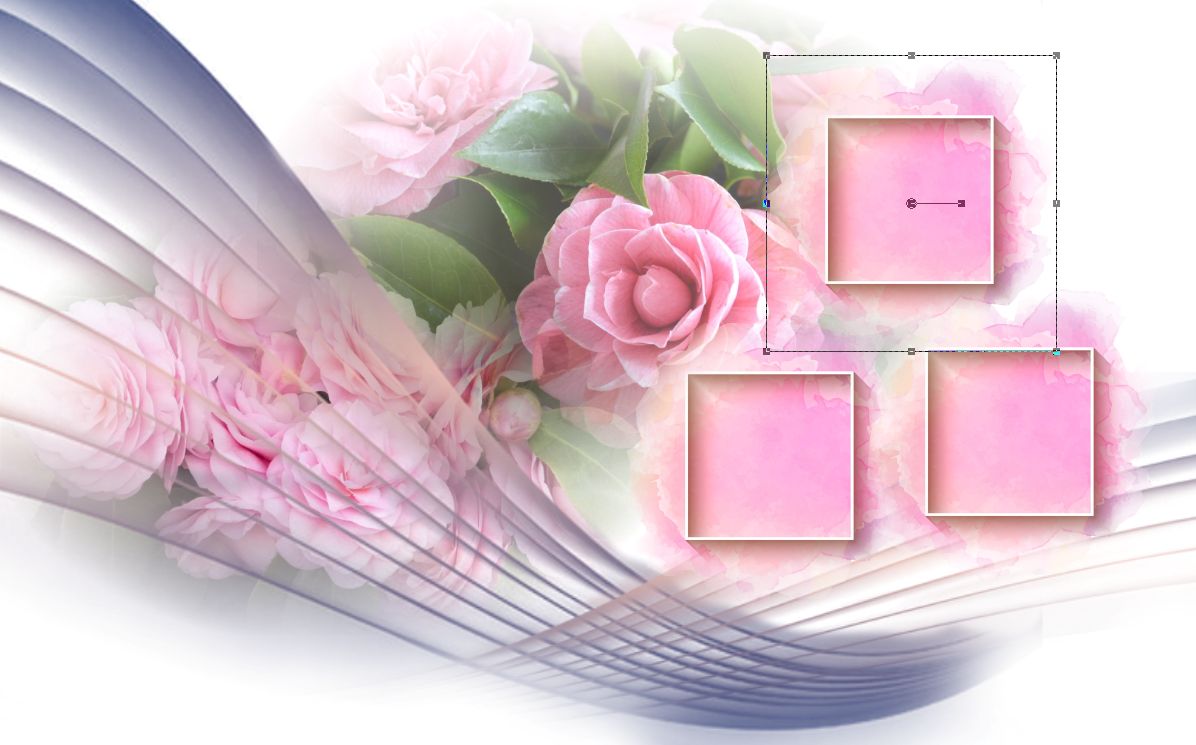
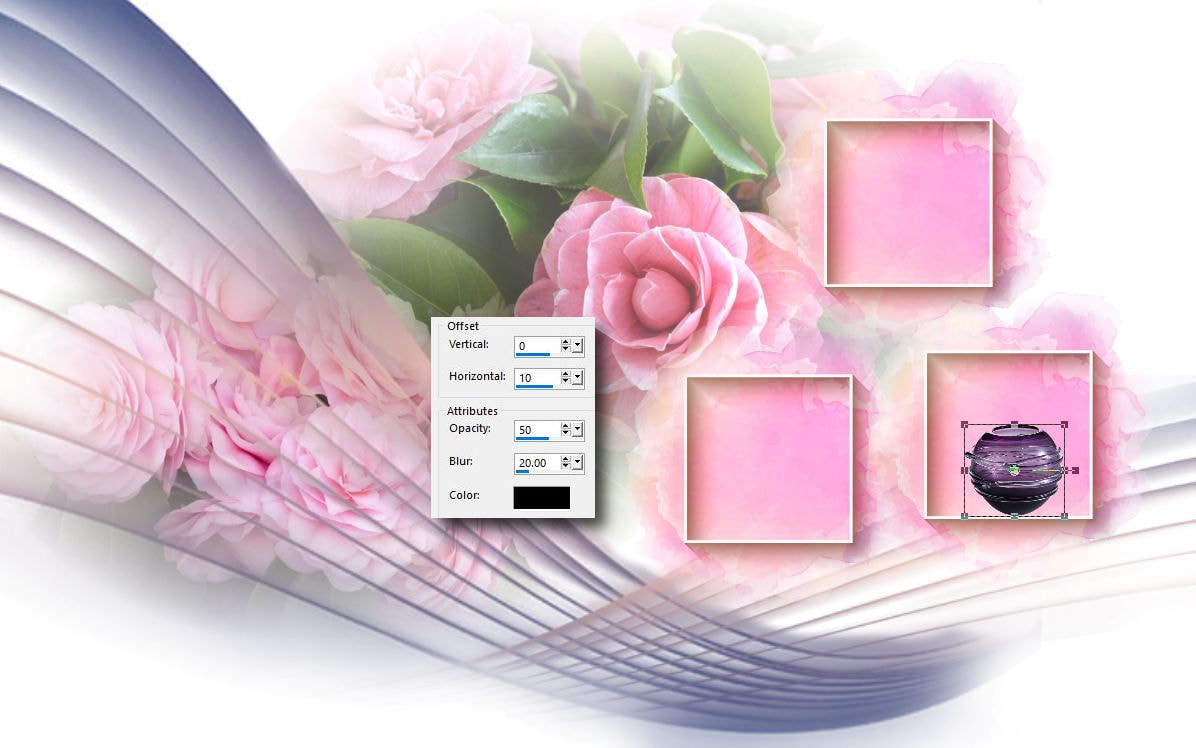
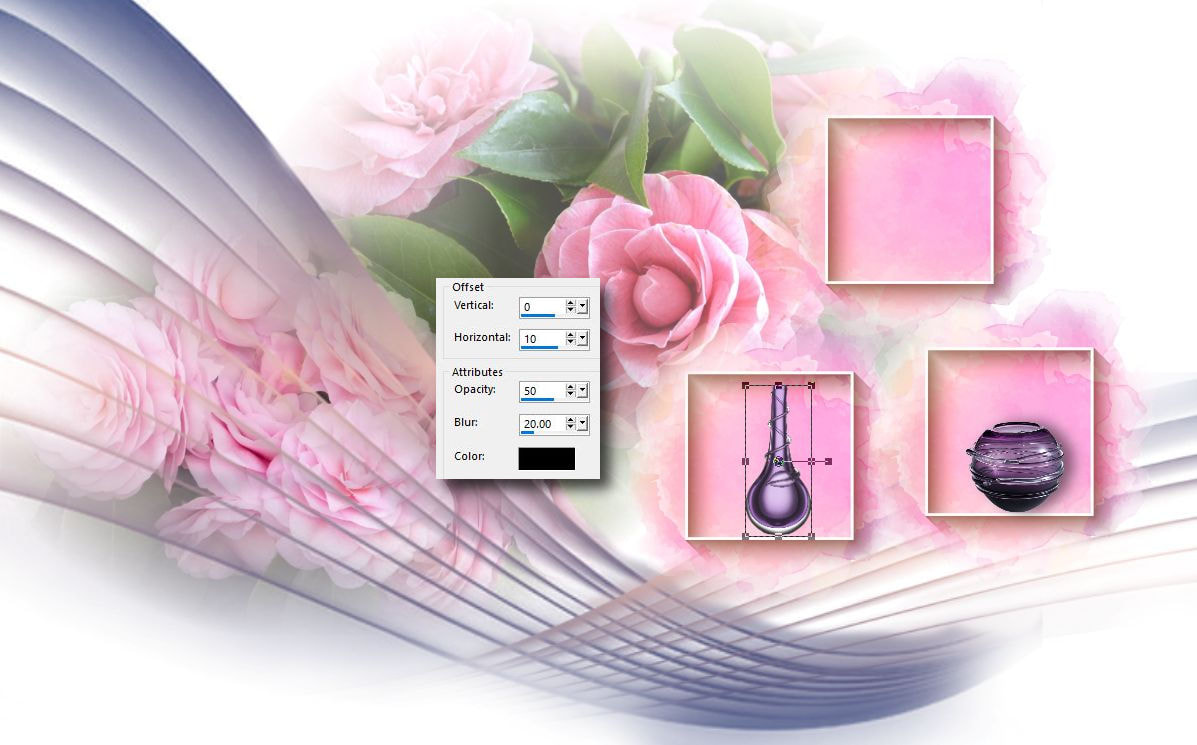
Ritkán csinálunk olyan képeket amelyek csak fehér színü alapra készülnek. Azt hihetnénk talán ez a legegyszerübb dolog. A harmóniát egy ilyen képen nehezebb kialakítani mint azt gondolnánk. ügyelnünk kell arra, hogy a színekkel jól bánjunk, hiszen a fehér színen minden jól mutat. Könnyen elöfordulhat, hogy az összetevö elemek egymáshoz képest nem passzolnak és kissebb káoszt okoznak egy szerkesztett képen. Ezért jobban kell figyelni a meleg és hidegszínek együttes alkalmazására.
Ami jellemzö ilyenkor, hogy kevesebb lépésböl készül egy kép, hiszen nem kell sok szüröt alkalmazni.
We rarely make images that are made on a white base only. We might think this is the simplest thing. It is harder to create harmony in such a picture than we think. We must make sure that we treat the colors well, because everything is fine on the white. It can easily happen that component elements do not match each other and we make a small chaos in an edited image. Therefore, you should pay more attention to the combination of hot and cold colors.
This is characterized by the fact that fewer steps are taken to make an image, as there is no need to apply many plugins.
| t_266_pack.rar | |
| File Size: | 6575 kb |
| File Type: | rar |
Special Thanks for MoonLightAngel ( Lisette ) for translating this tutorial to Dutch language.
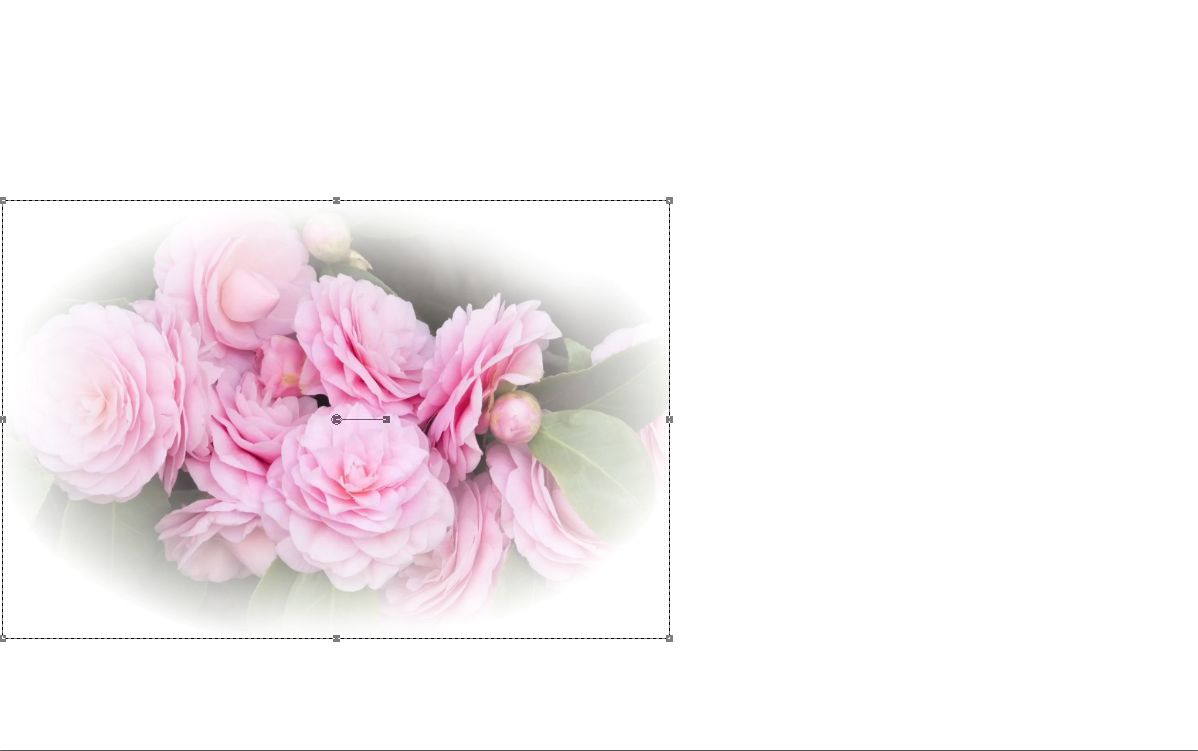
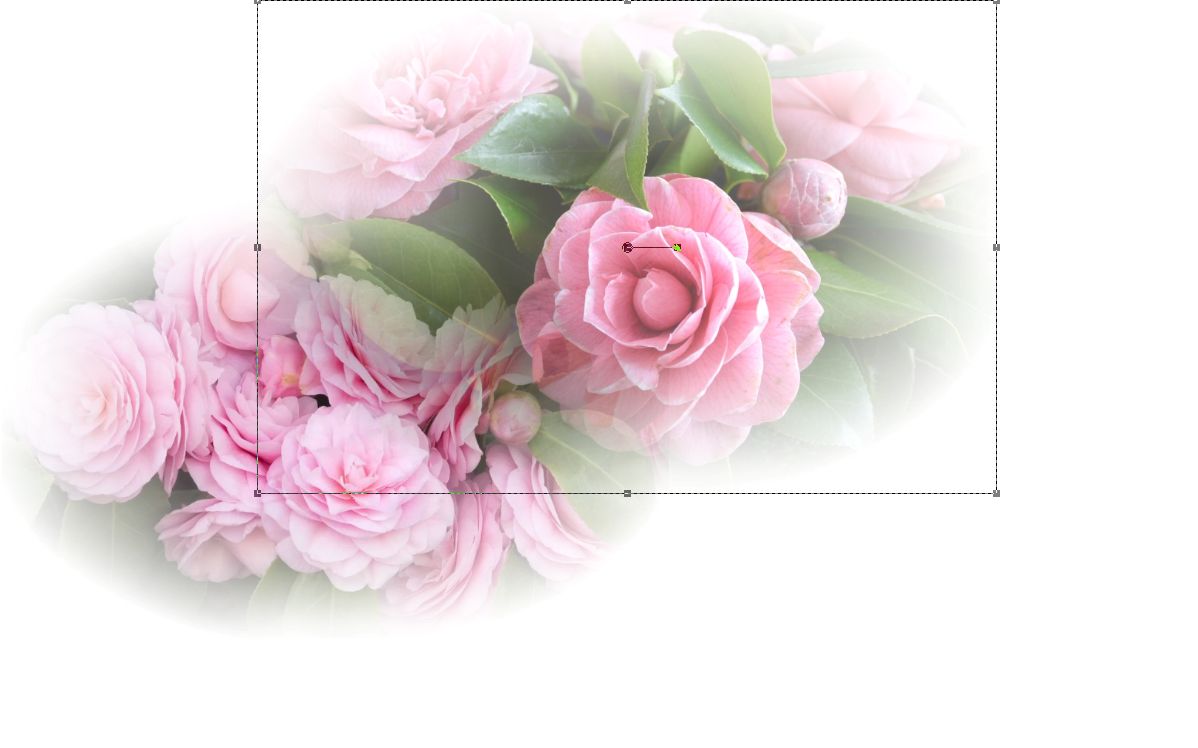
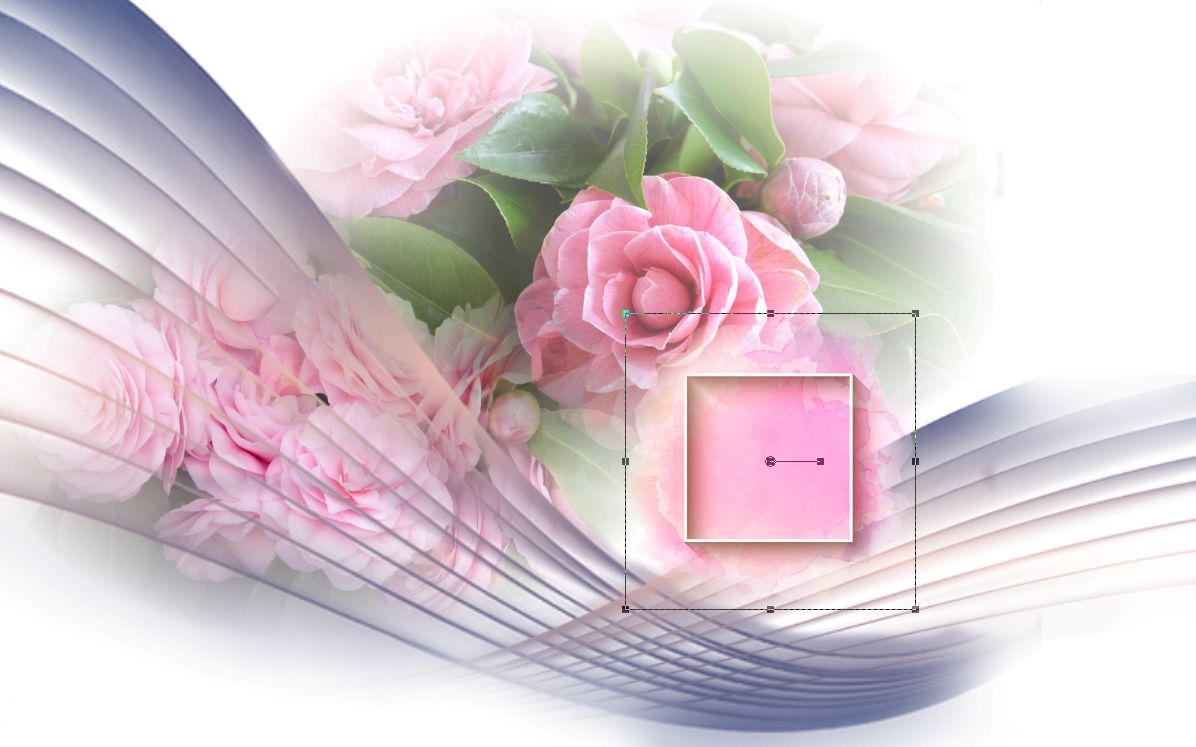
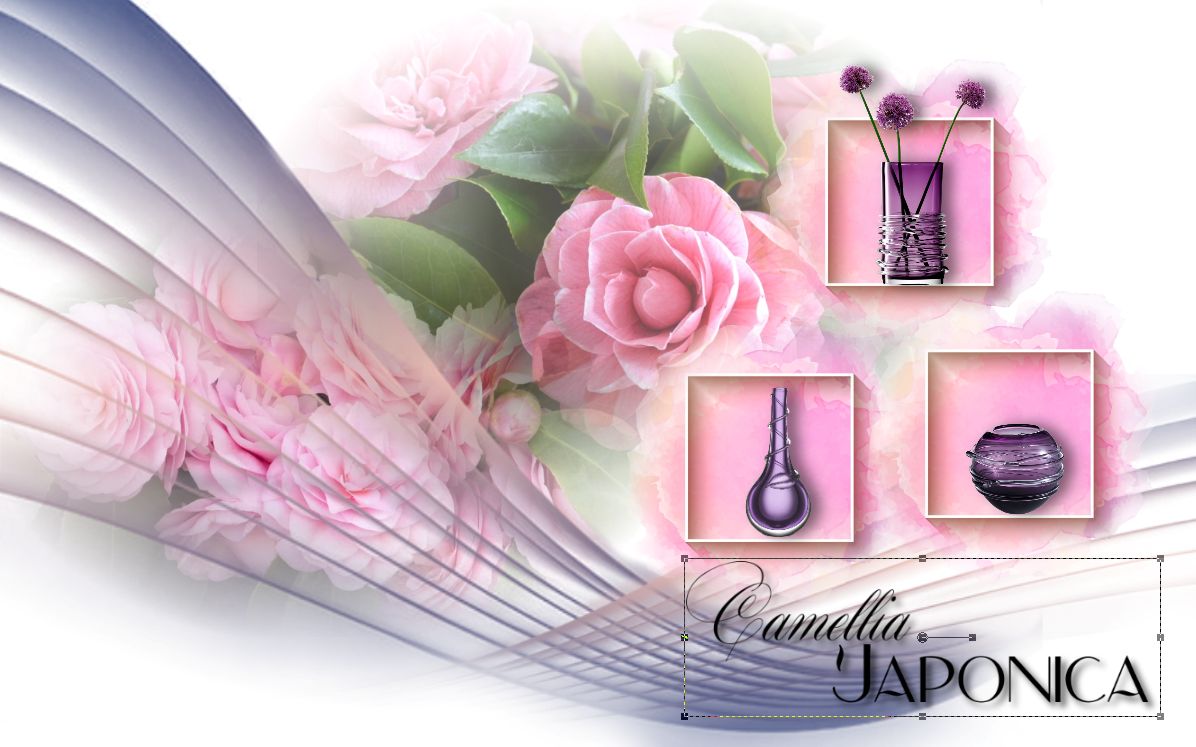
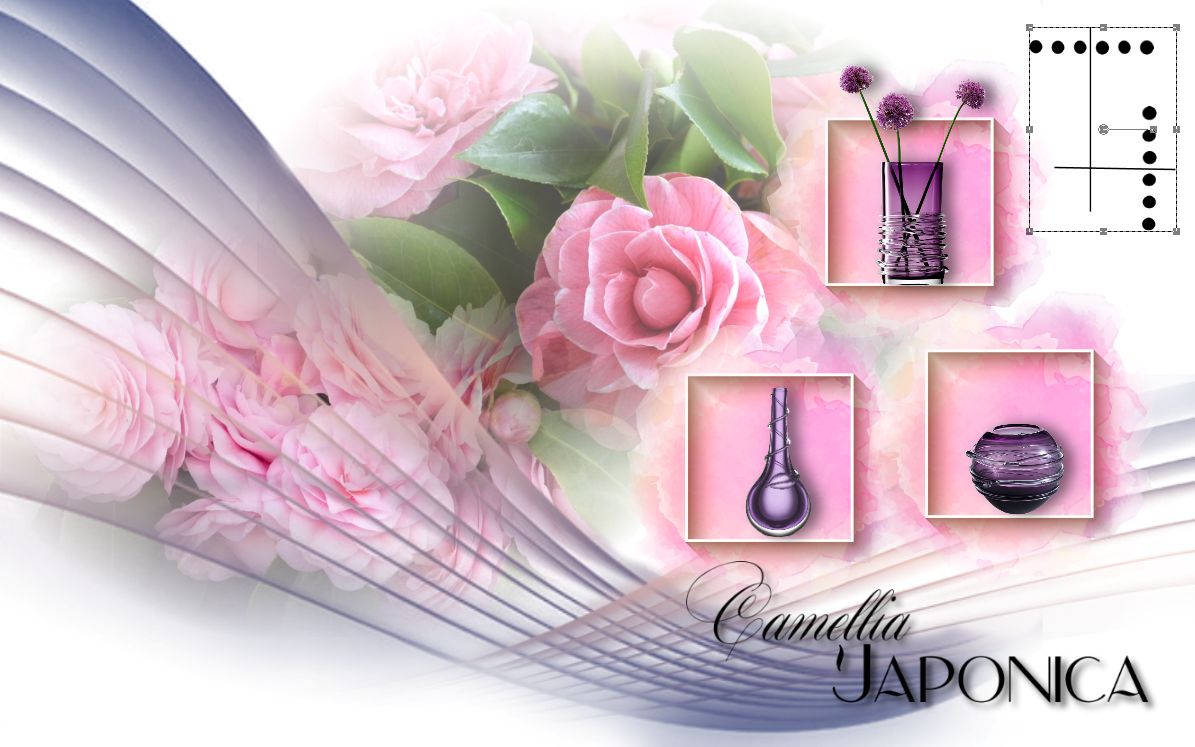
1. Hozz be egy üres lapot és öntsd ki fehér színnel. Helyezd el az elsö elemet a
csomagból. Folytasd a díszítést és kövesd a képeken látottakat.
Load in the new sheet and fill up with the white color. Space the first element
from your material package. Continue to decorate and follow what you see in the
demo images
2.
3.
4.
5.
6.
7.
8.
9.
10.
11.
12.
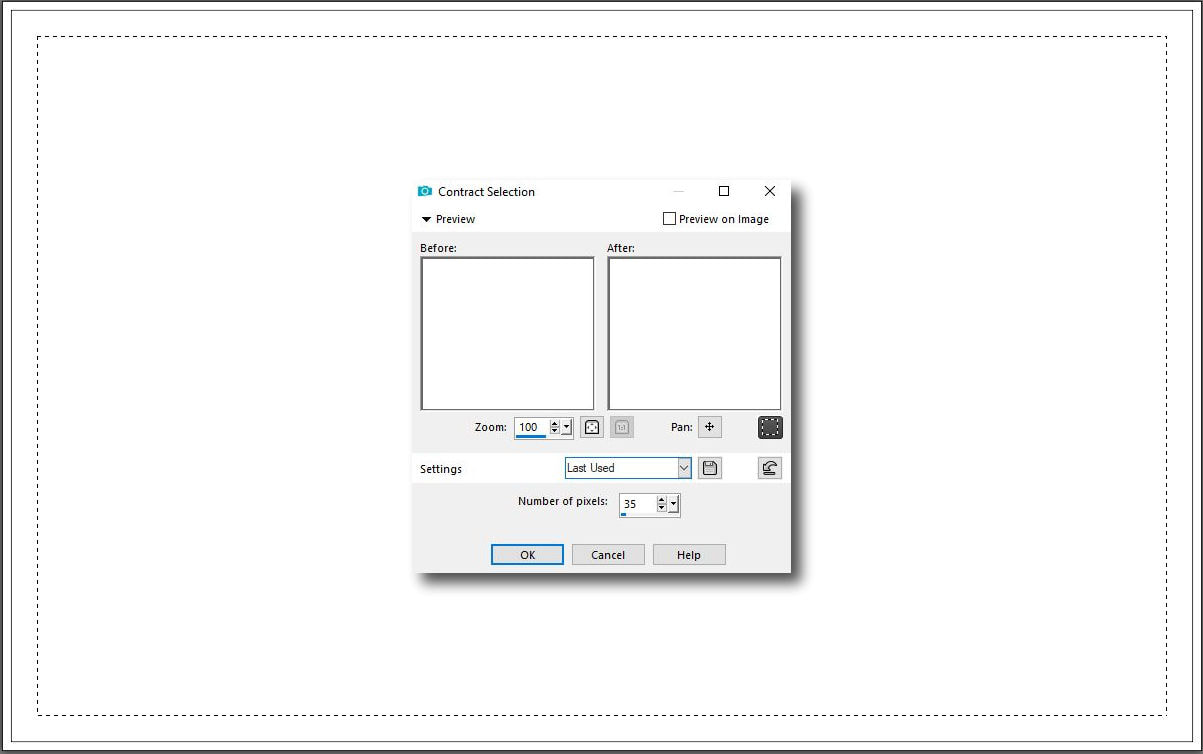
13. Hozd be az alapot és tedd rá ezt a kijelölést.
Load in the base image from your material image.
Selection - Select All
Selection - Modify - Contract 35
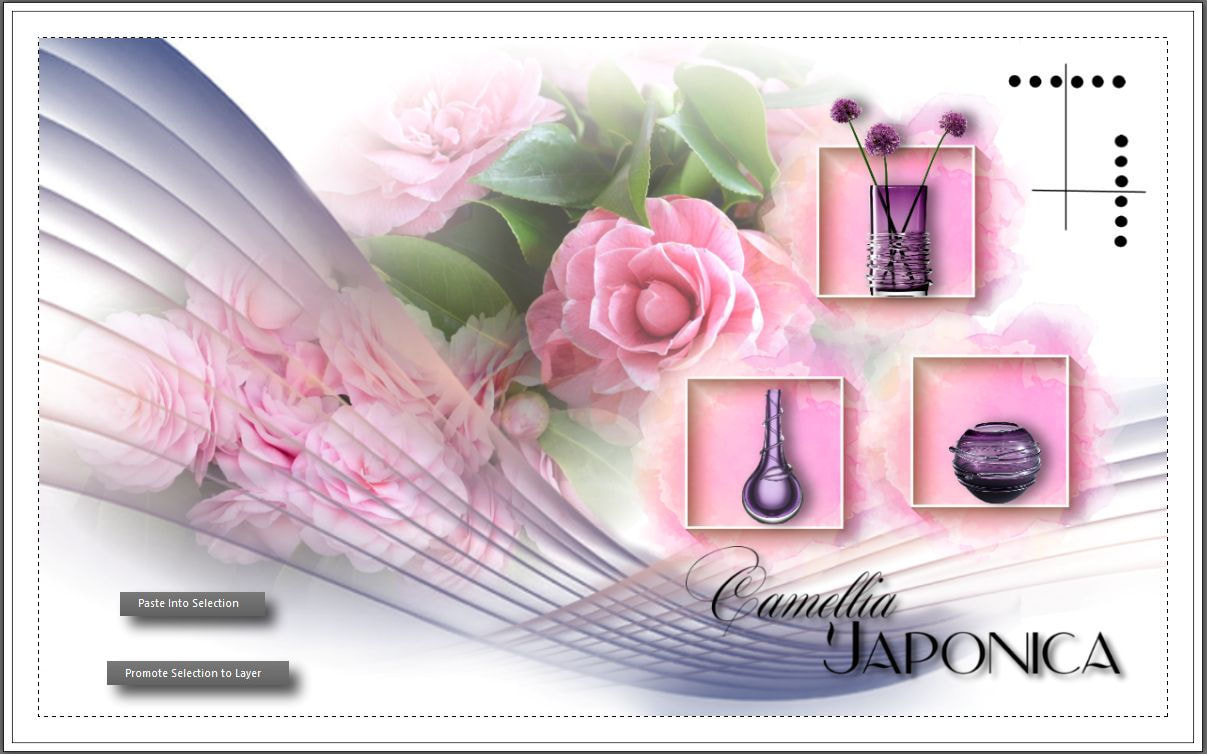
14. Másold be a kijelölésbe a képedet és promótáld azt. Szüntesd meg a kijelölés.
Copy on ready image and paste into the selection in the base image
Selection - Promote selection to layer
Selection None
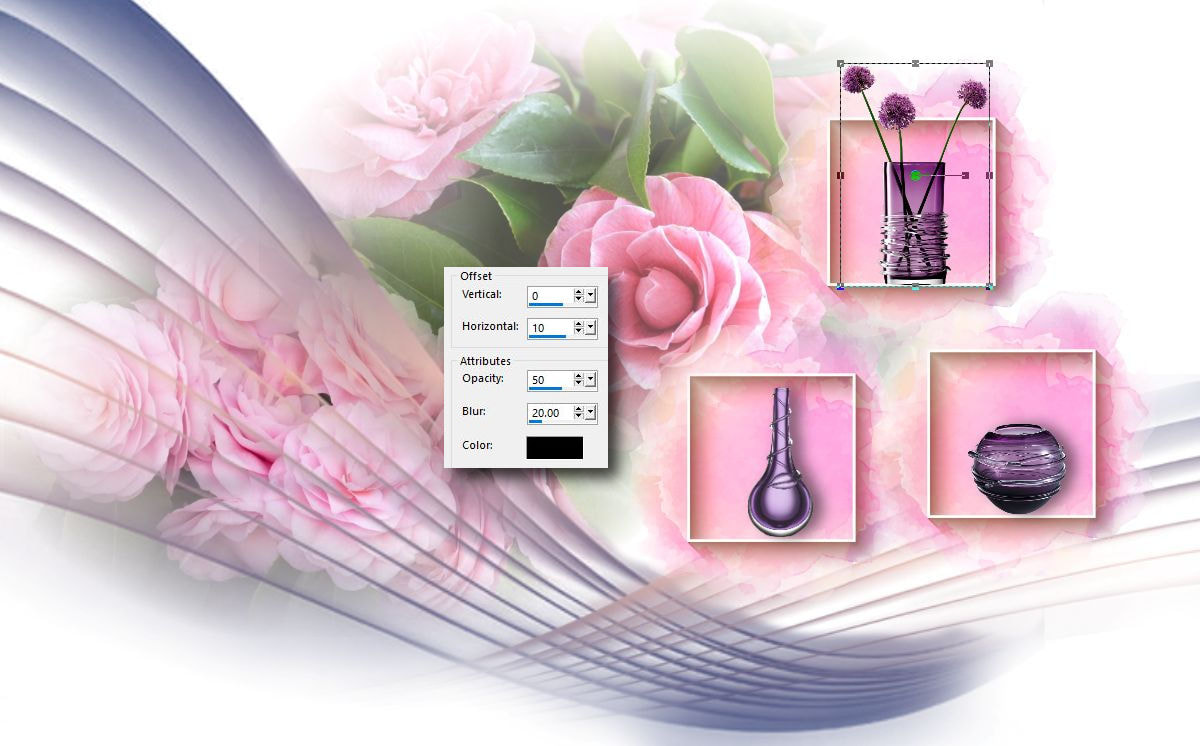
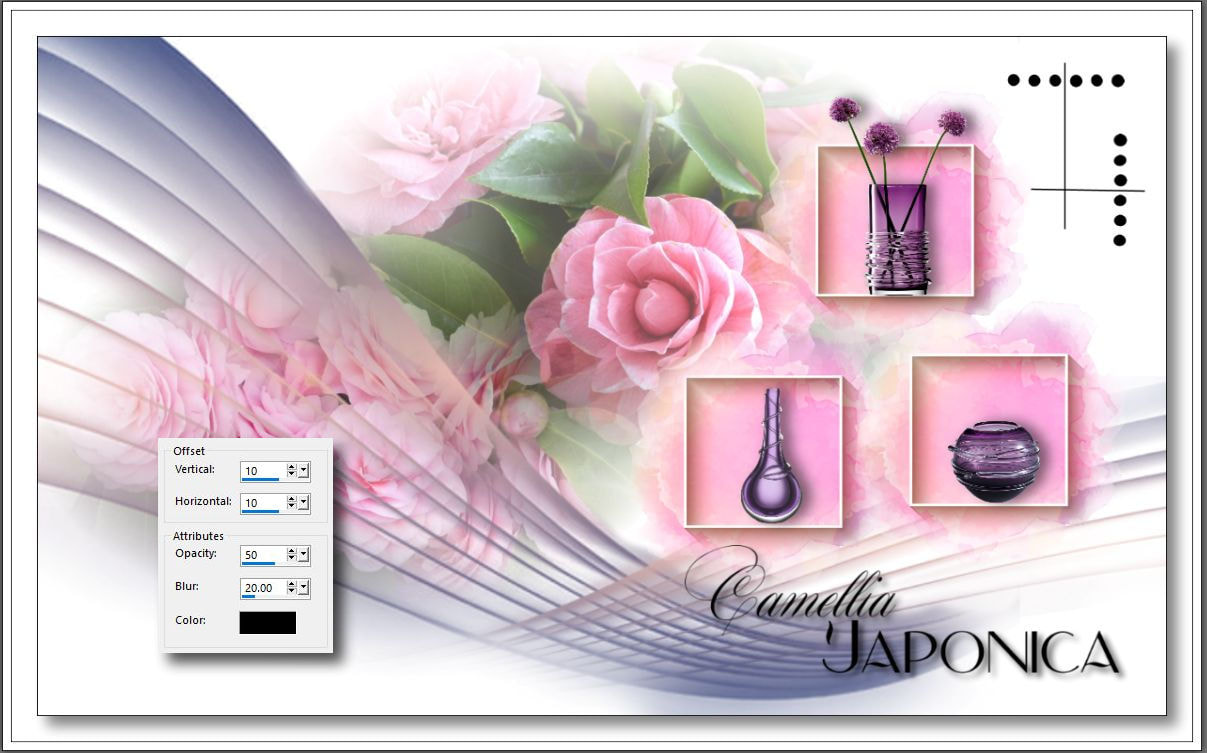
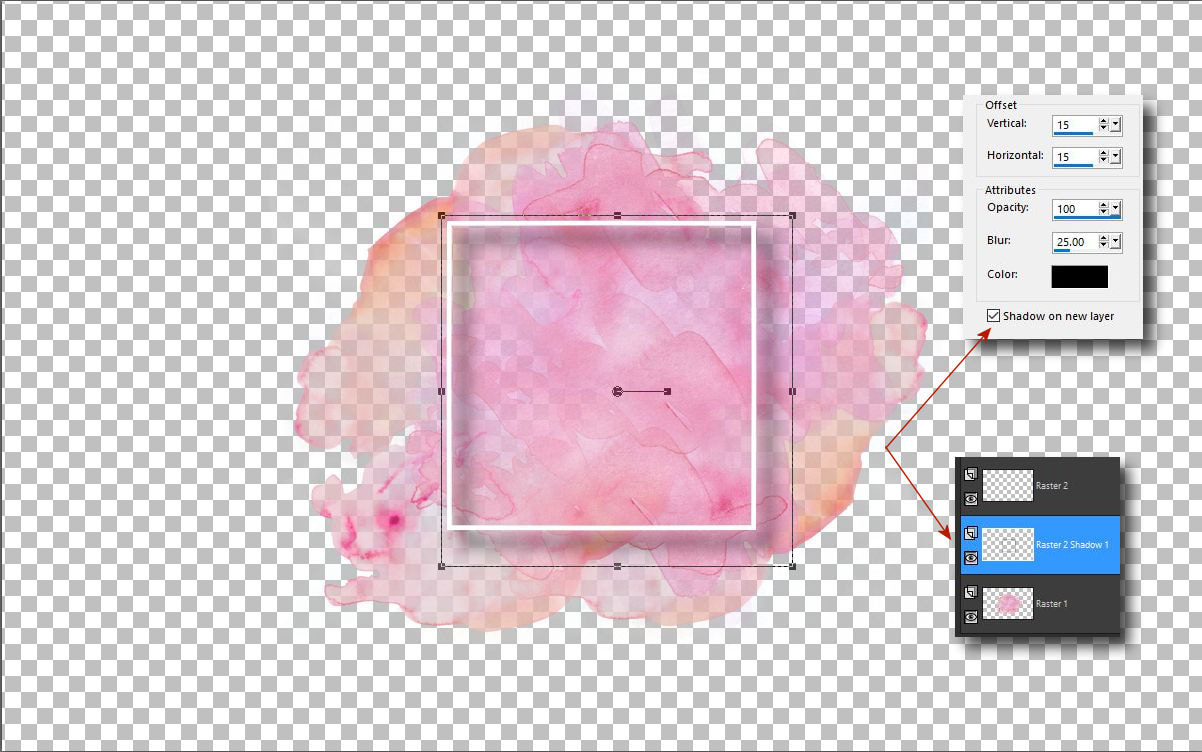
15. Adj árnyékot a promótált rétegnek
Effects - 3D effects - Drop Shadows
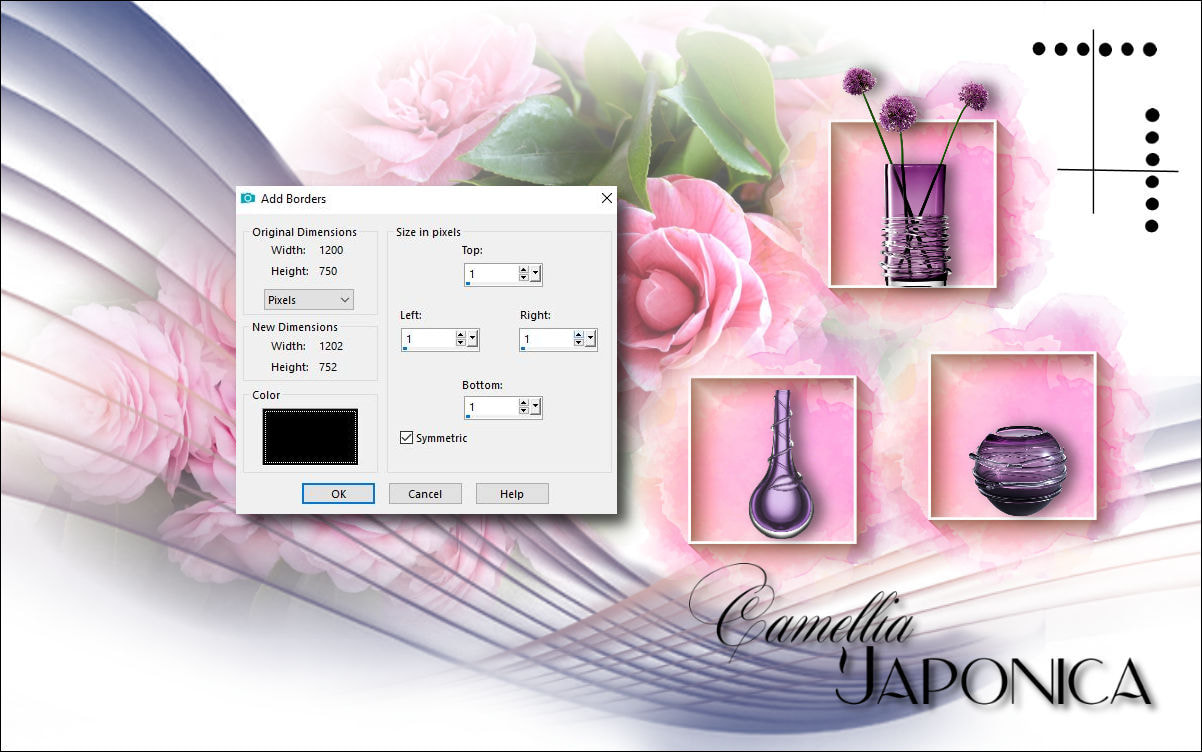
16.
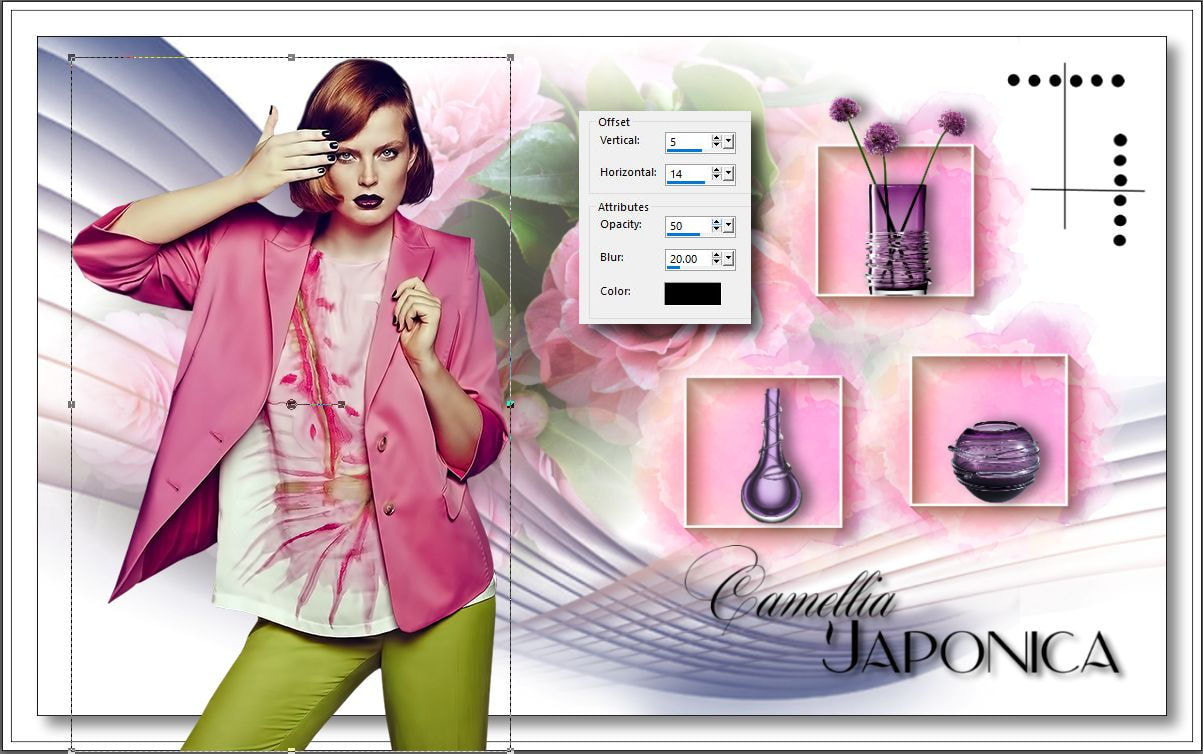
Már készen is van a képünk. Szeretném megmutatni azt is, hogy a fö dekorációnk ehhez a képhez hogyan is készül. A dekor keret benne van a csomagban, de érdekes lehet az is a számotokra, hogyan lehet ilyen dimenziós keretet készíteni.
Our picture is already now. I would also like to show also how our main decoration for this picture is made. The decor frame is included in the package, but it may also be interesting to you how to make such a dimensional frame.
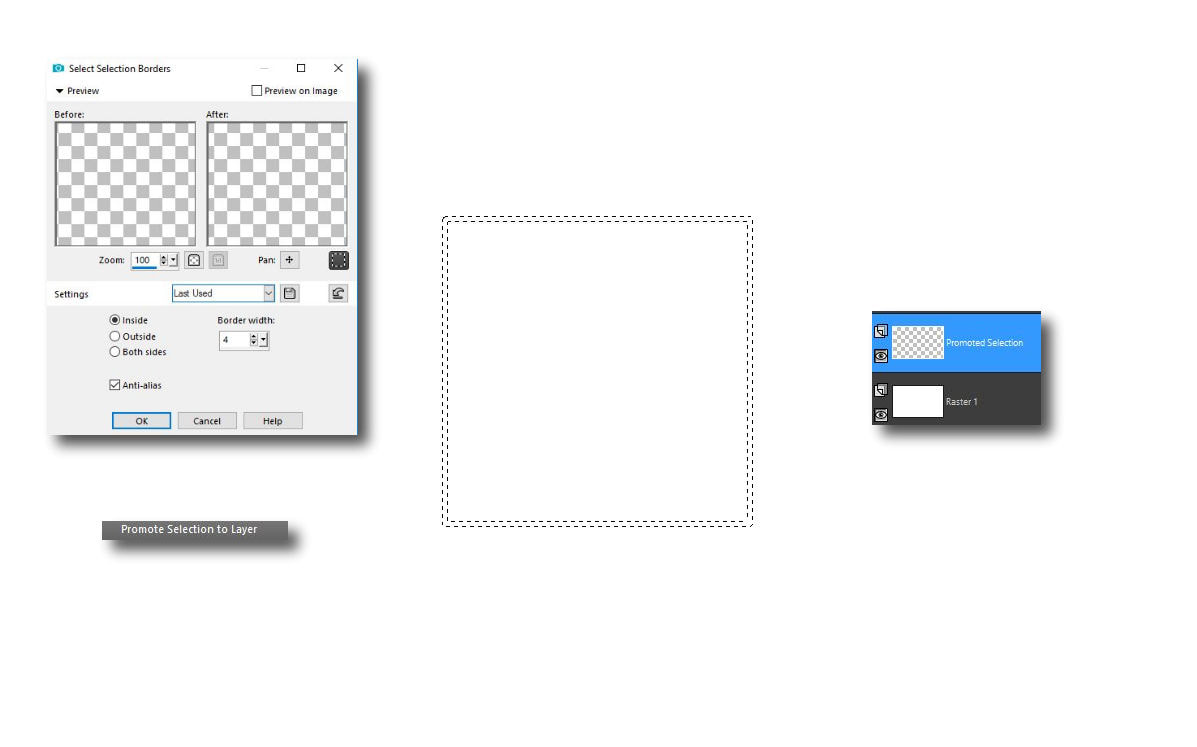
A. Tölts ki egy új lapot fehér színnel. Csinálj a közepén egy négyzet alakú kijelölést
és használd ezt az effektet
Load in the new background and fill up with white color
Select - Modify - Select Selection Borders
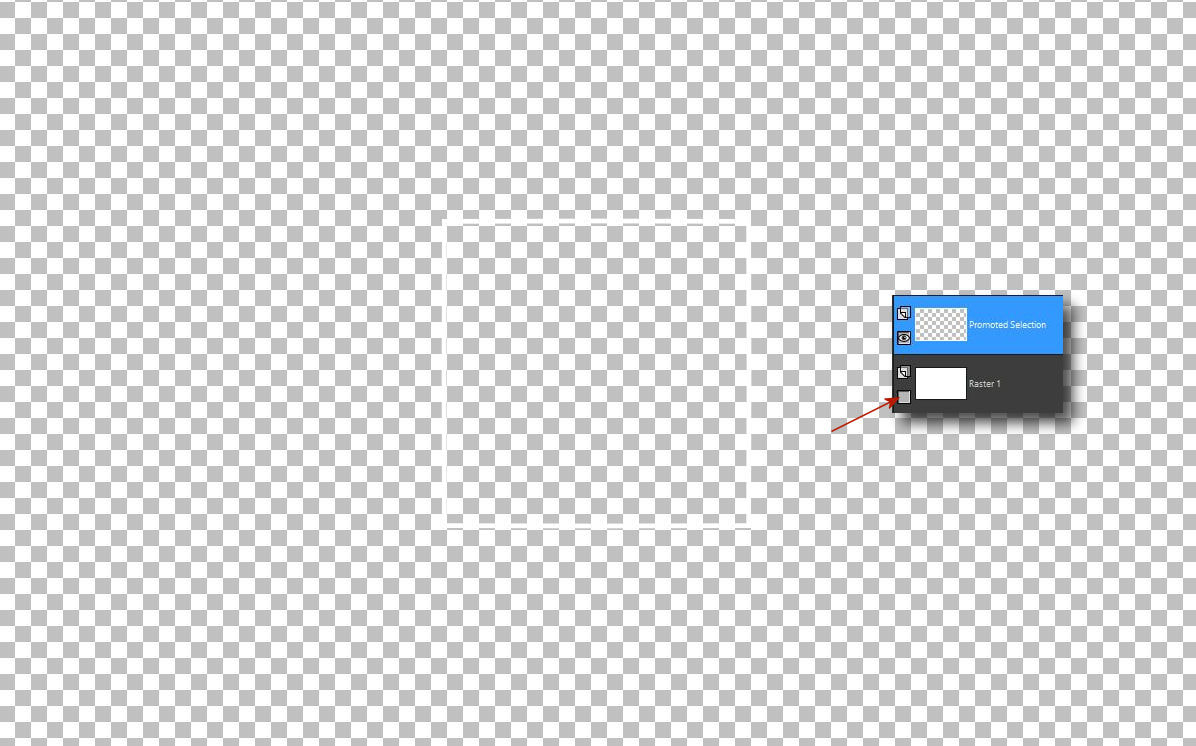
B. Promotáld a kijelölést és csukd be az alsó rétegszemet.
Promote selection to Layer. Close de eye of bottom layer
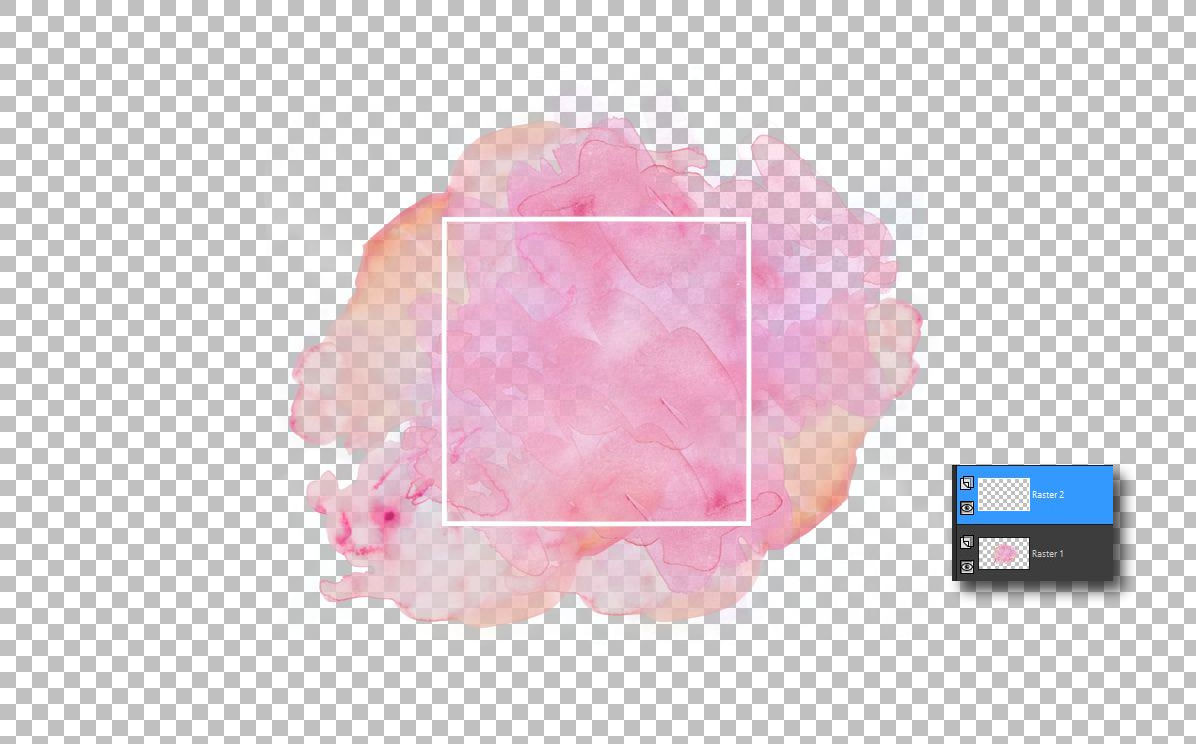
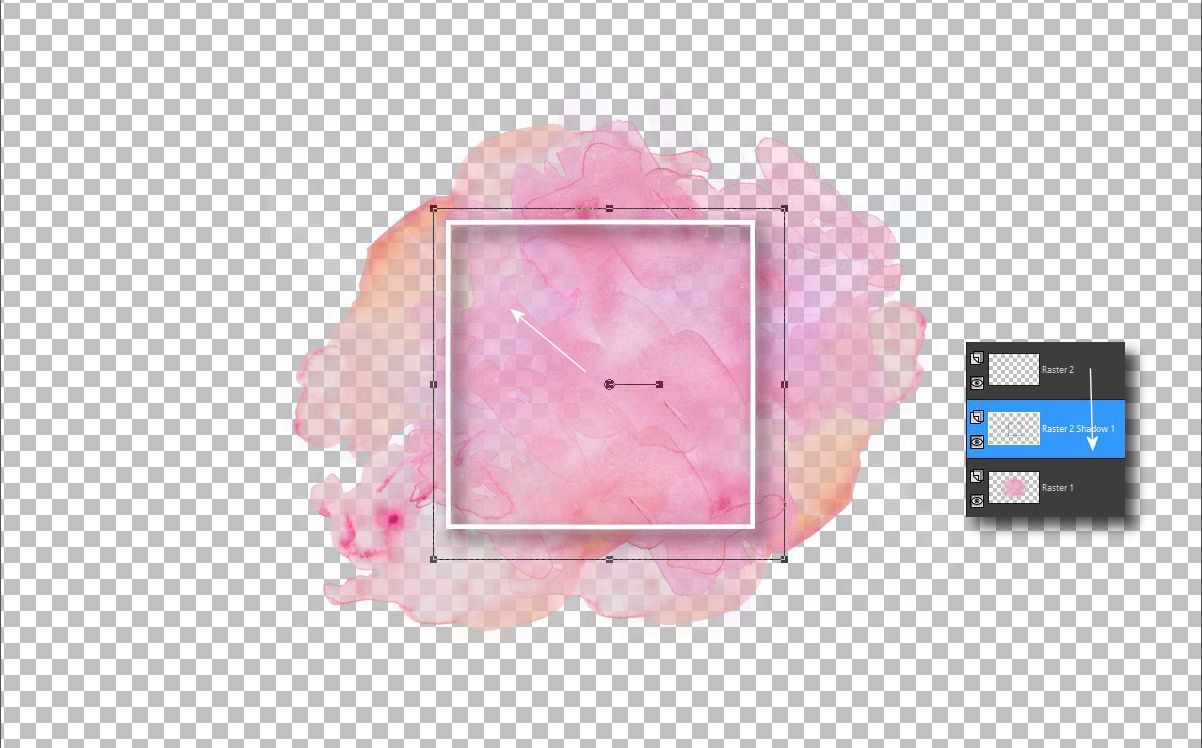
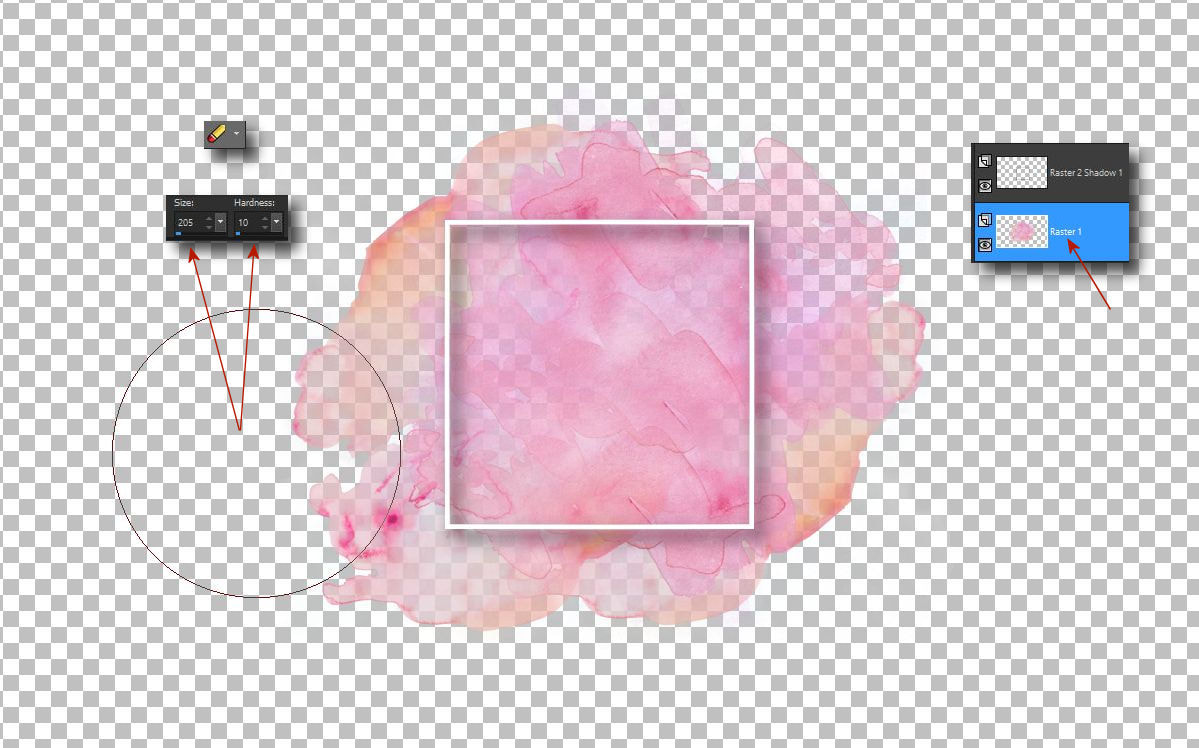
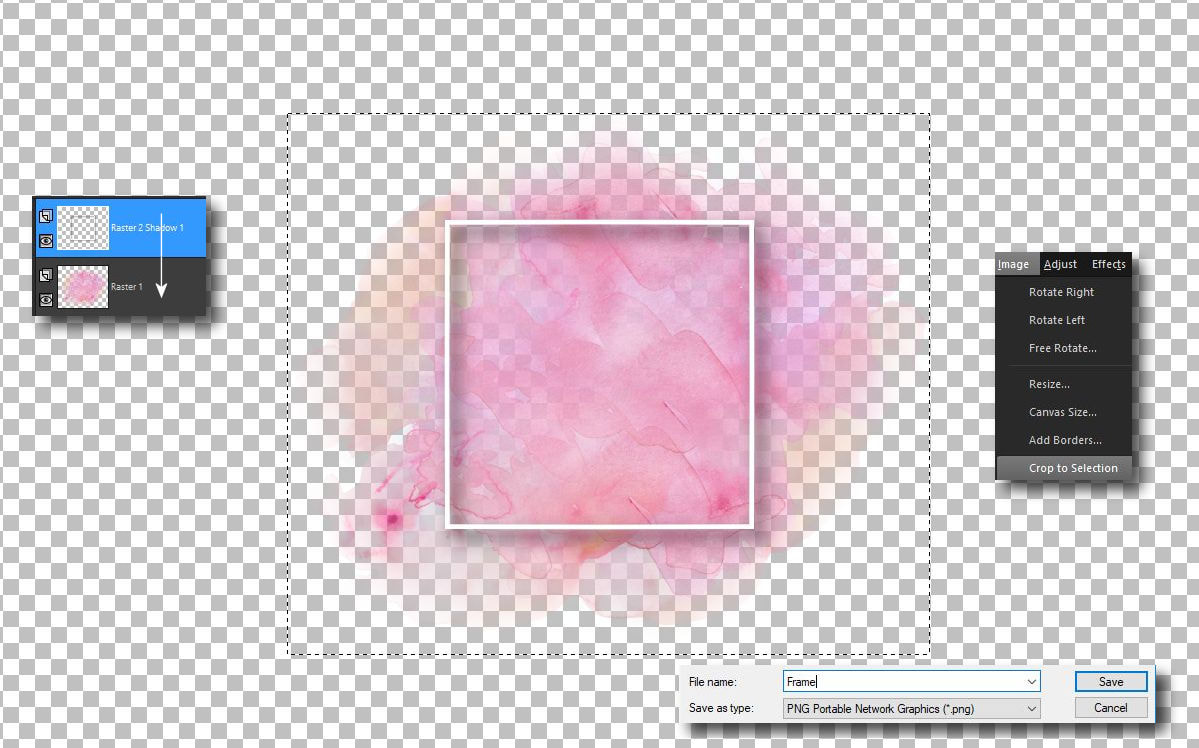
C. Ebben a csomagban 45 db png Splash kép van. Választhatsz magadnak
bármilyen színt ha ezt a keretet egy képre meg szeretnéd csinálni.
Másold be a keretet egy választott splash képre
There are 45 png Splash images in this package. You can choose any color if
you want to make this frame to your own image
Copy your frame to the splash image
| watercolor_splash.rar | |
| File Size: | 35361 kb |
| File Type: | rar |
